


DIY: Freezer Bunny plushie!
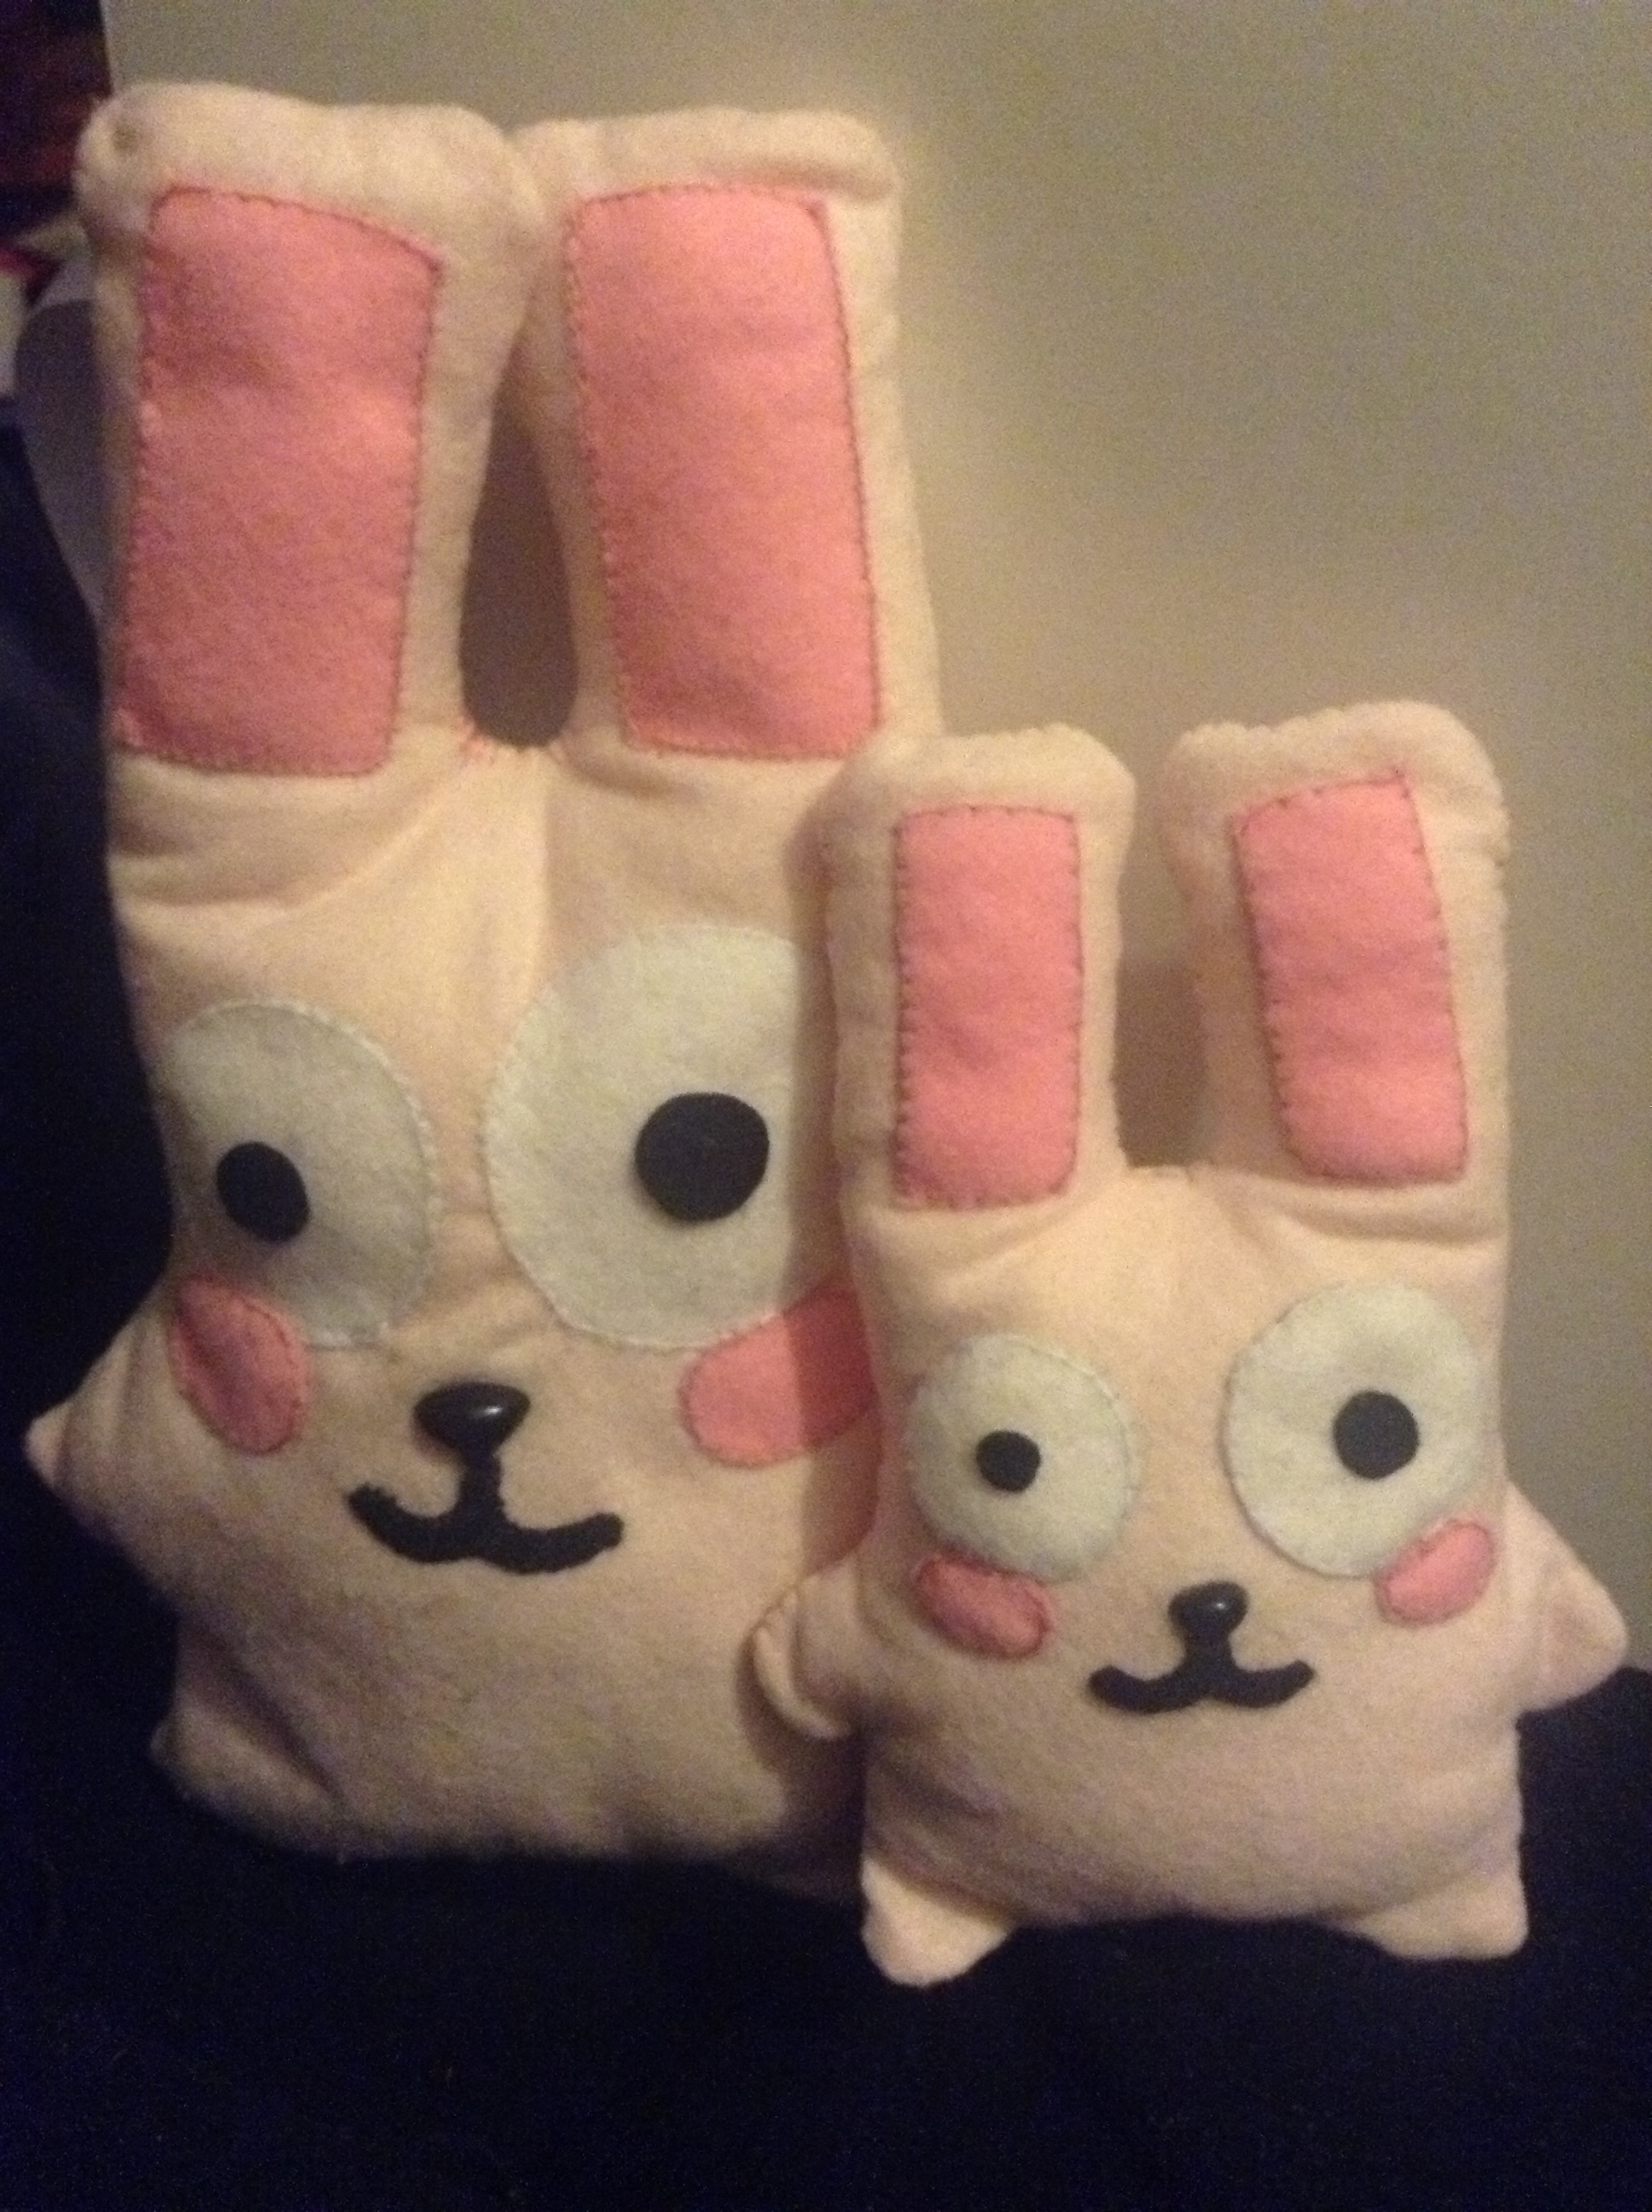
By now most of you have seen it. I have not one but two Freezer Bunny plushies. For those of you up to the challenge, here is the DIY tutorial on how I made it. Apologies for the quality of the pics. While sewing, I don't really feel like firing up my DSLR with each step  I won't be teaching you any sewing techniques here. This is just a DIY tutorial about the bunny. Nothing more, nothing less. If this tutorial is not for you, I will be taking on requests in the near future (fall 2013) at my studio. This will NOT be free, seeing as I will have to buy supplies, spend hours making these and then have to ship them to you. If you want to order one that is fine, but be prepared that it will cost you some money. Now without further ado, the tutorial!
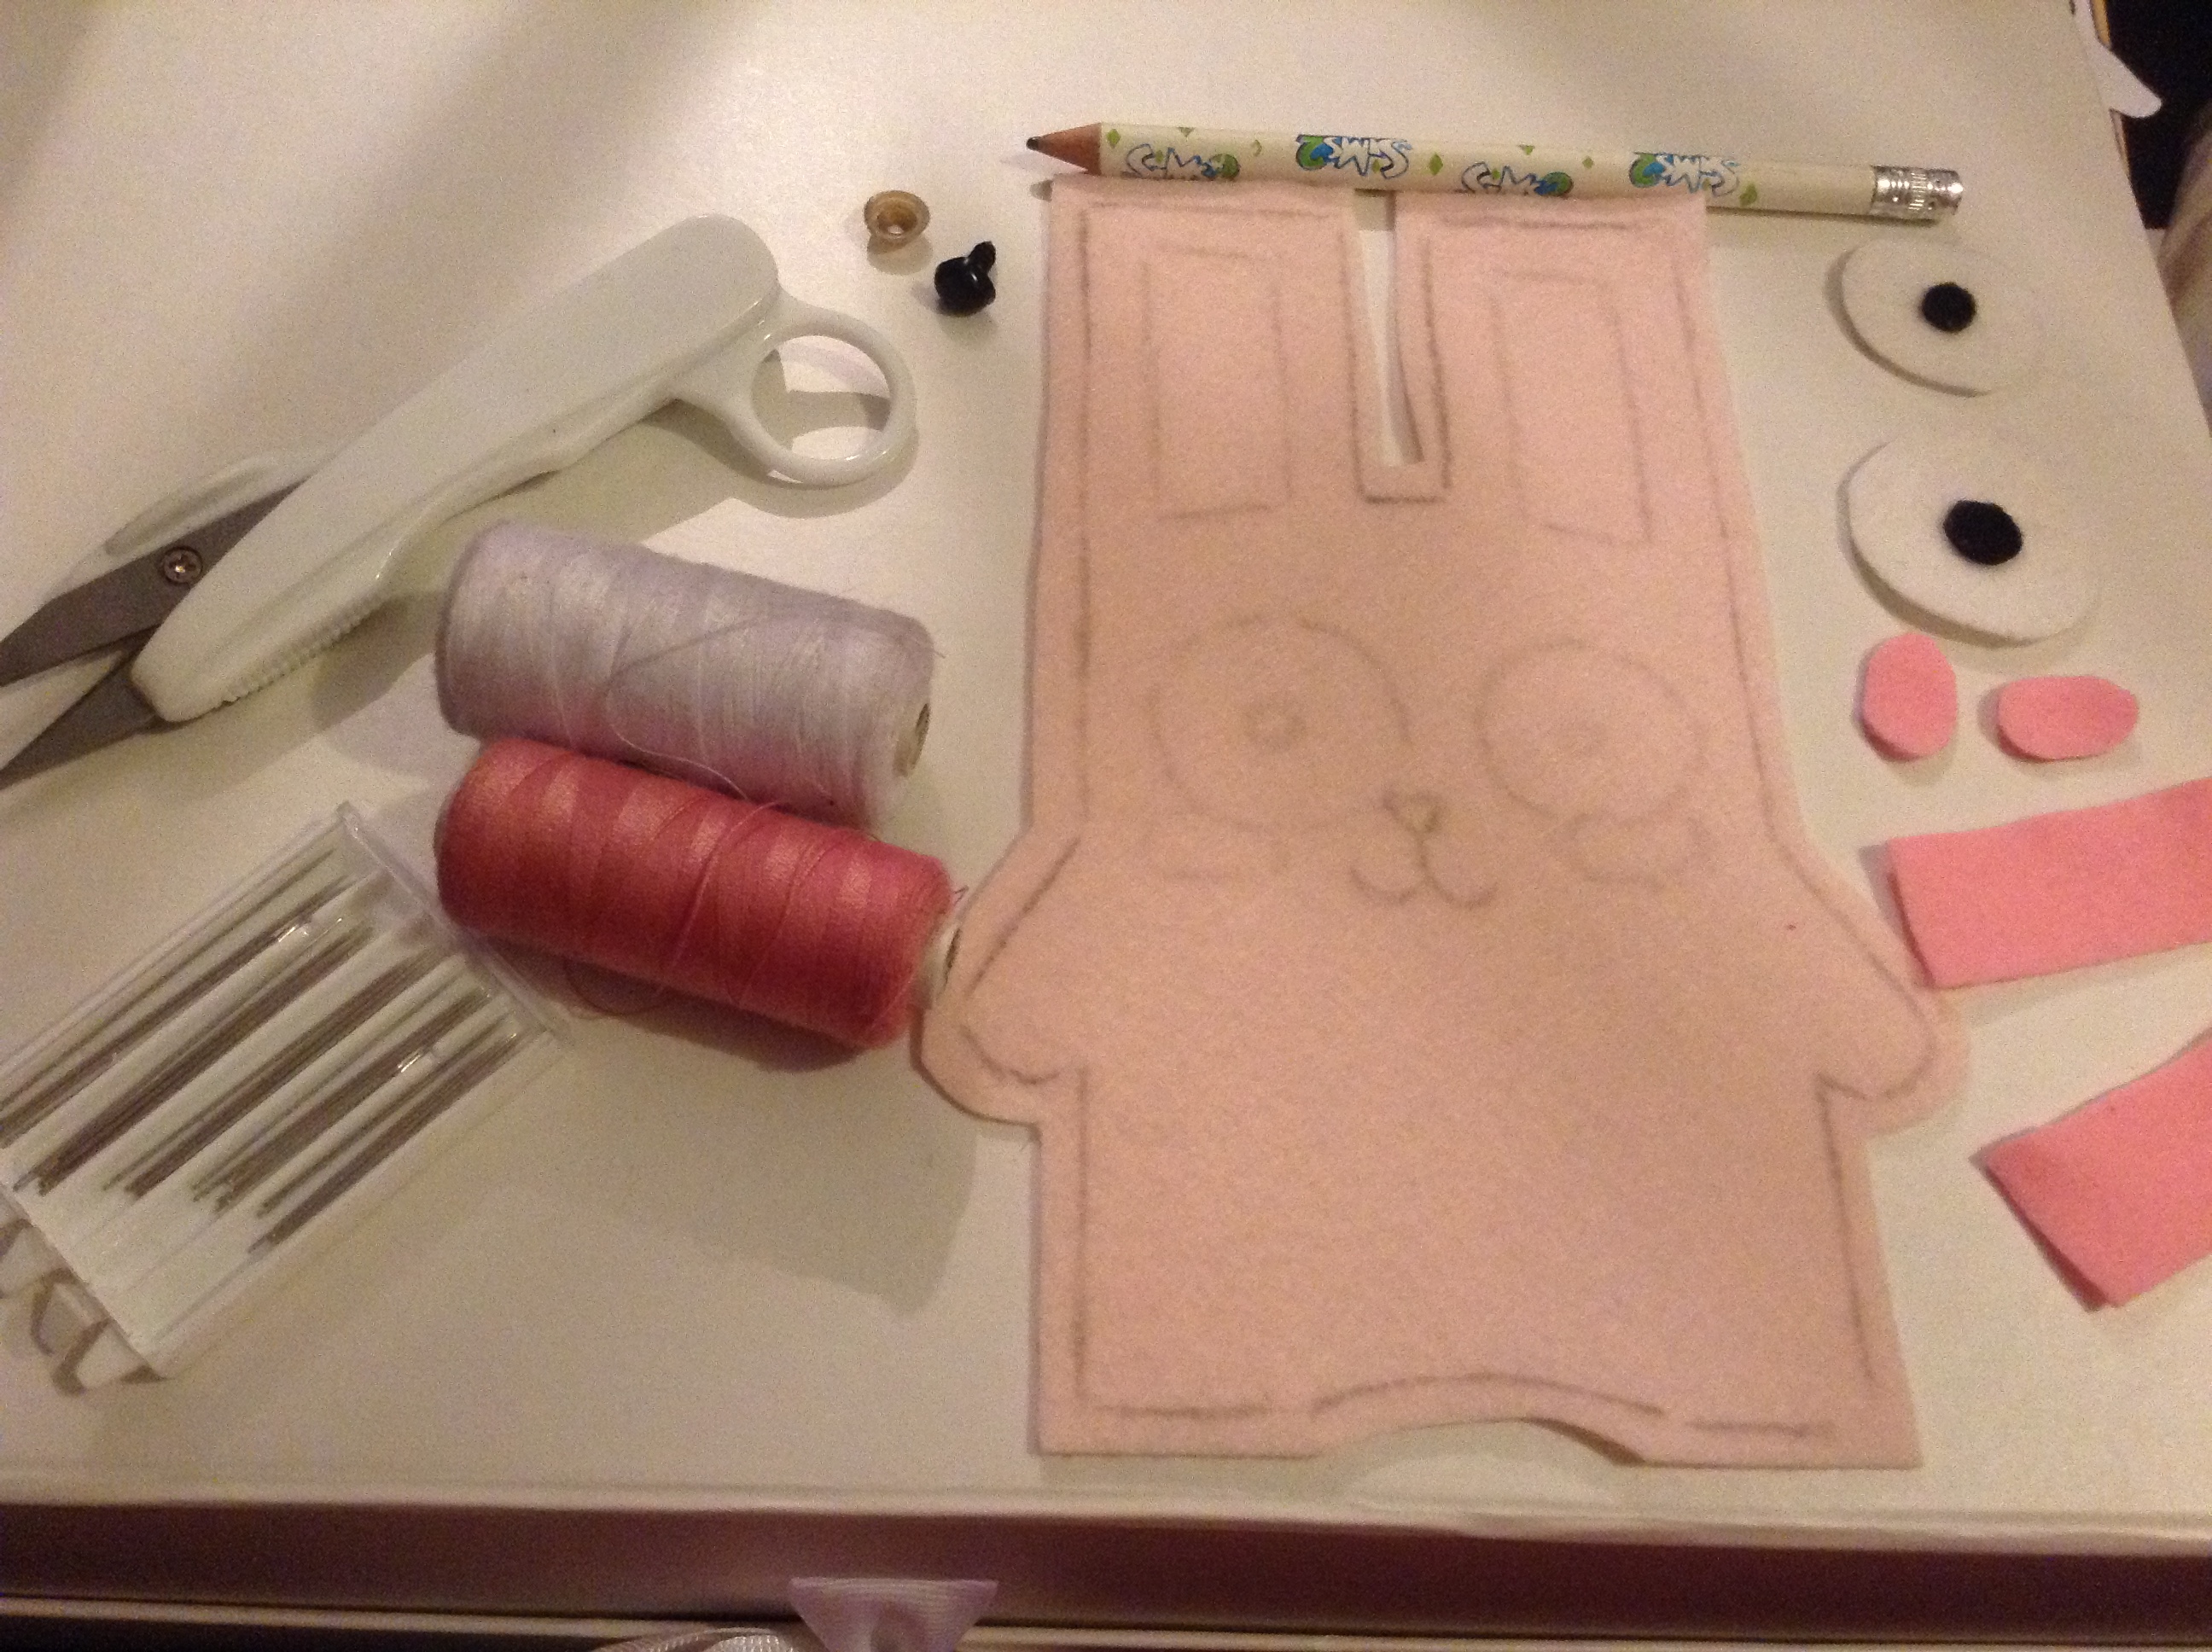
What you will need
- Light pink felt (2 sheets if you want to make a bigger bunny, I will be showing how to make the smaller one in this tutorial)
- Medium pink felt
- White felt
- Black felt (I have the adhesive kind)
- Black nose
- Pom-poms for the tail
- Needles
- Sewing pins
- Scissors
- White Thread
- Pink Thread
- Black Thread
- Stuffing
- Pencil or gel pen
- Large embroidery needle
- Pattern (to make the smaller bunny, make sure to print the pattern half the size).
Follow the instructions!
Without the pattern, it's going to be very hard to create your bunny. So print the pattern.
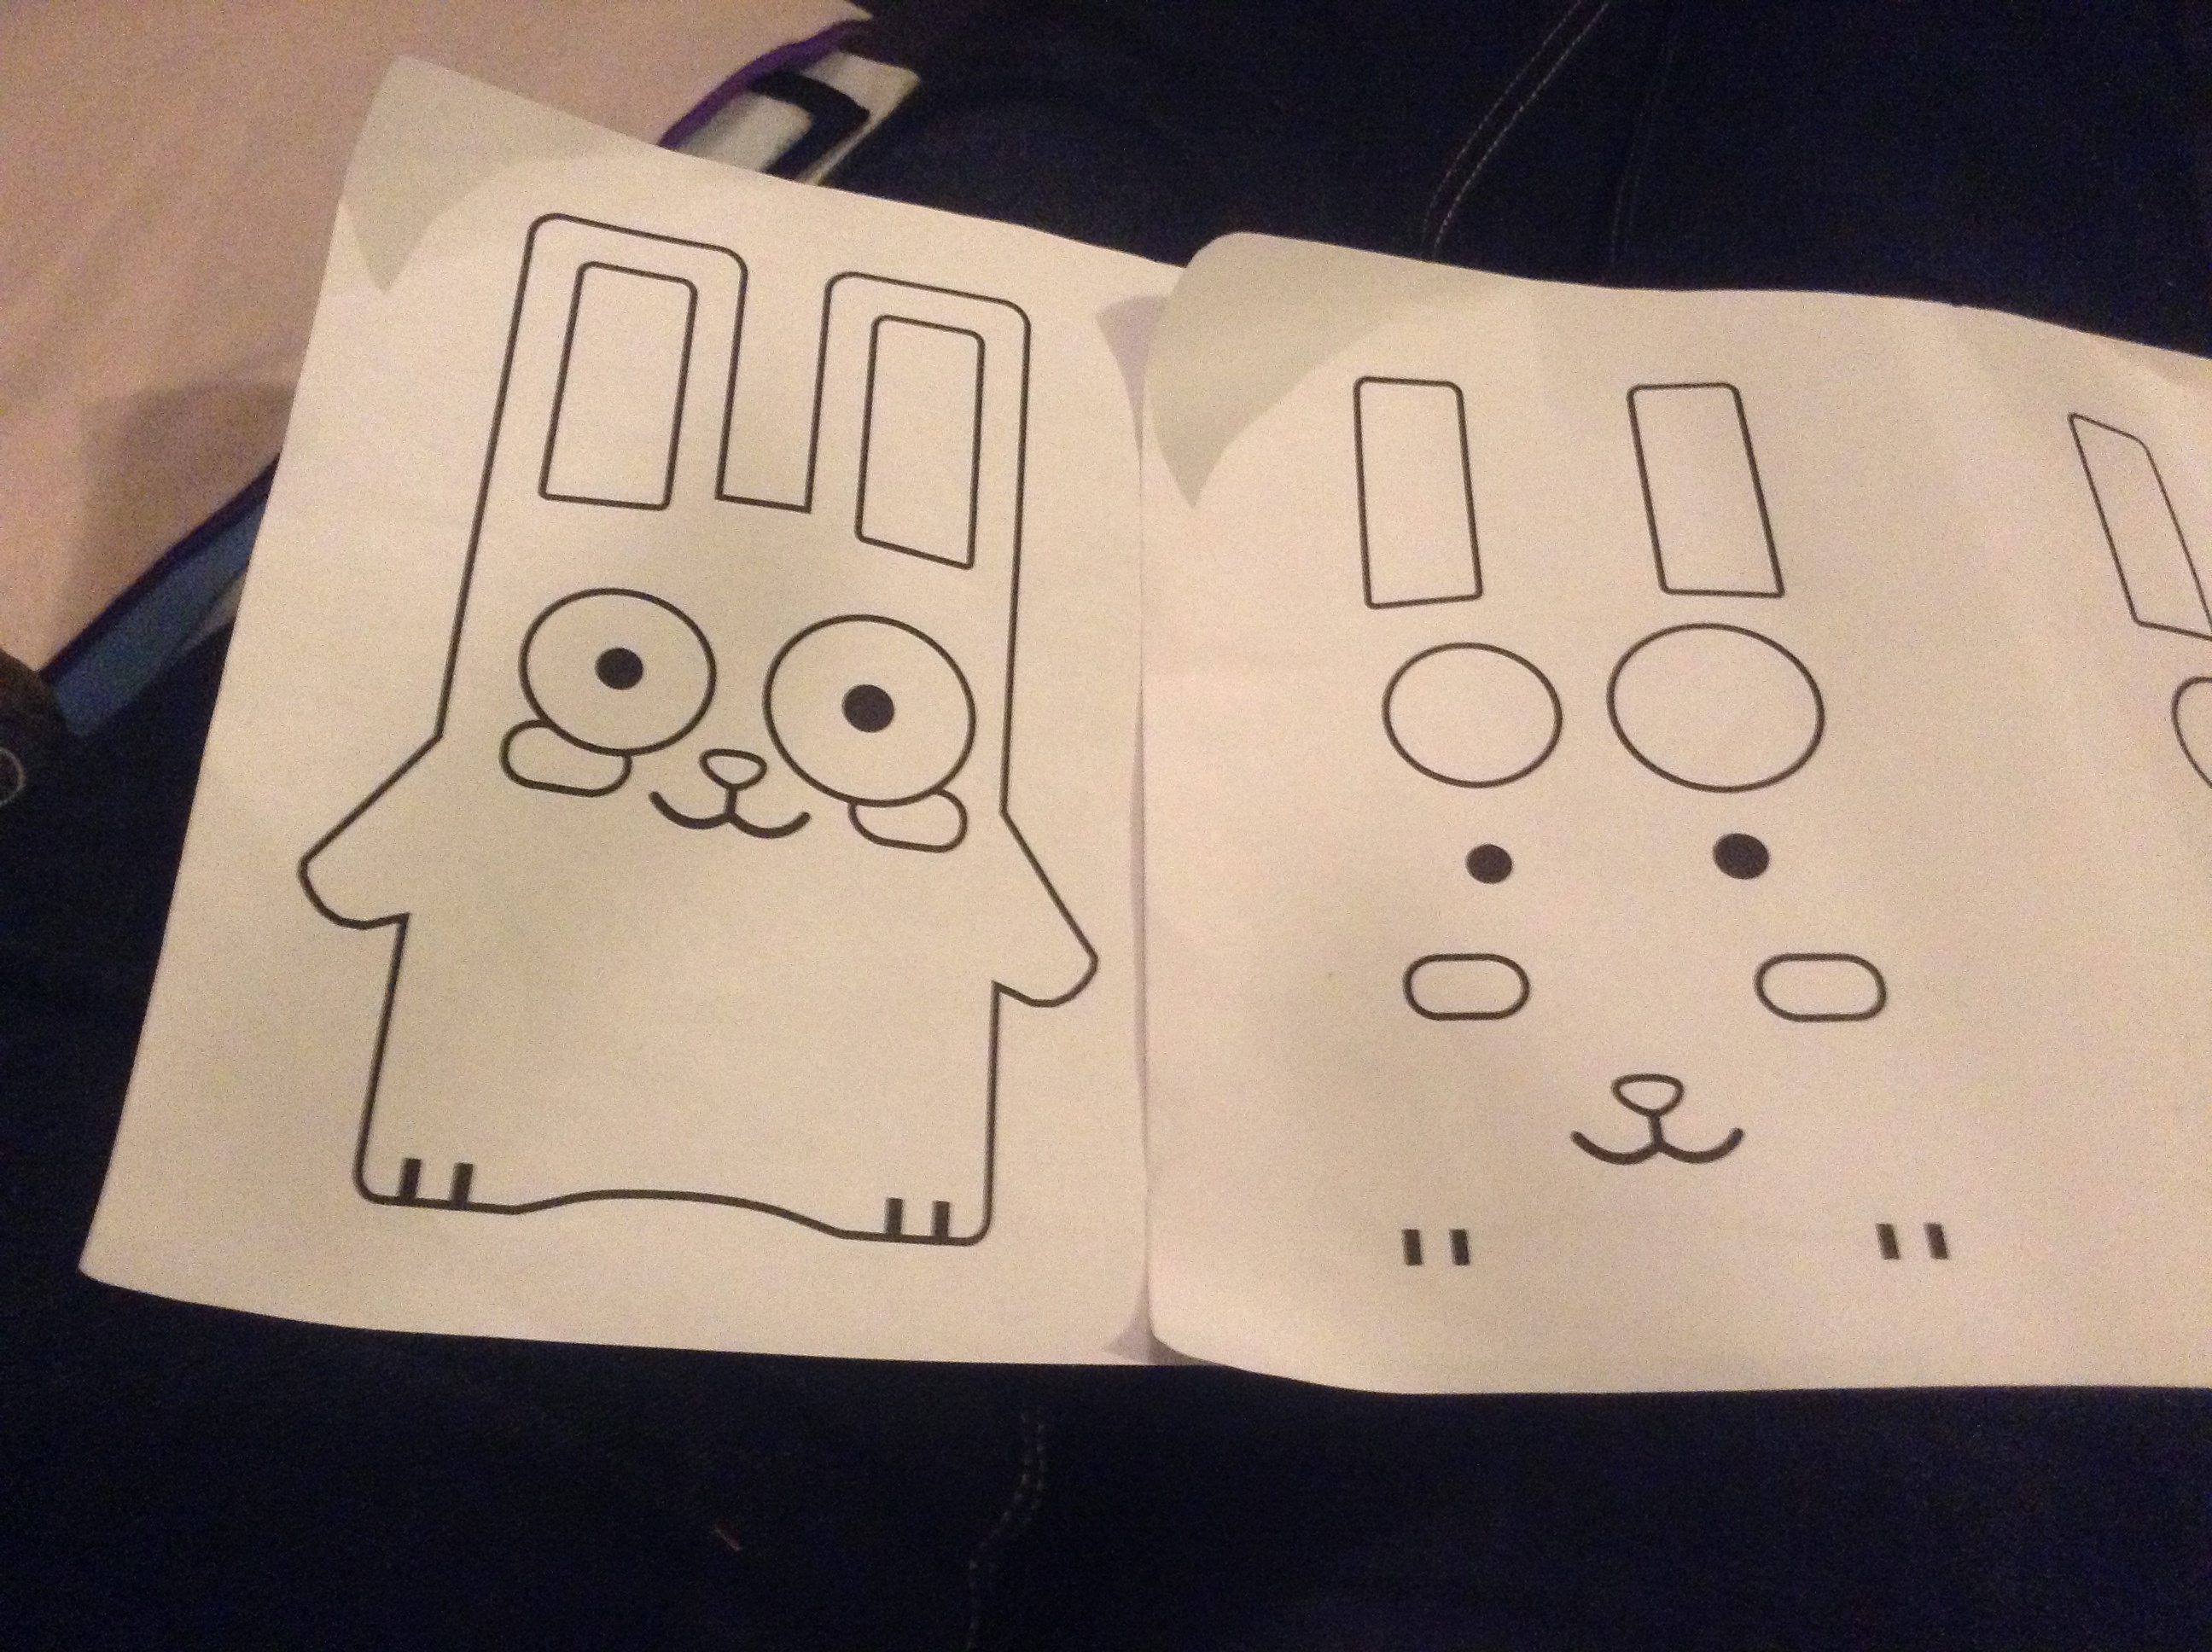
I made a printable pattern you can use for the Freezer Bunny, and another one for its eyes, pupils, cheeks, nose etc.
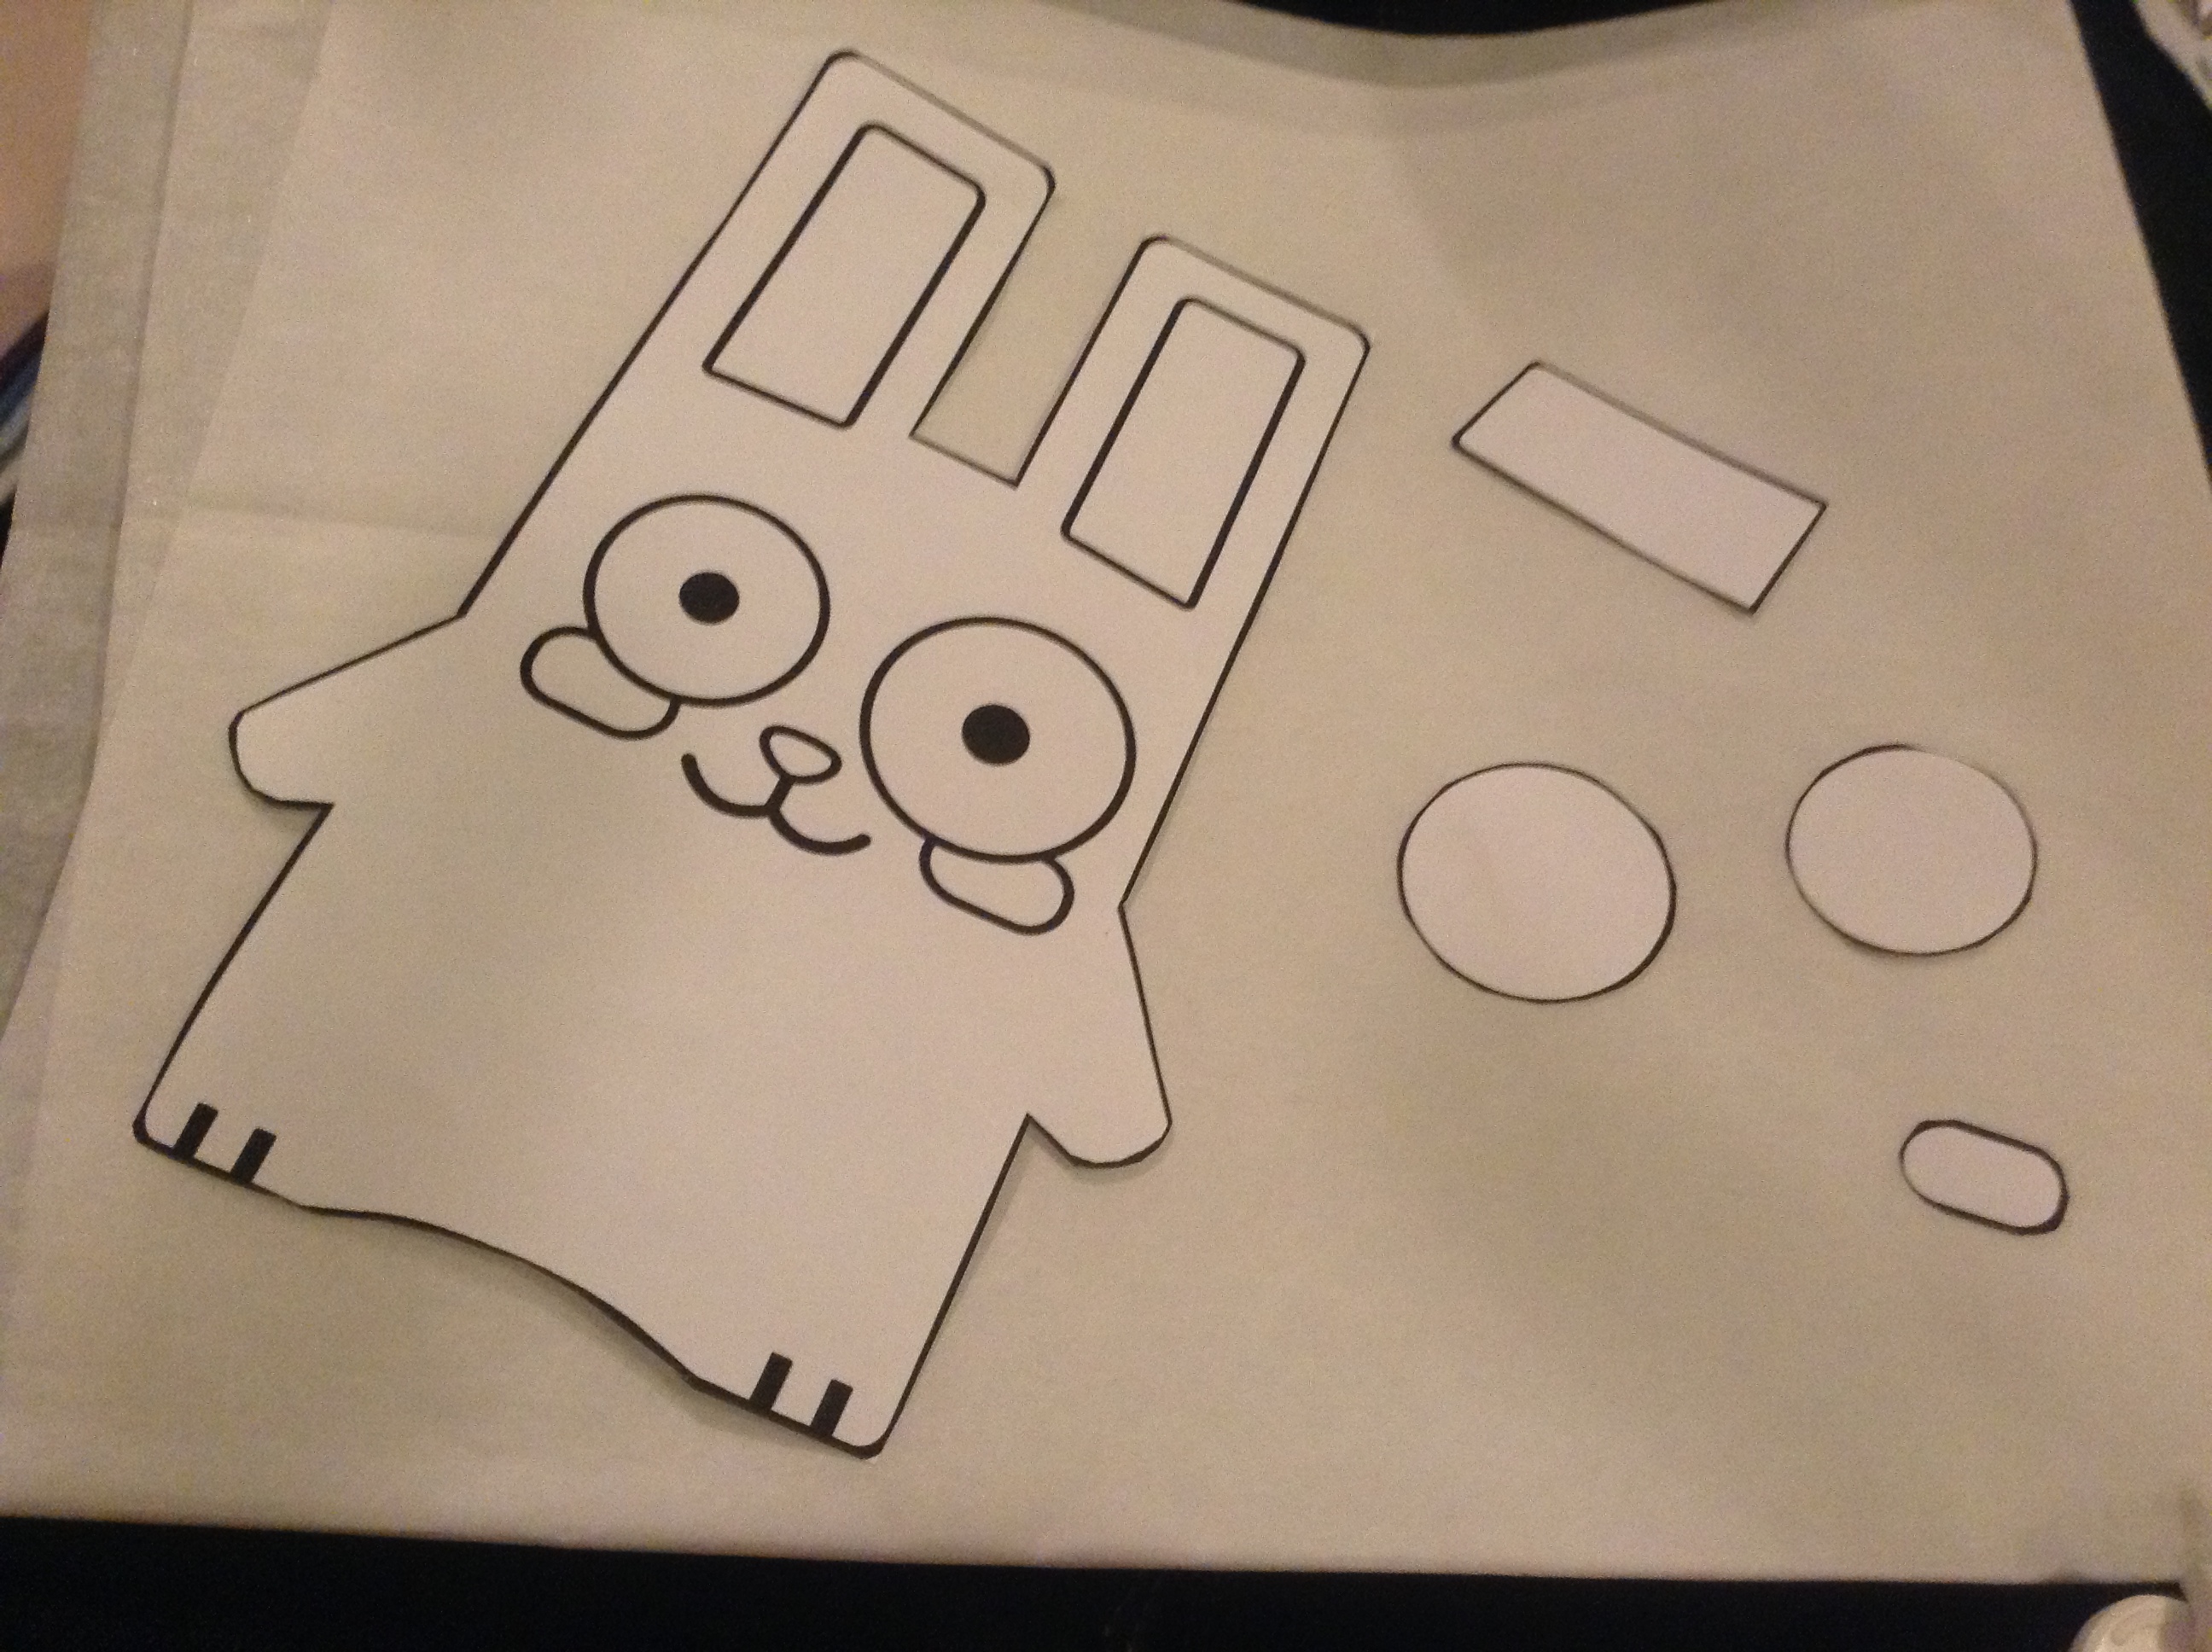
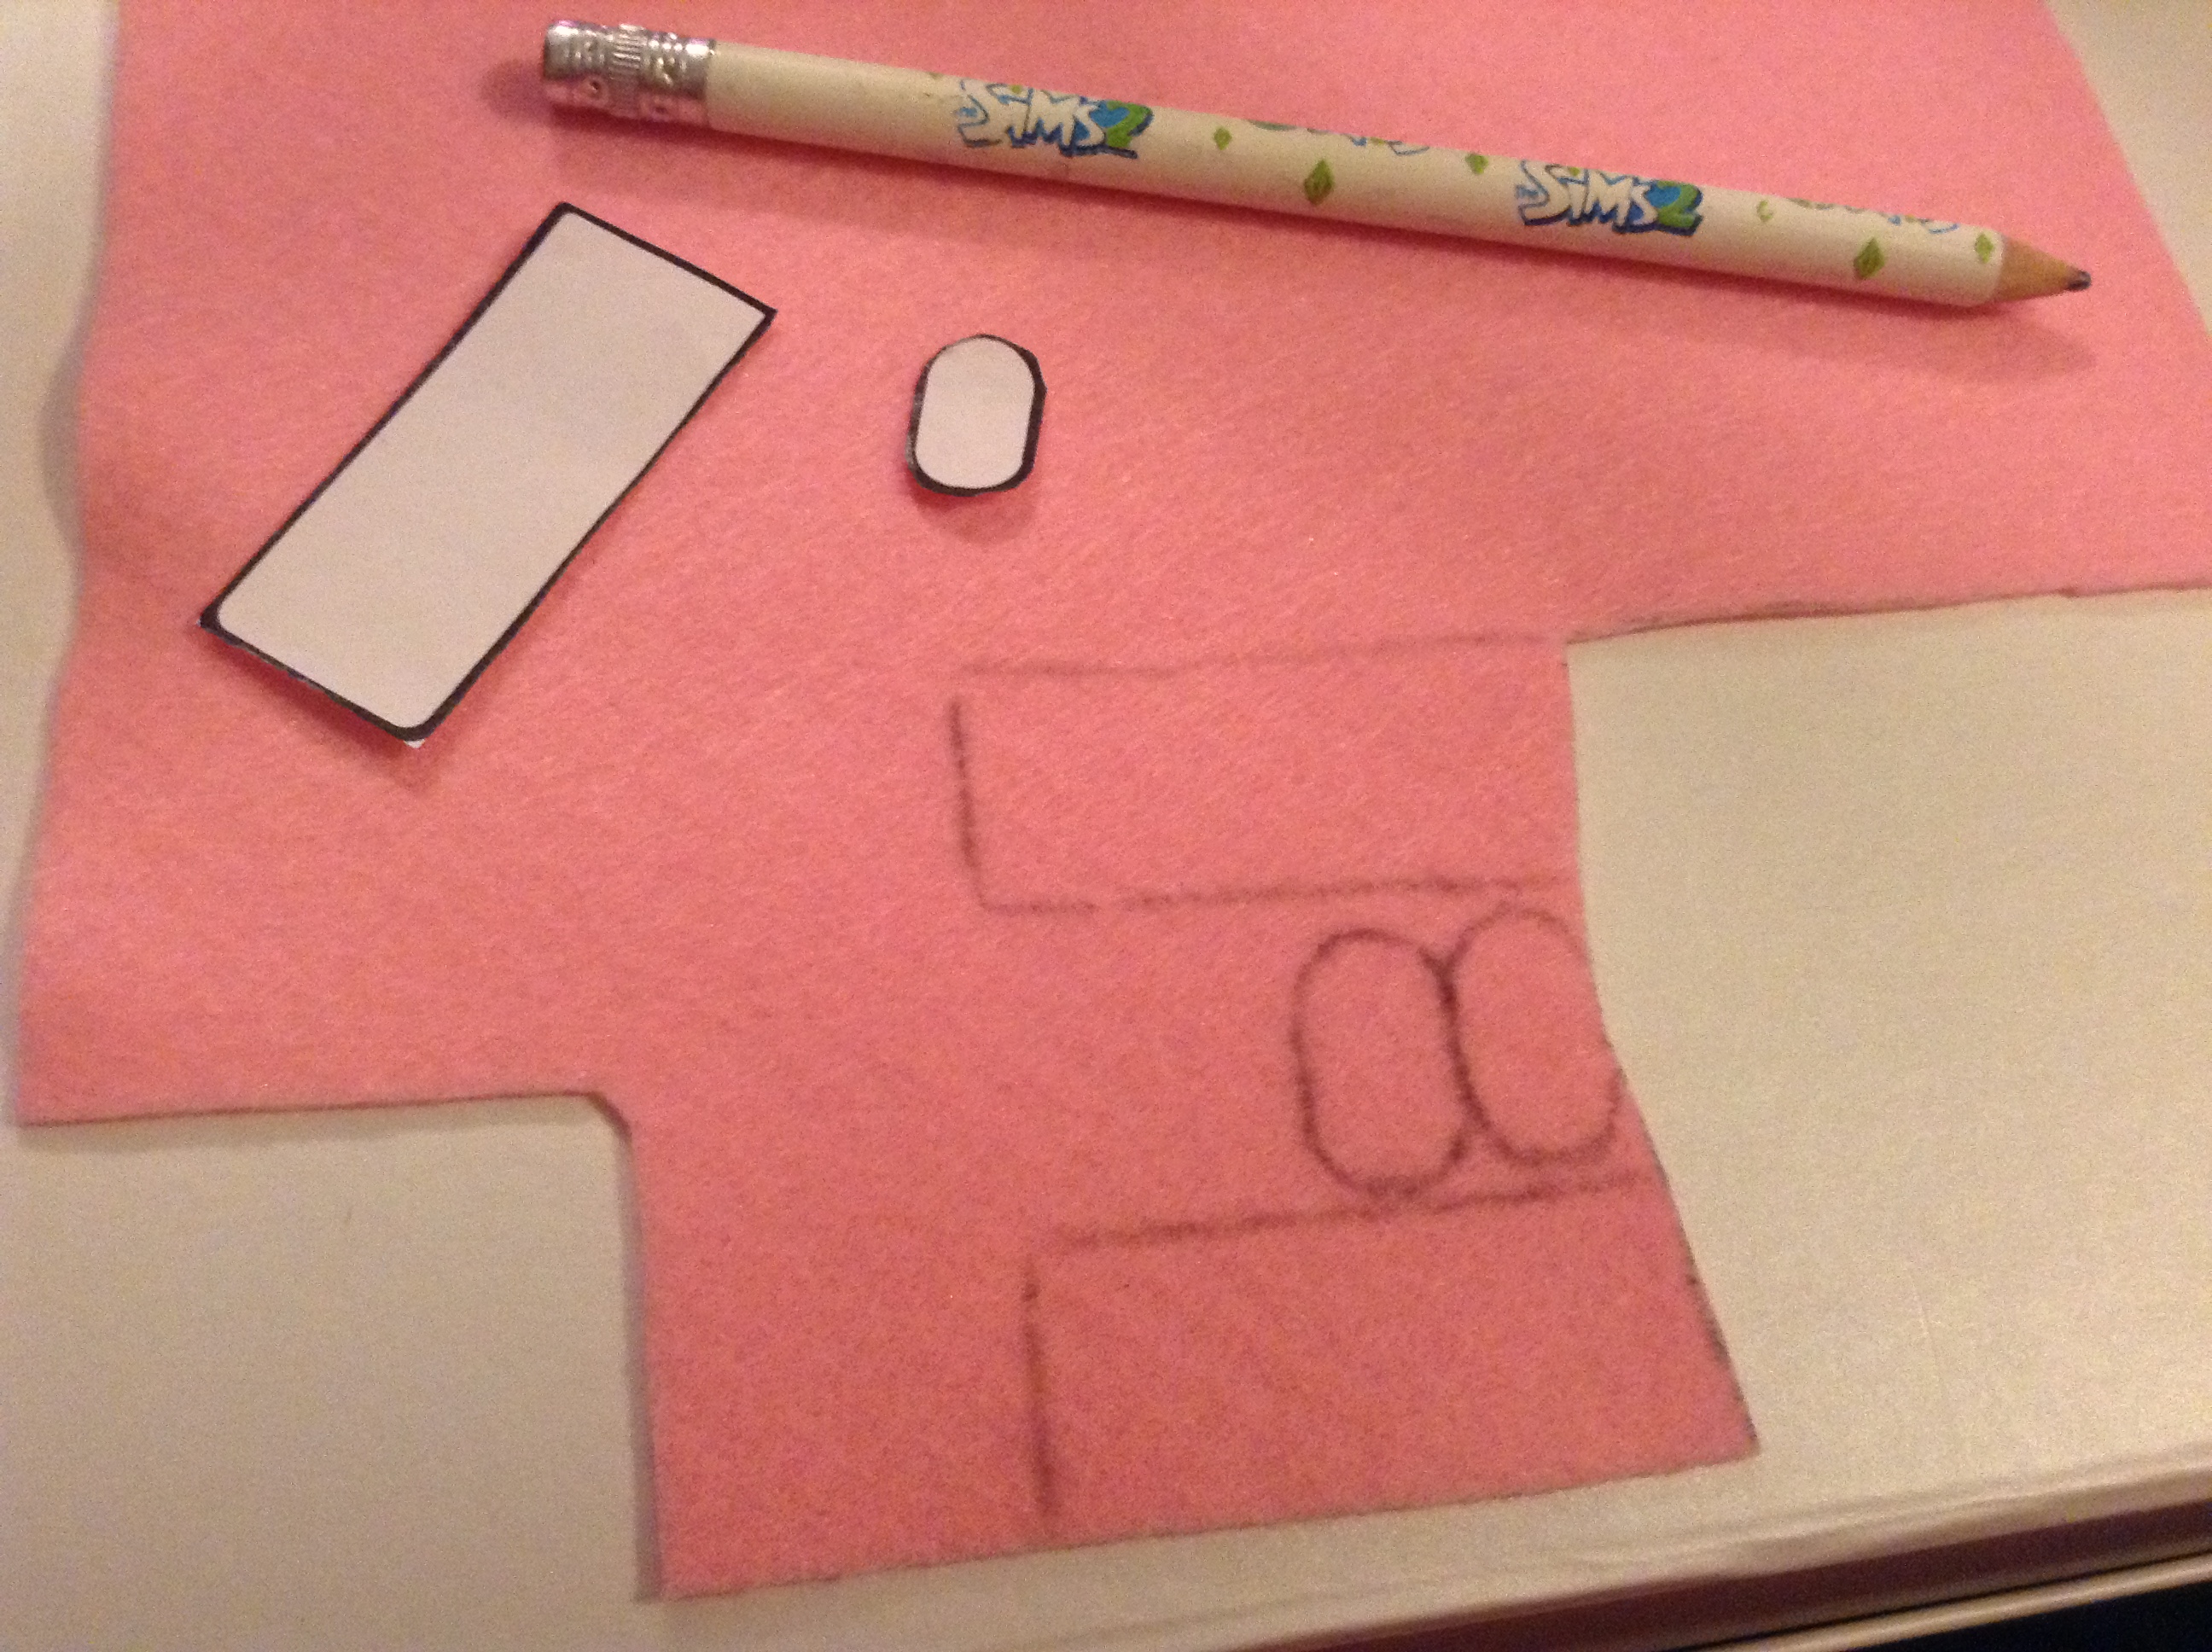
Cut out the Freezer Bunny shape, follow the black line. Also cut out both eyes (as they are a different size), both pupils, an ear, a cheek and if you don't have a proper black nose and are going to use felt for this, also cut out the nose.
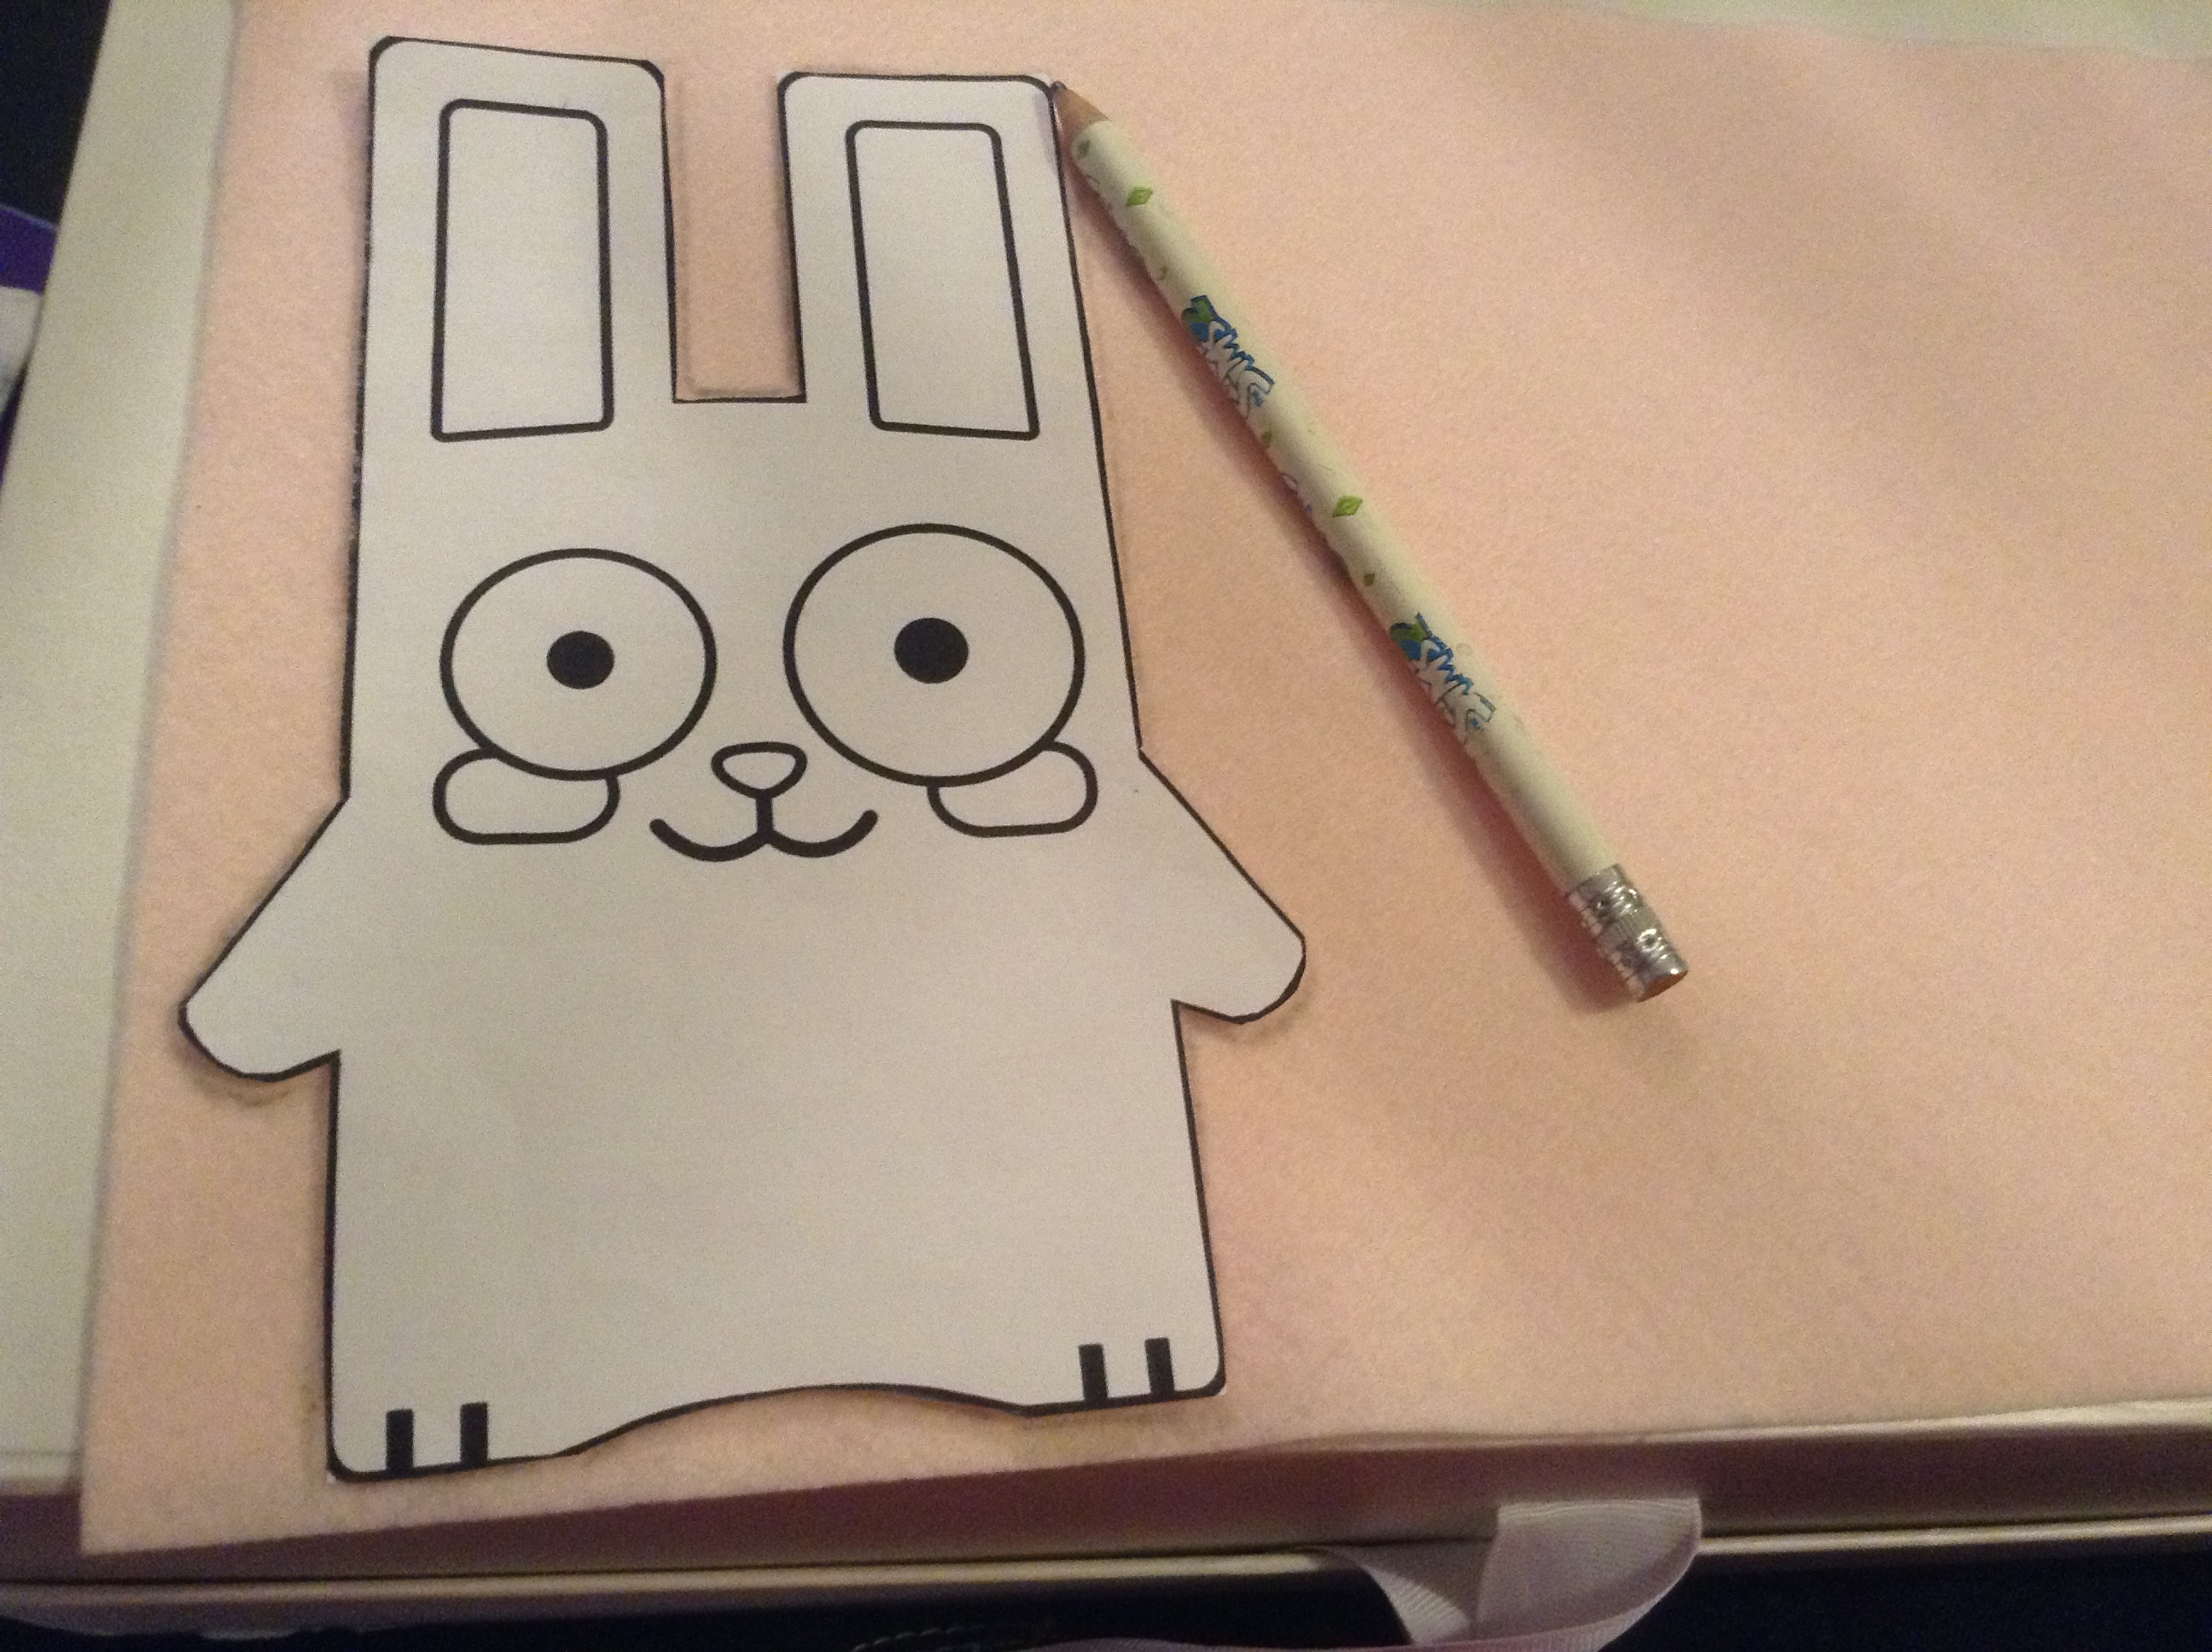
Put the bunny on the light pink sheet of felt and draw with either a pencil or a gel pen the outlines of the bunny. Make sure to leave enough room for the second bunny shape, and leave some margin around the lines!
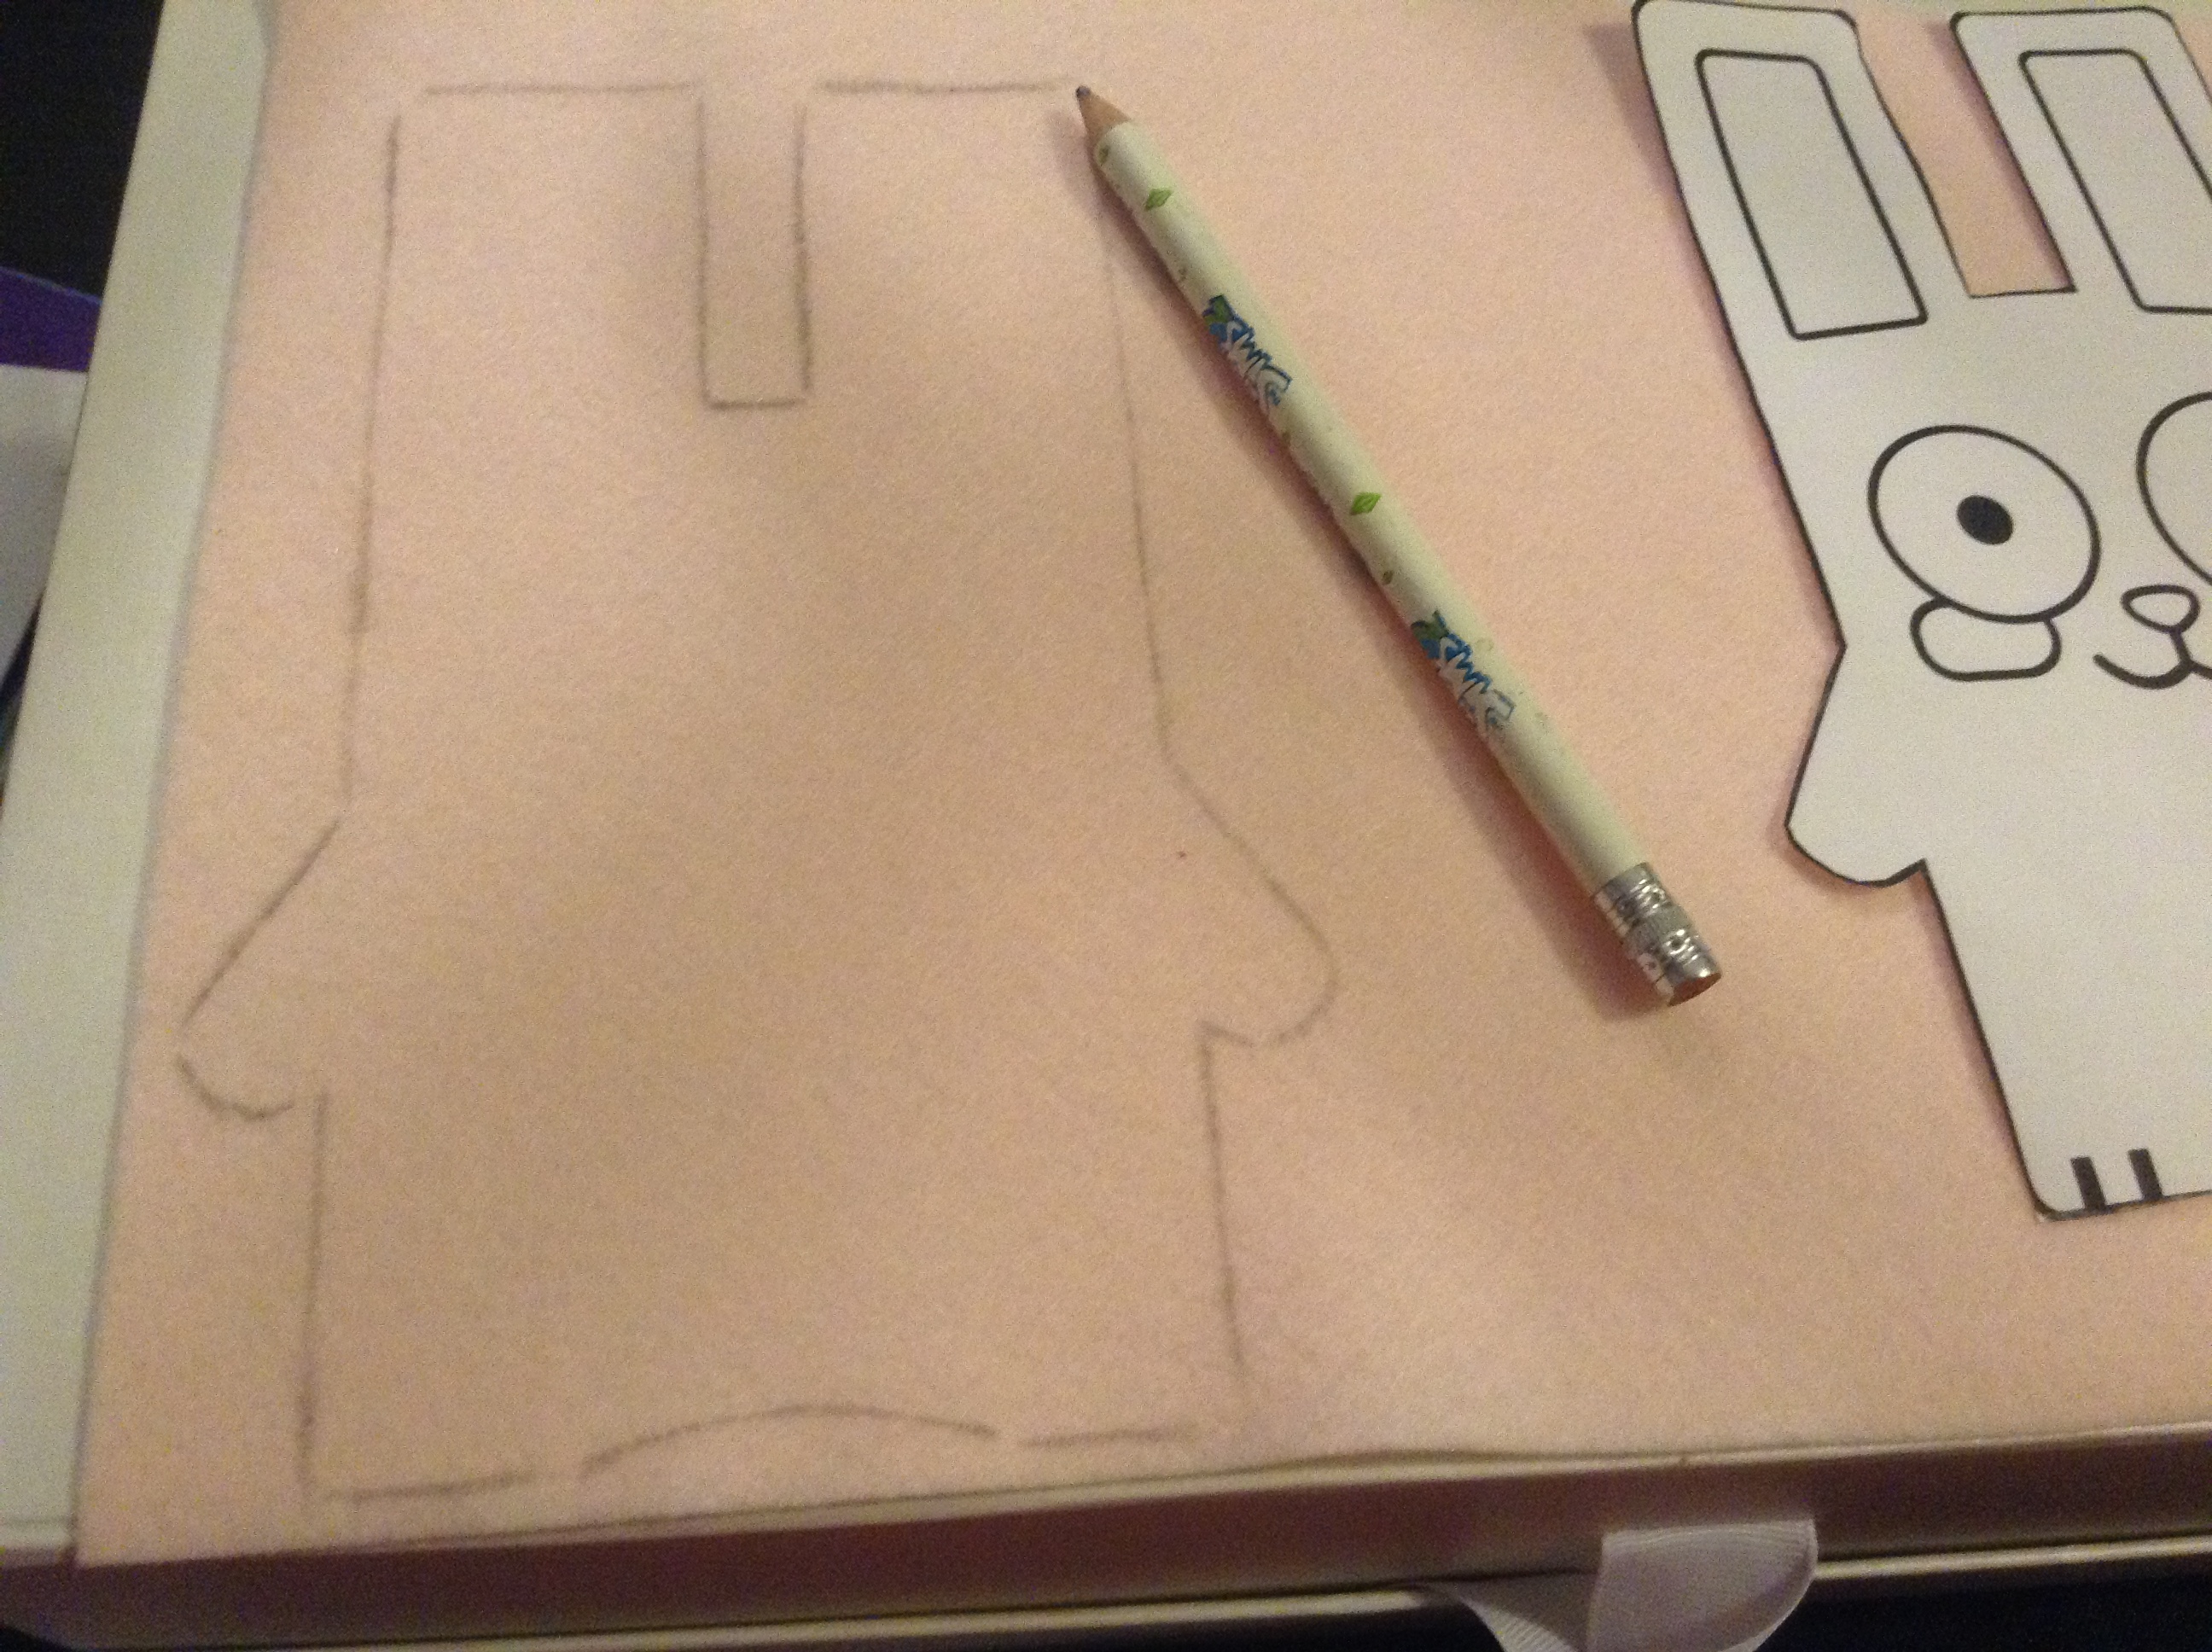
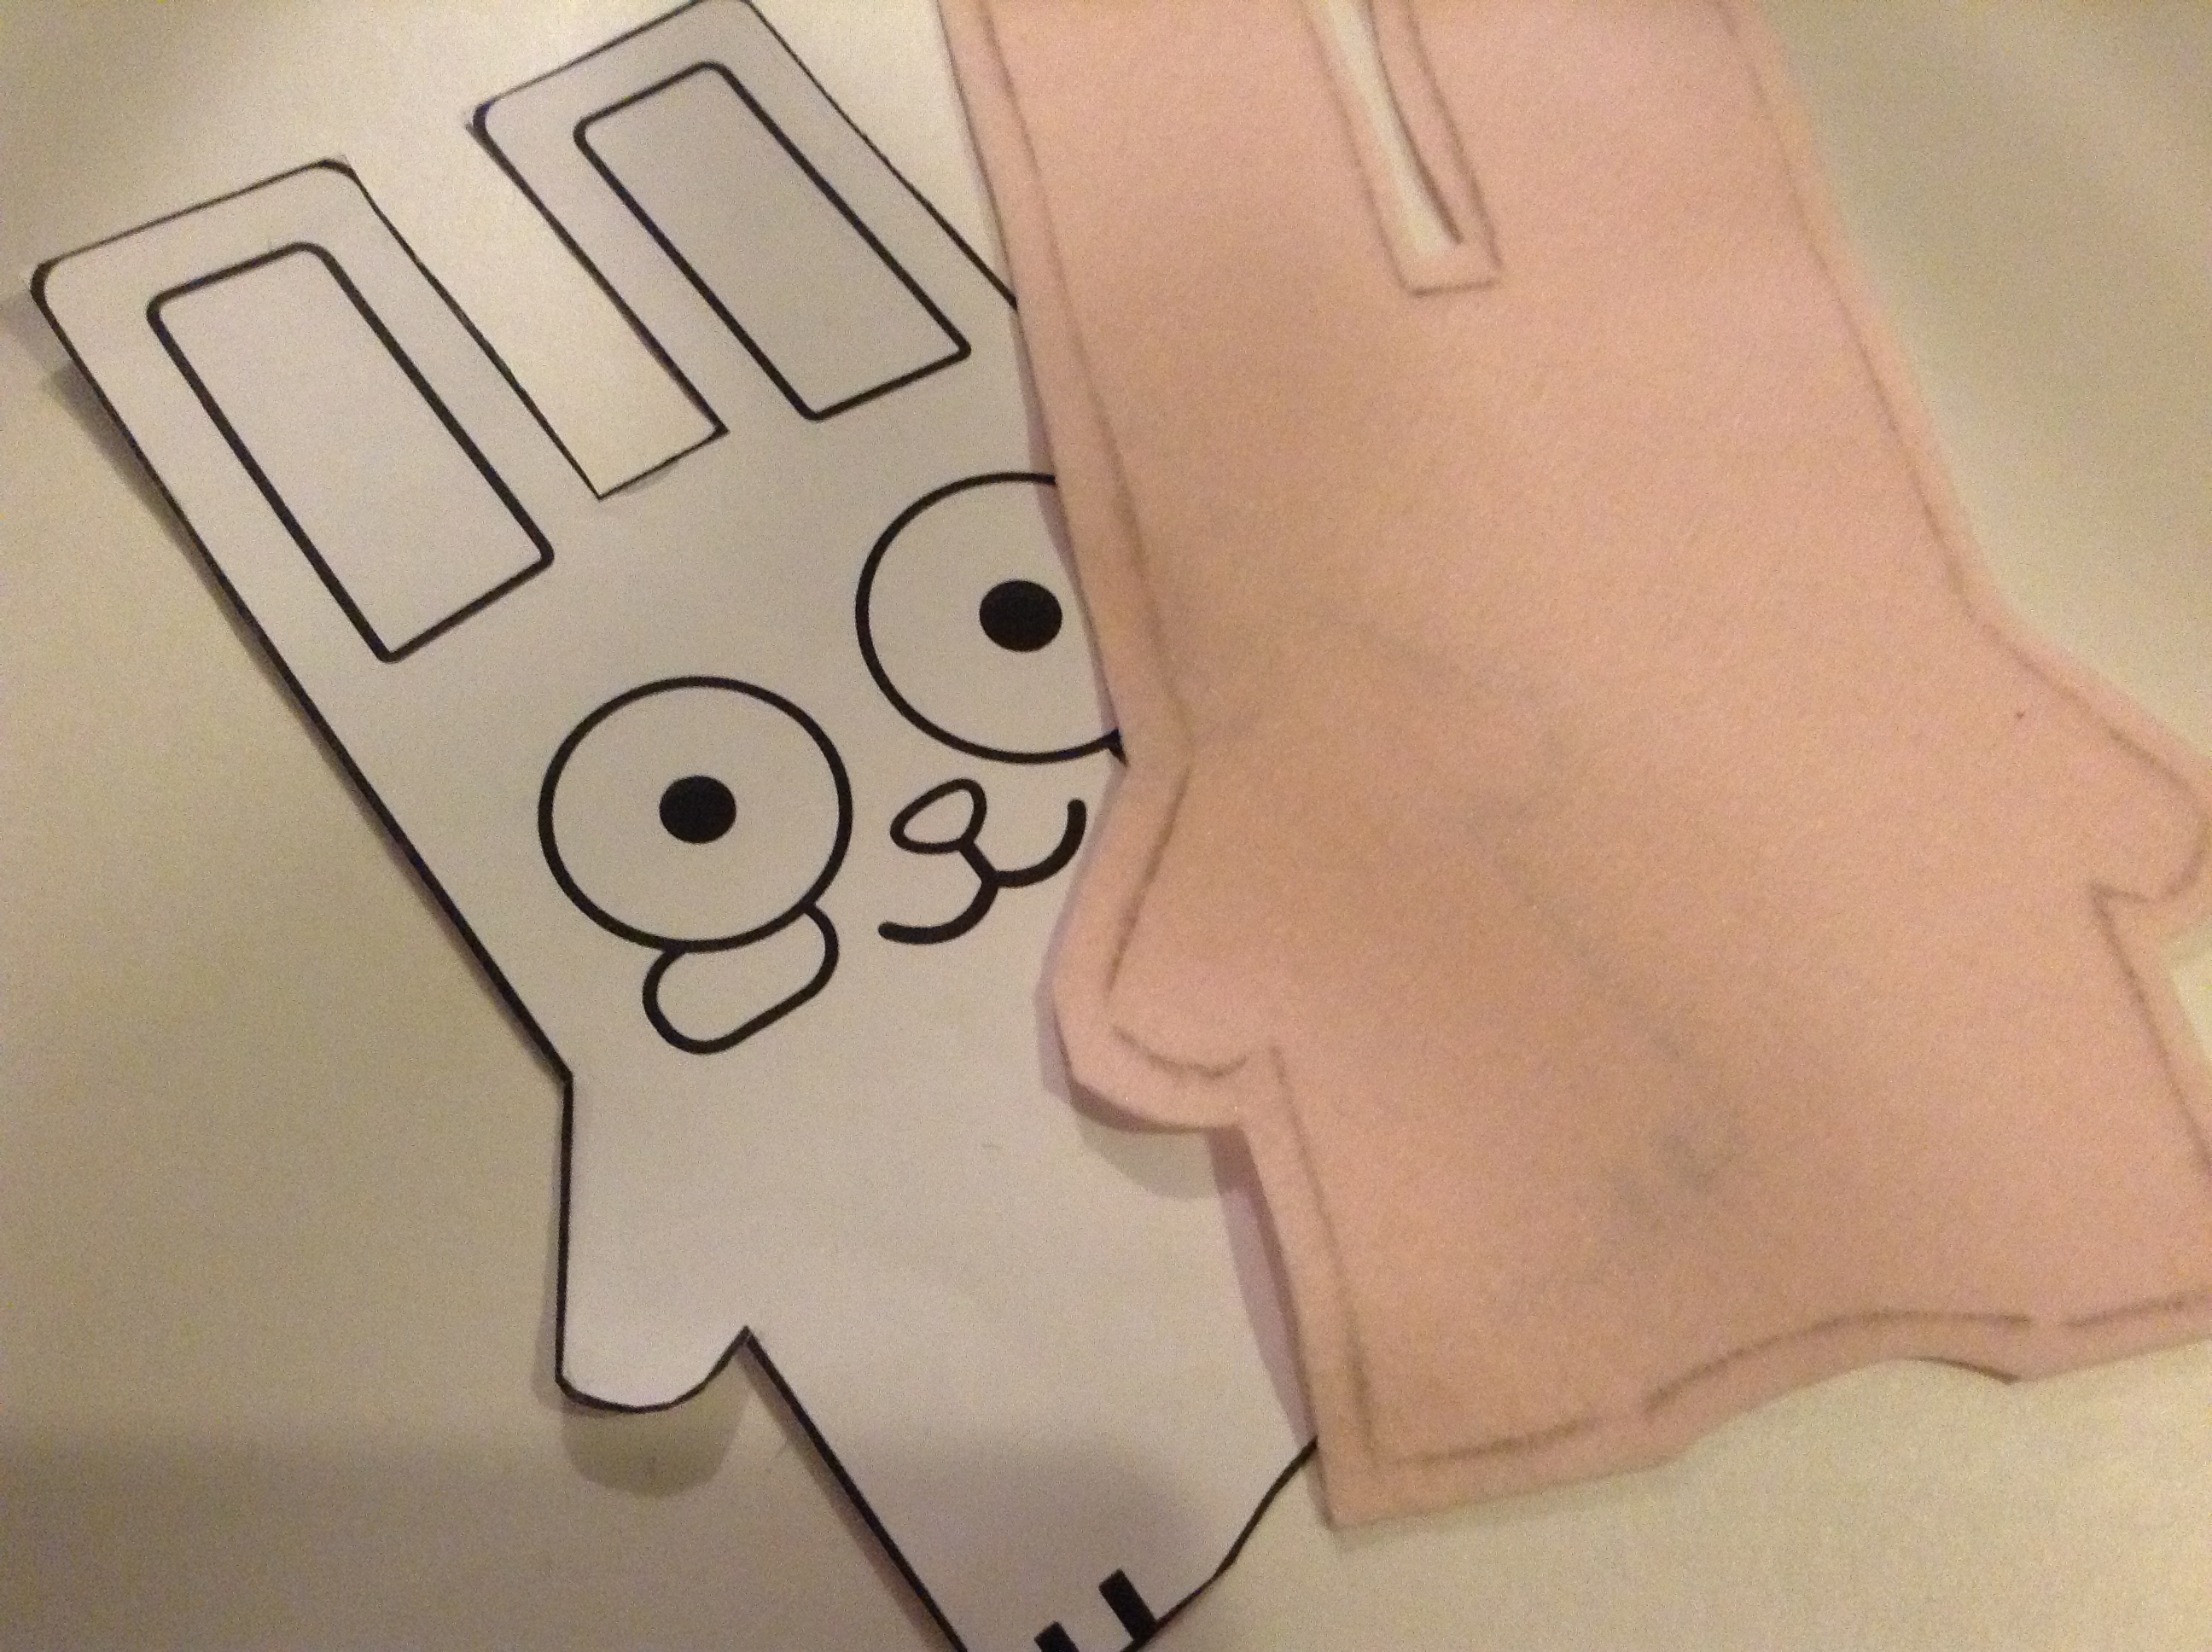
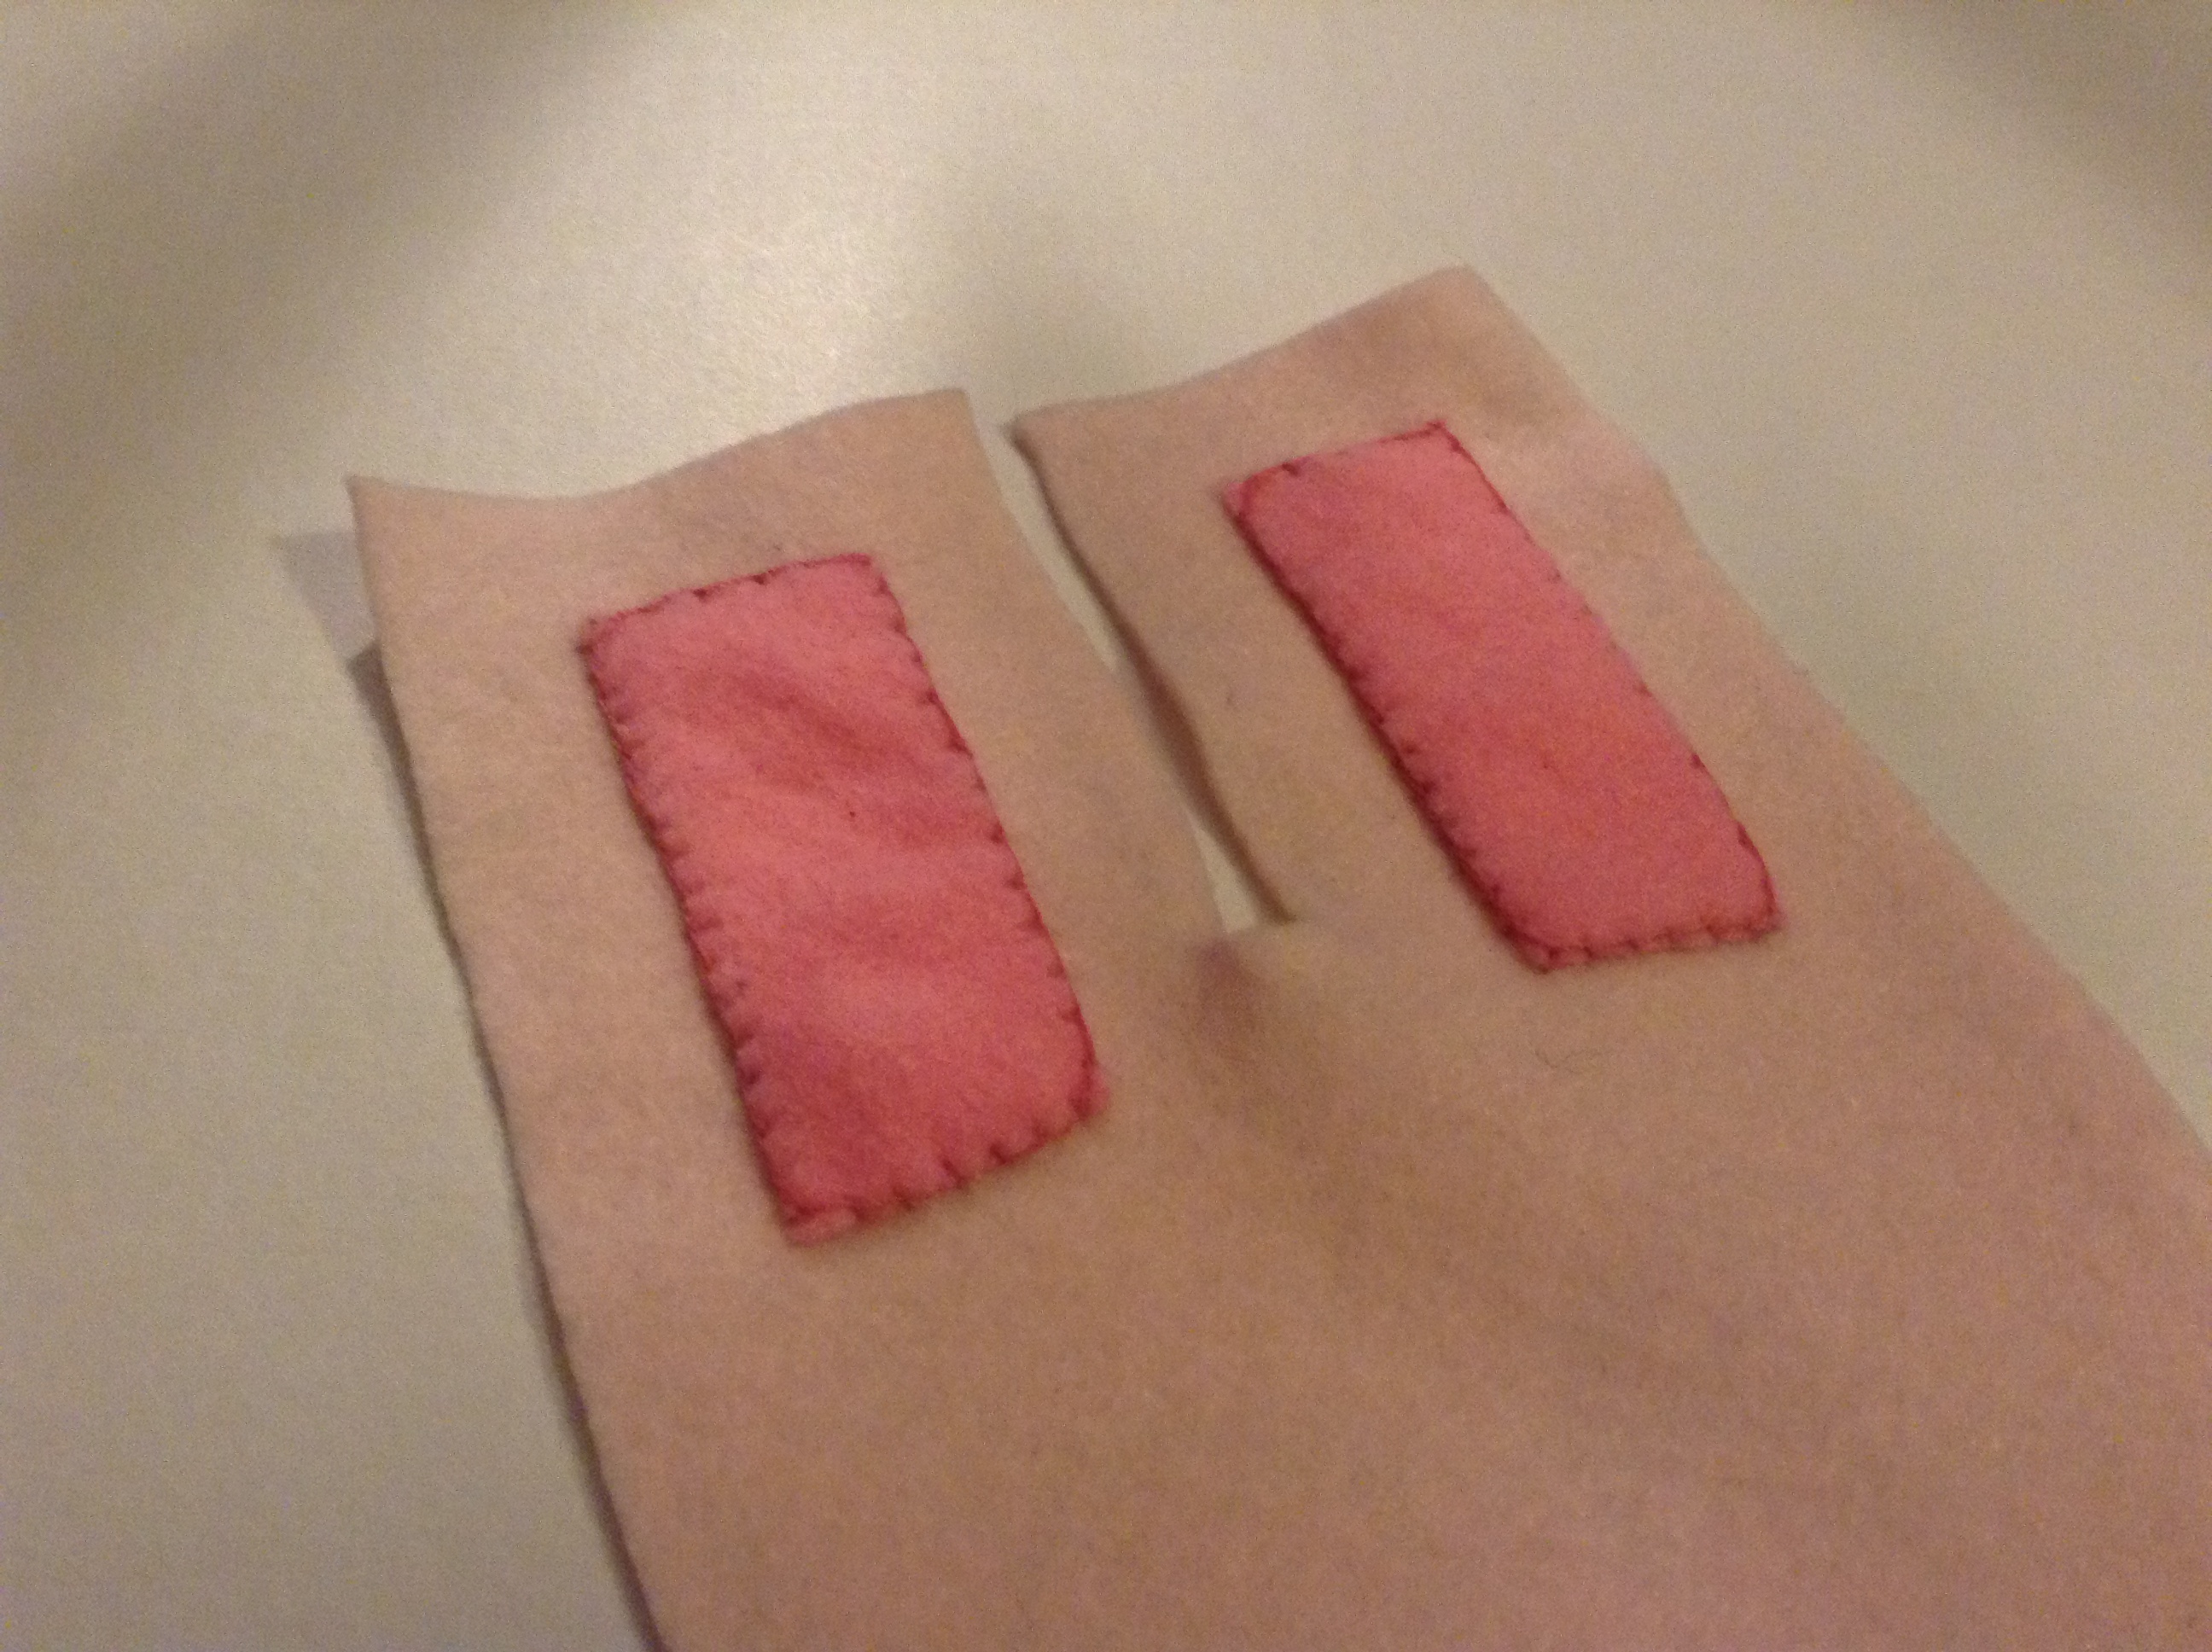
After you've drawn the outline, it should look a little like this!

Two bunny shapes!

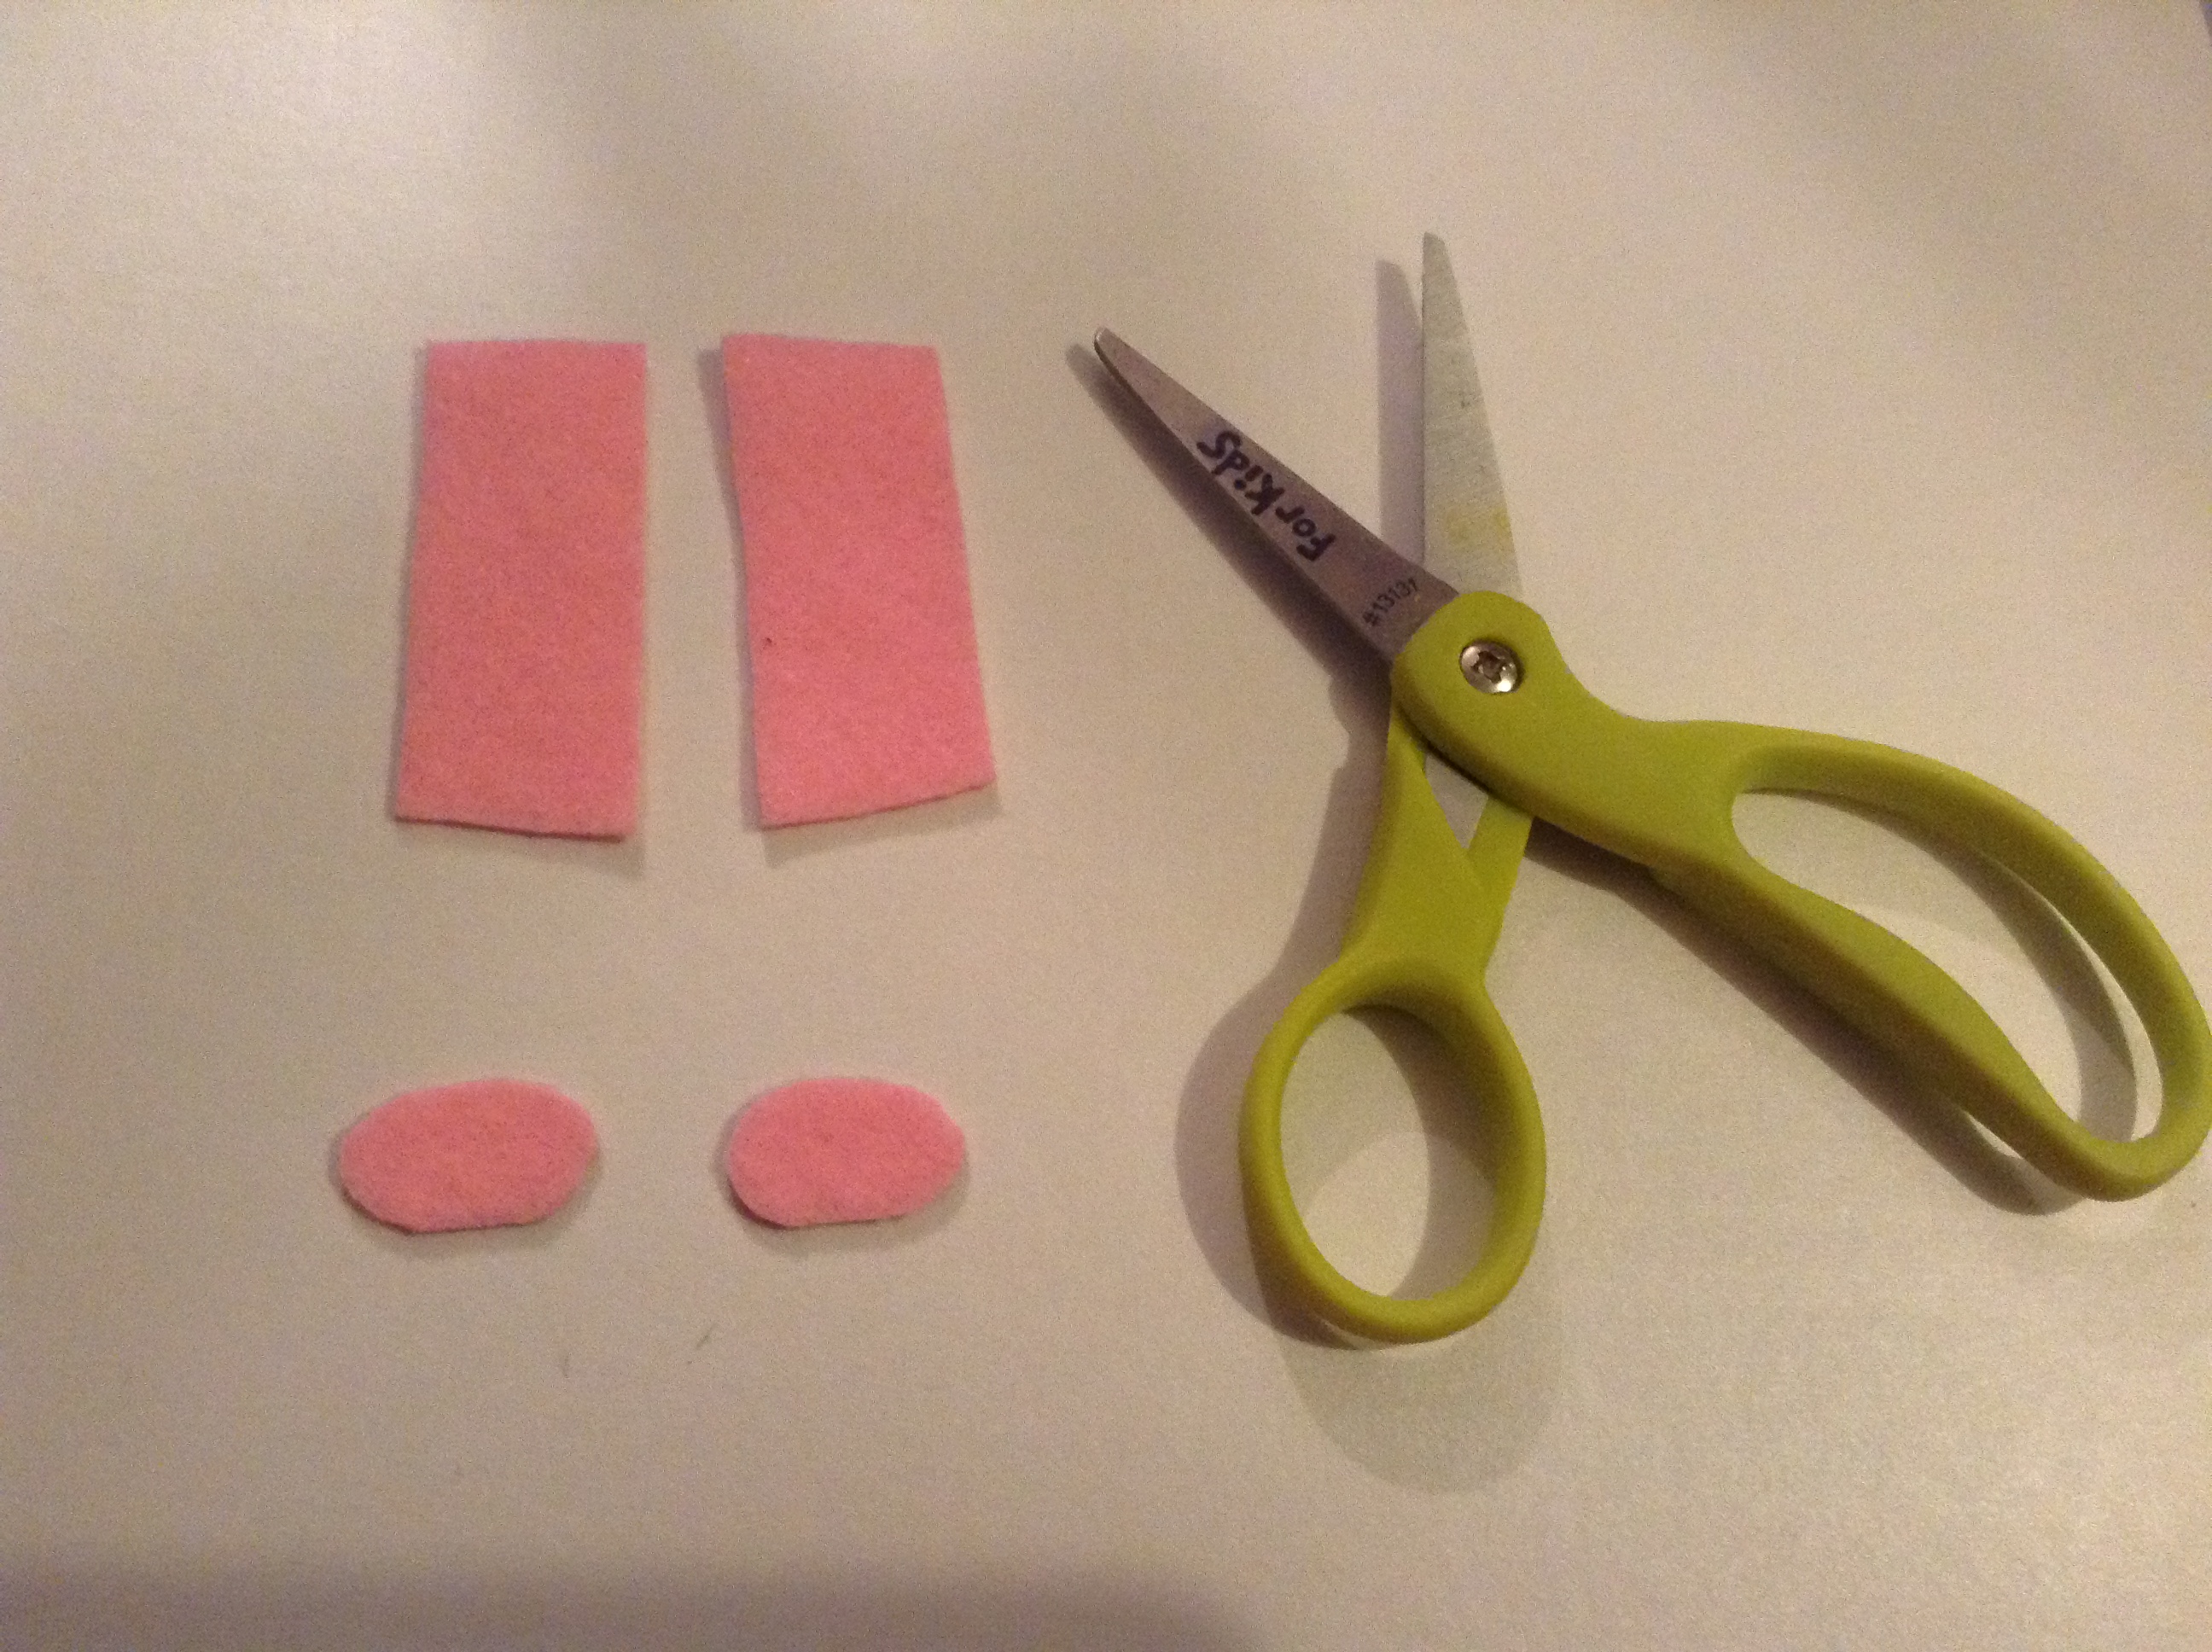
Cut out both the bunny shapes, but leave a margin of around 5mm.
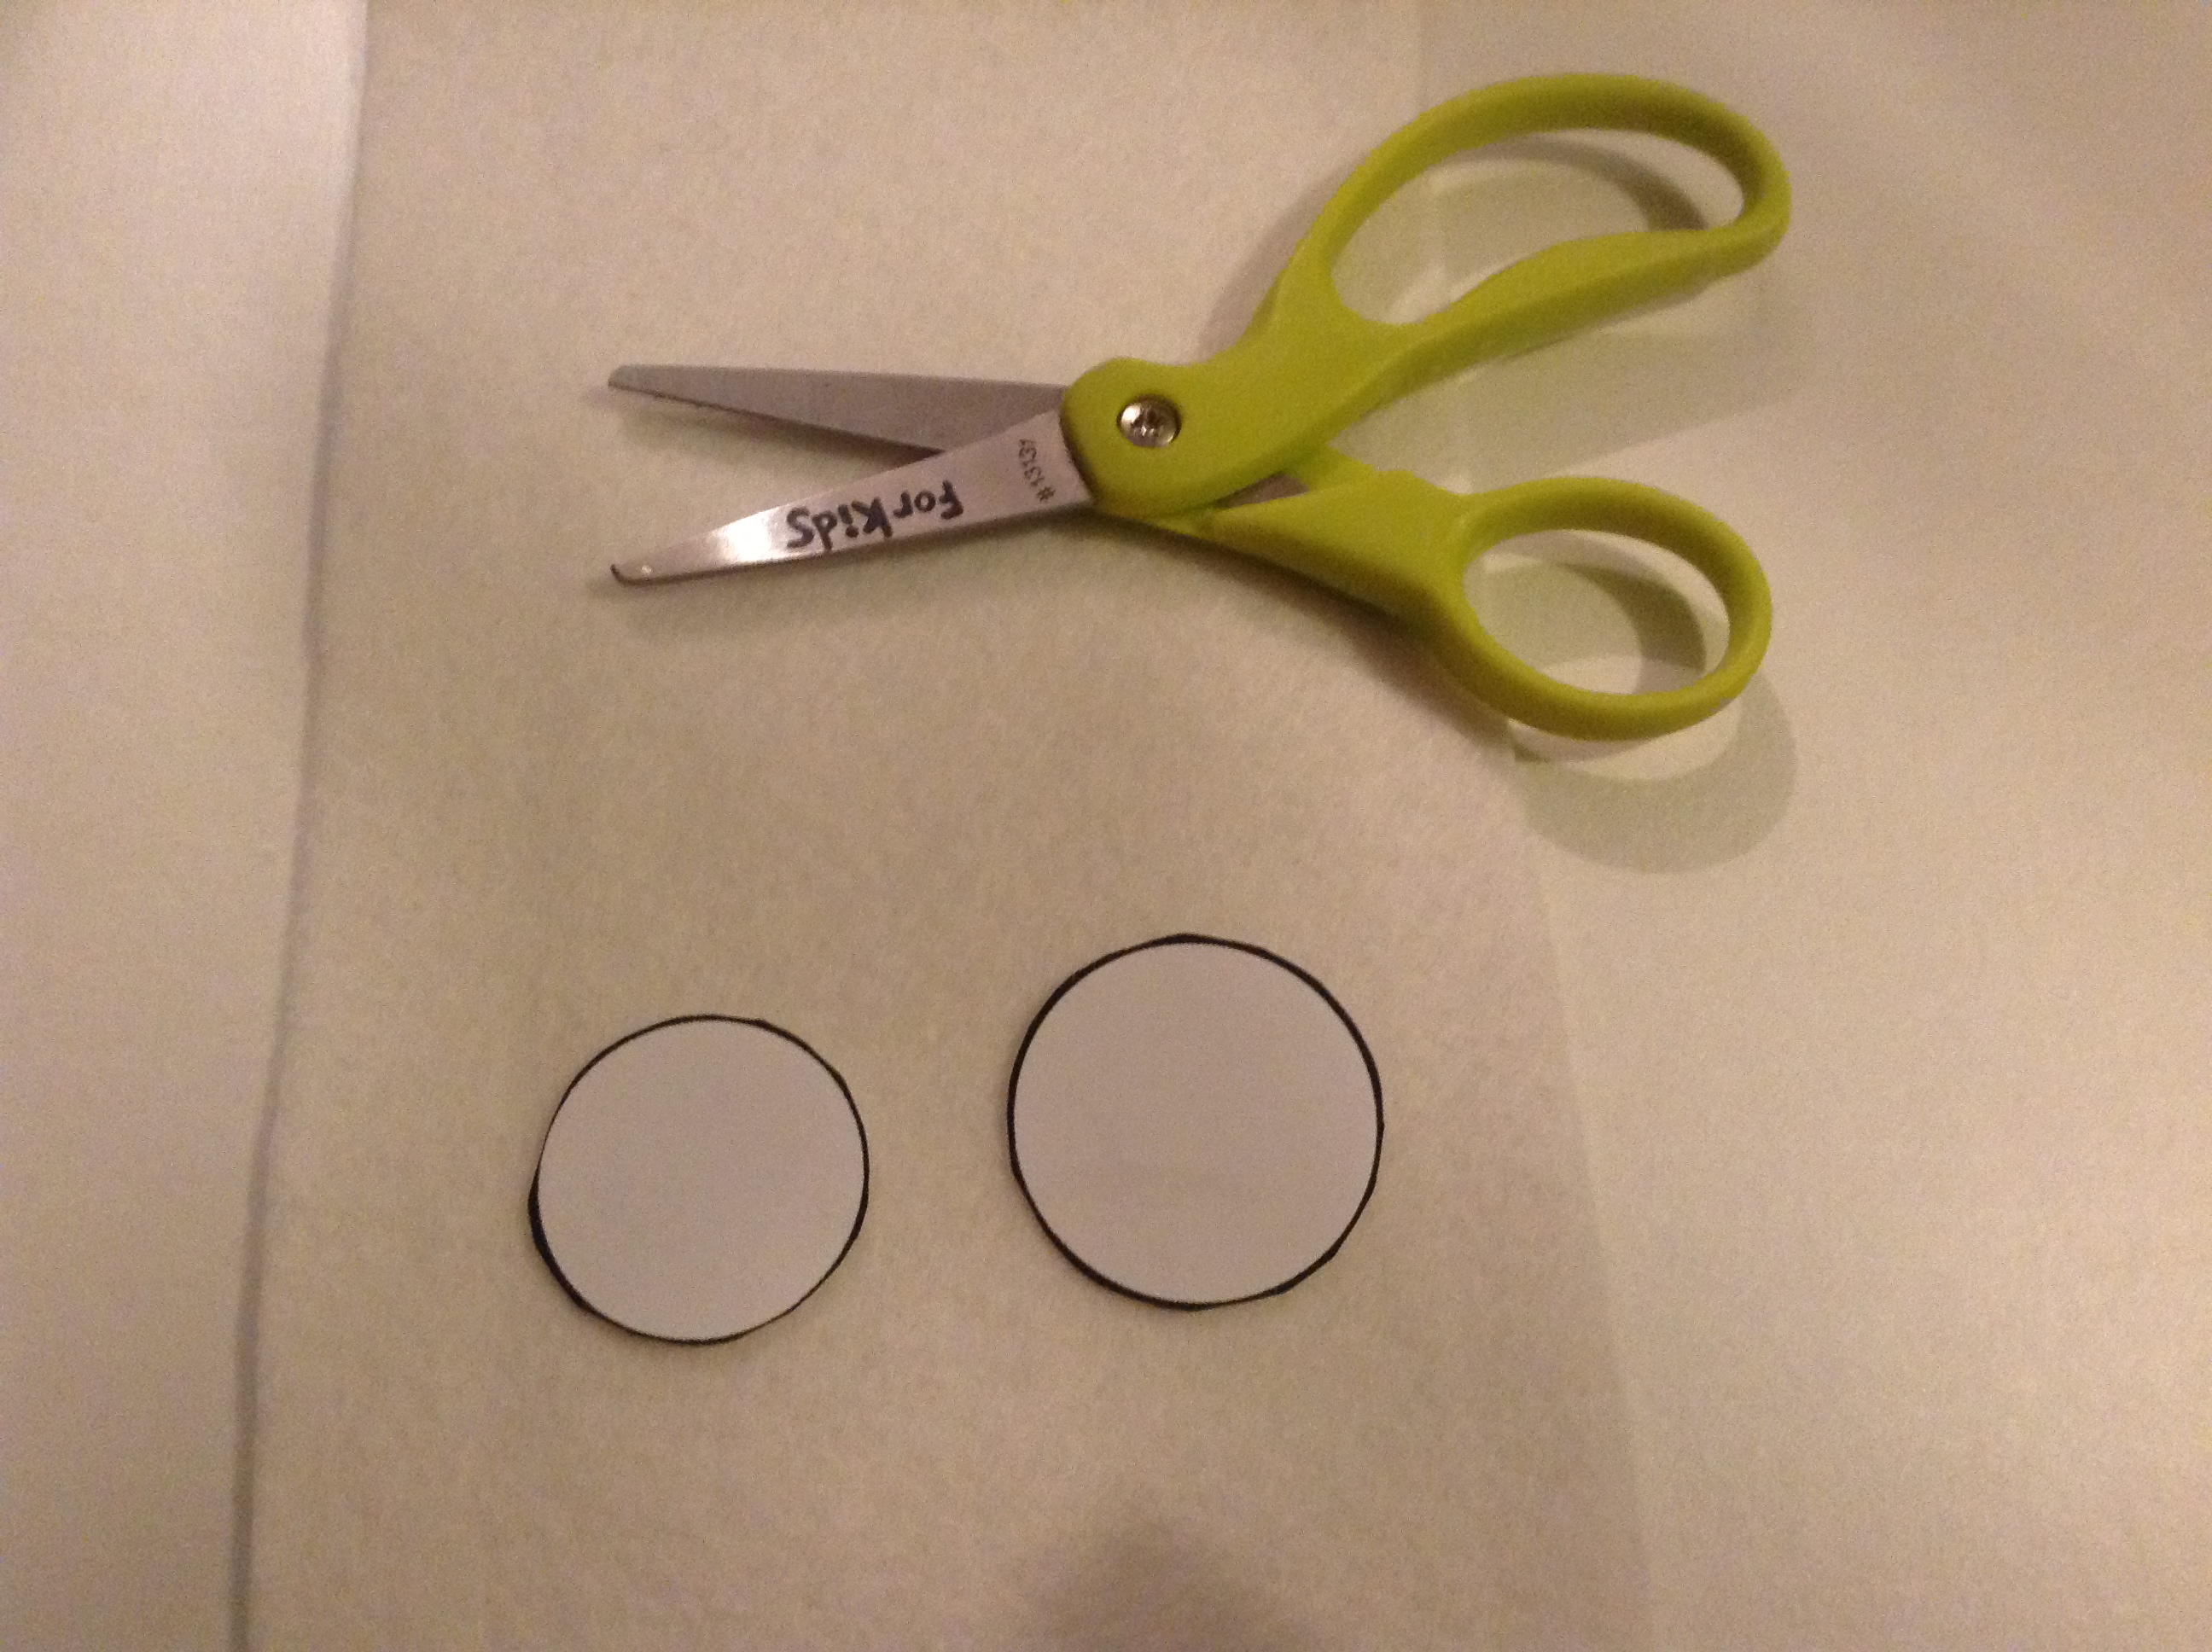
Eeeek, we need to cut out the eyes too? Yes, yes you need to. Or would you rather have a bunny without eyes? Won't be much of a freezer bunny without it... Put the eye shapes on the white sheet of felt.
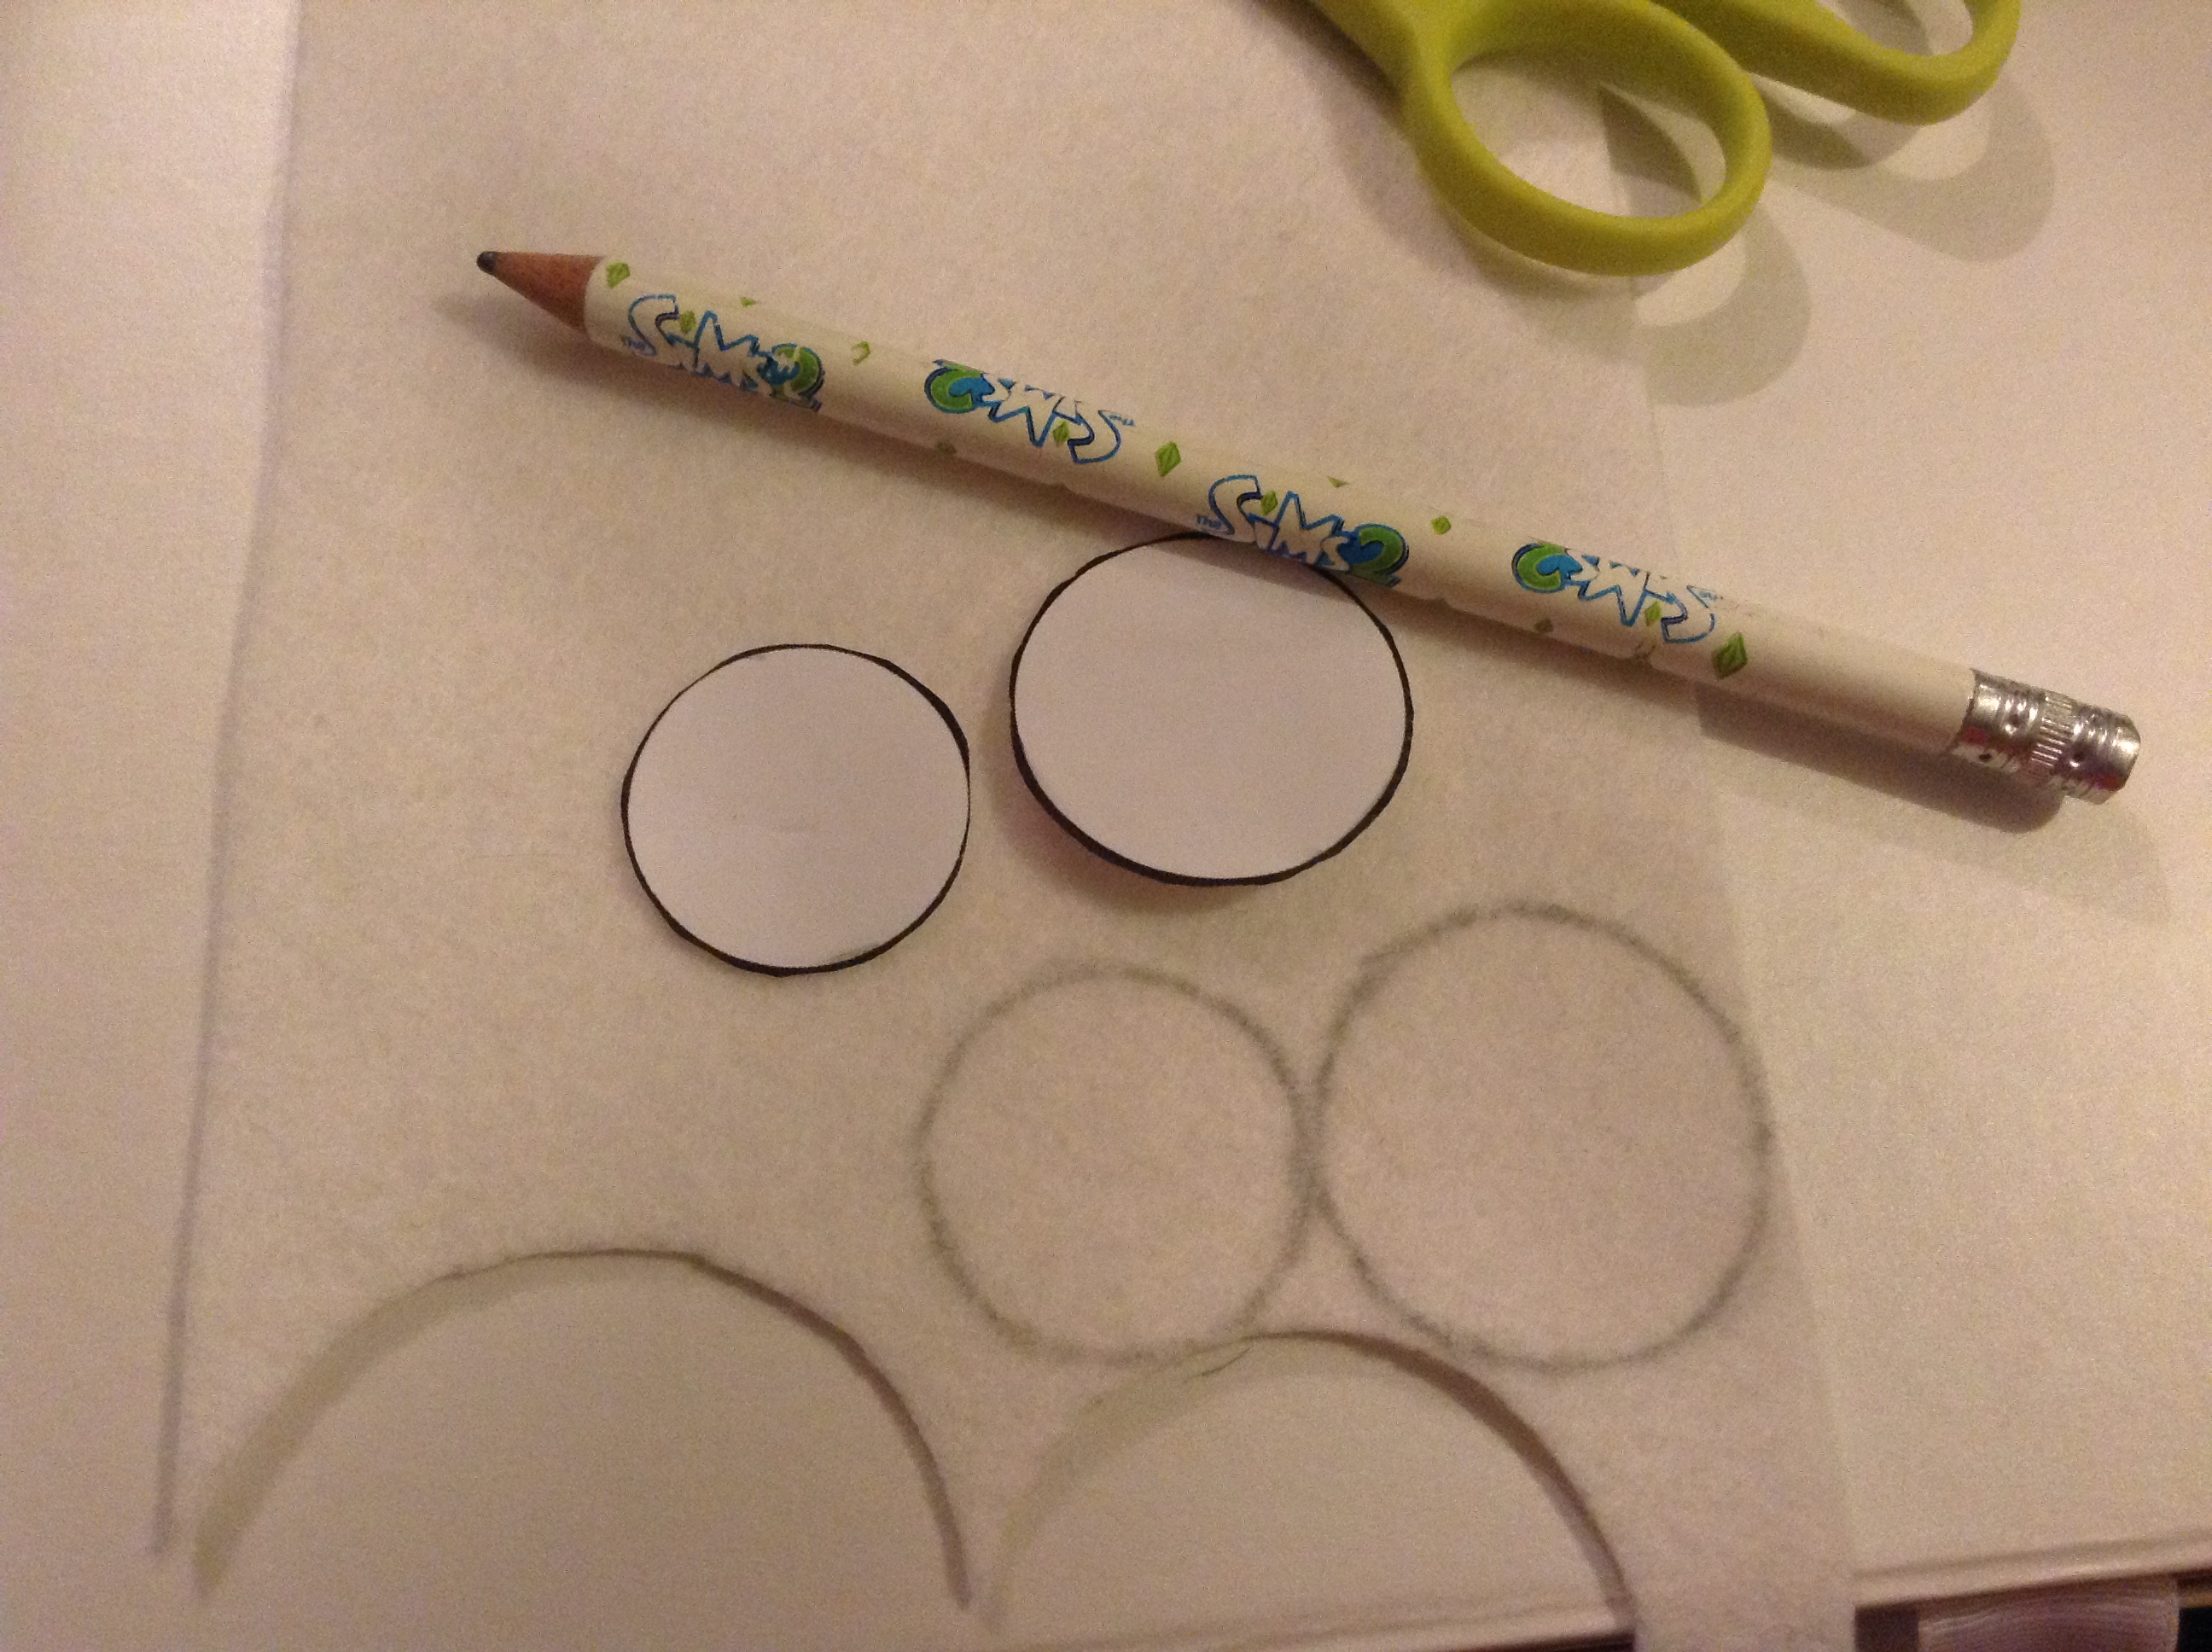
Draw with the pencil around it to make the shapes on the felt.
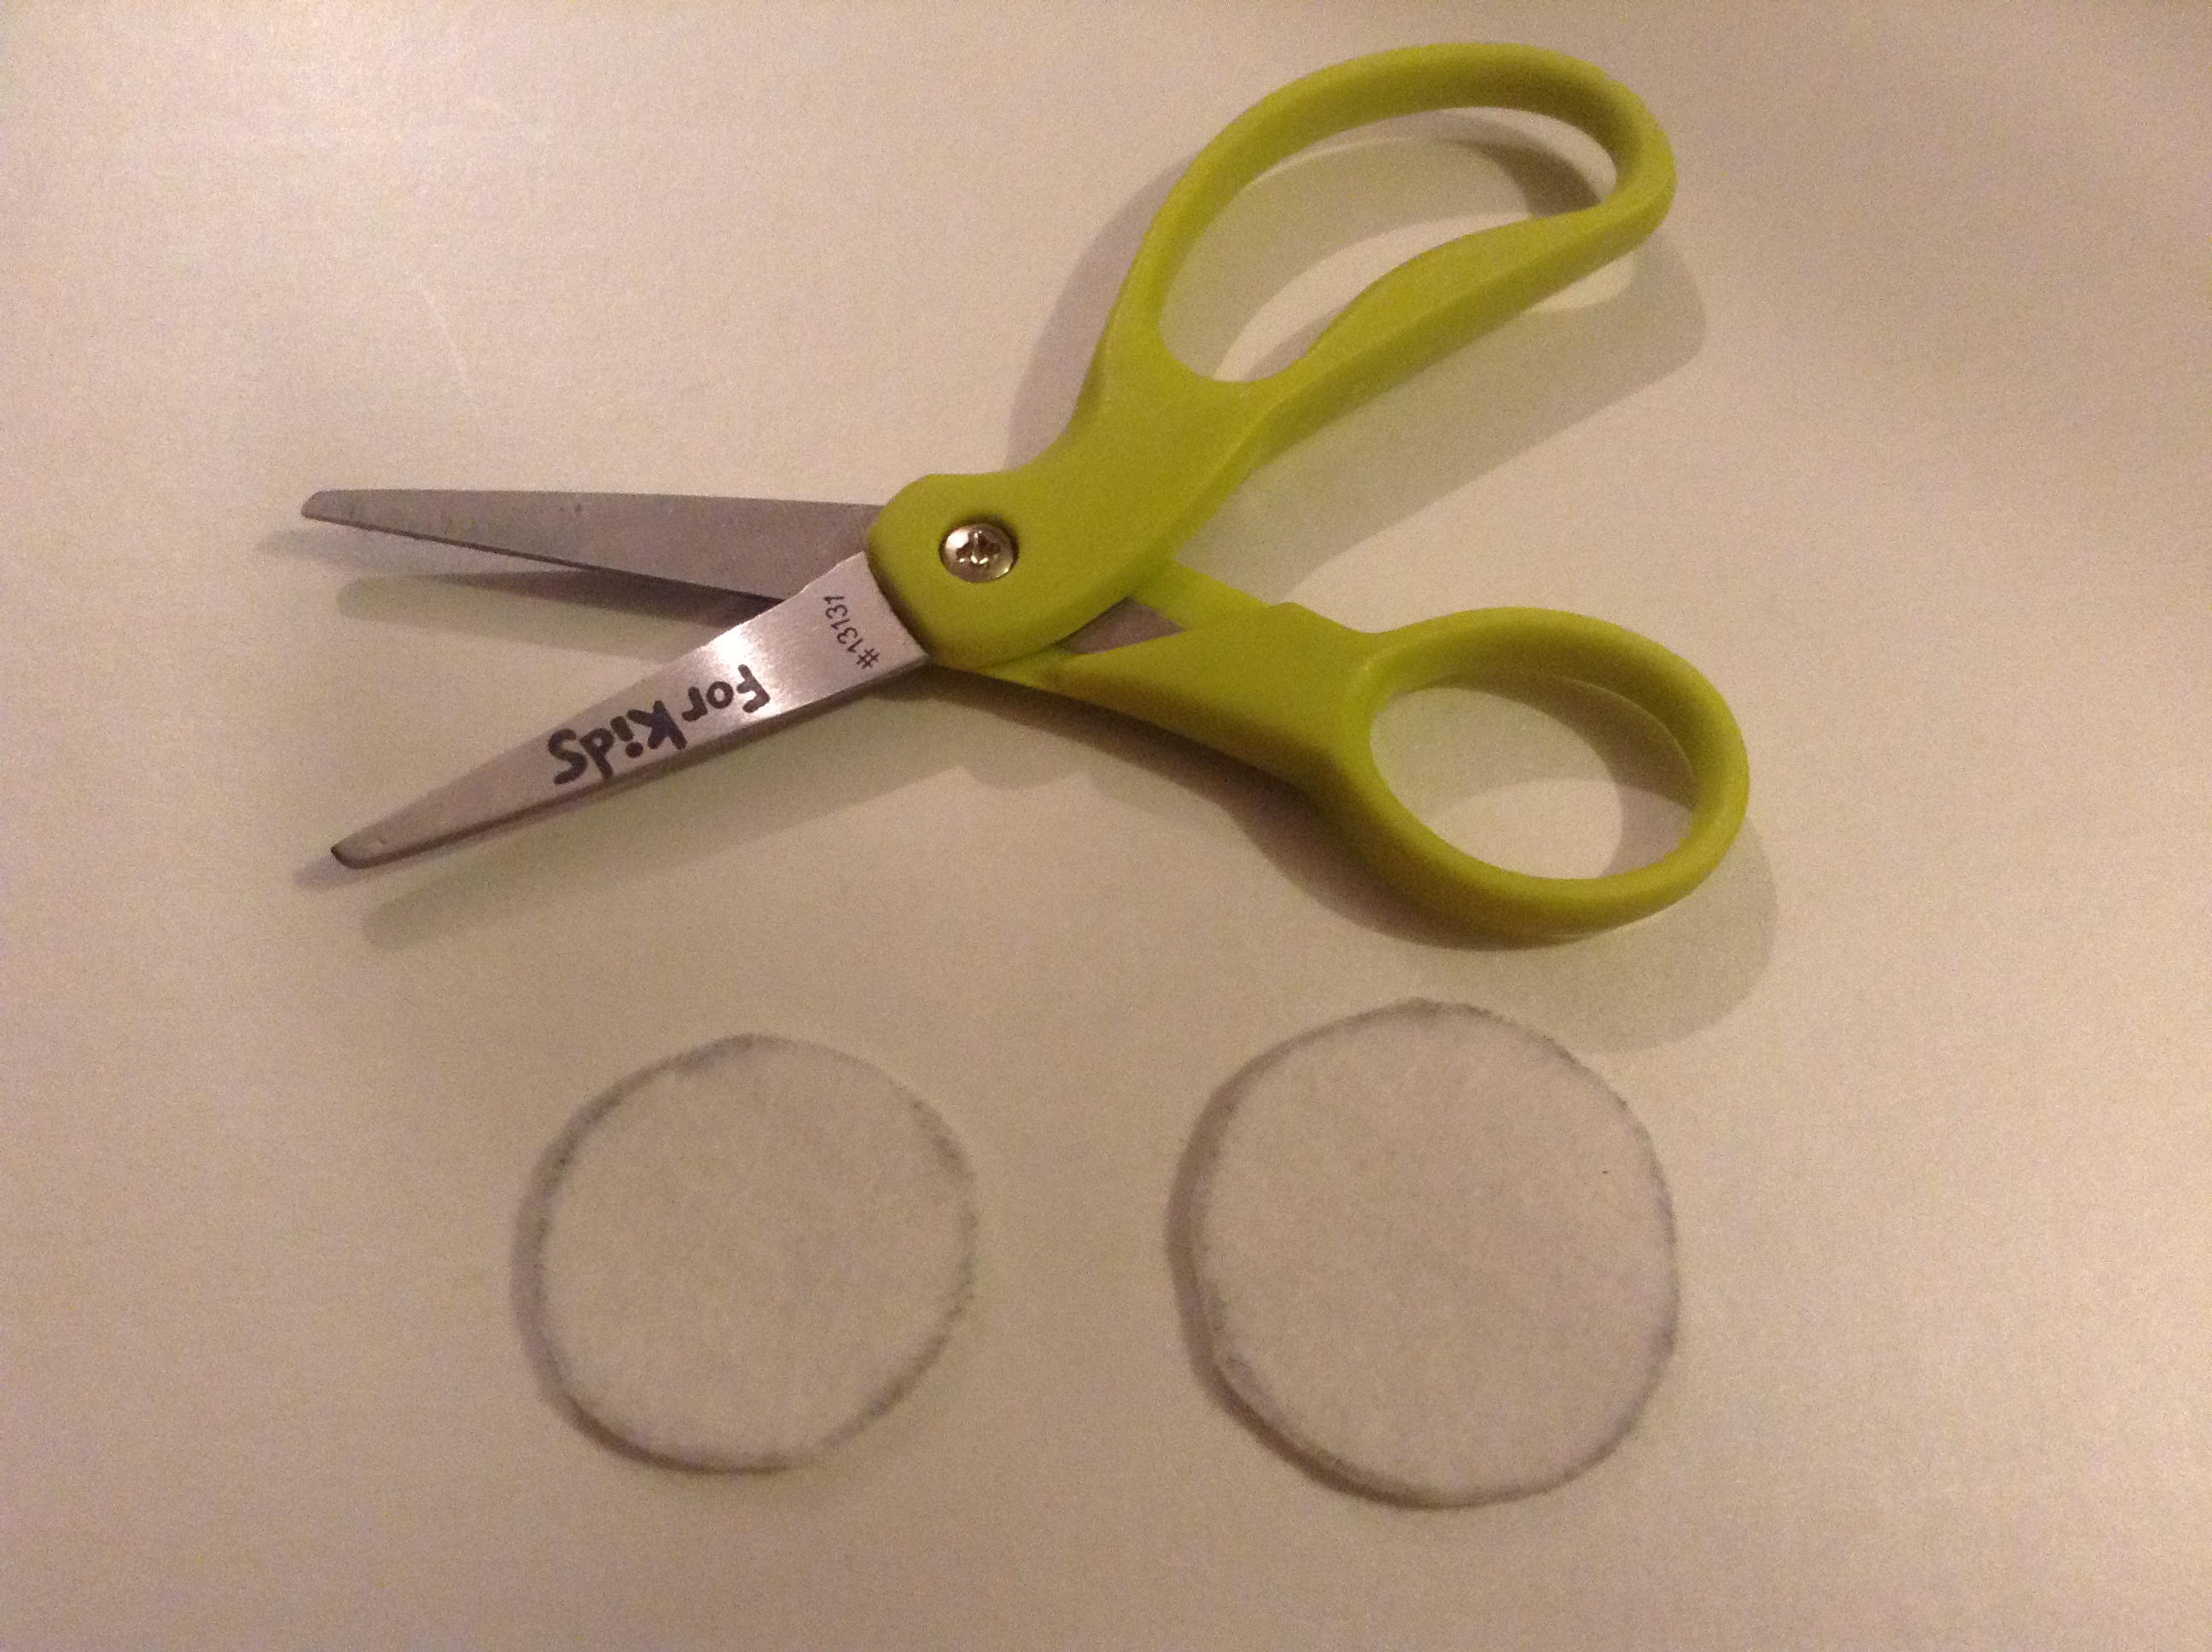
Cut the eyes! Don't worry about the pencil or gel pen line, we will flip the eyes so you won't notice the lines.
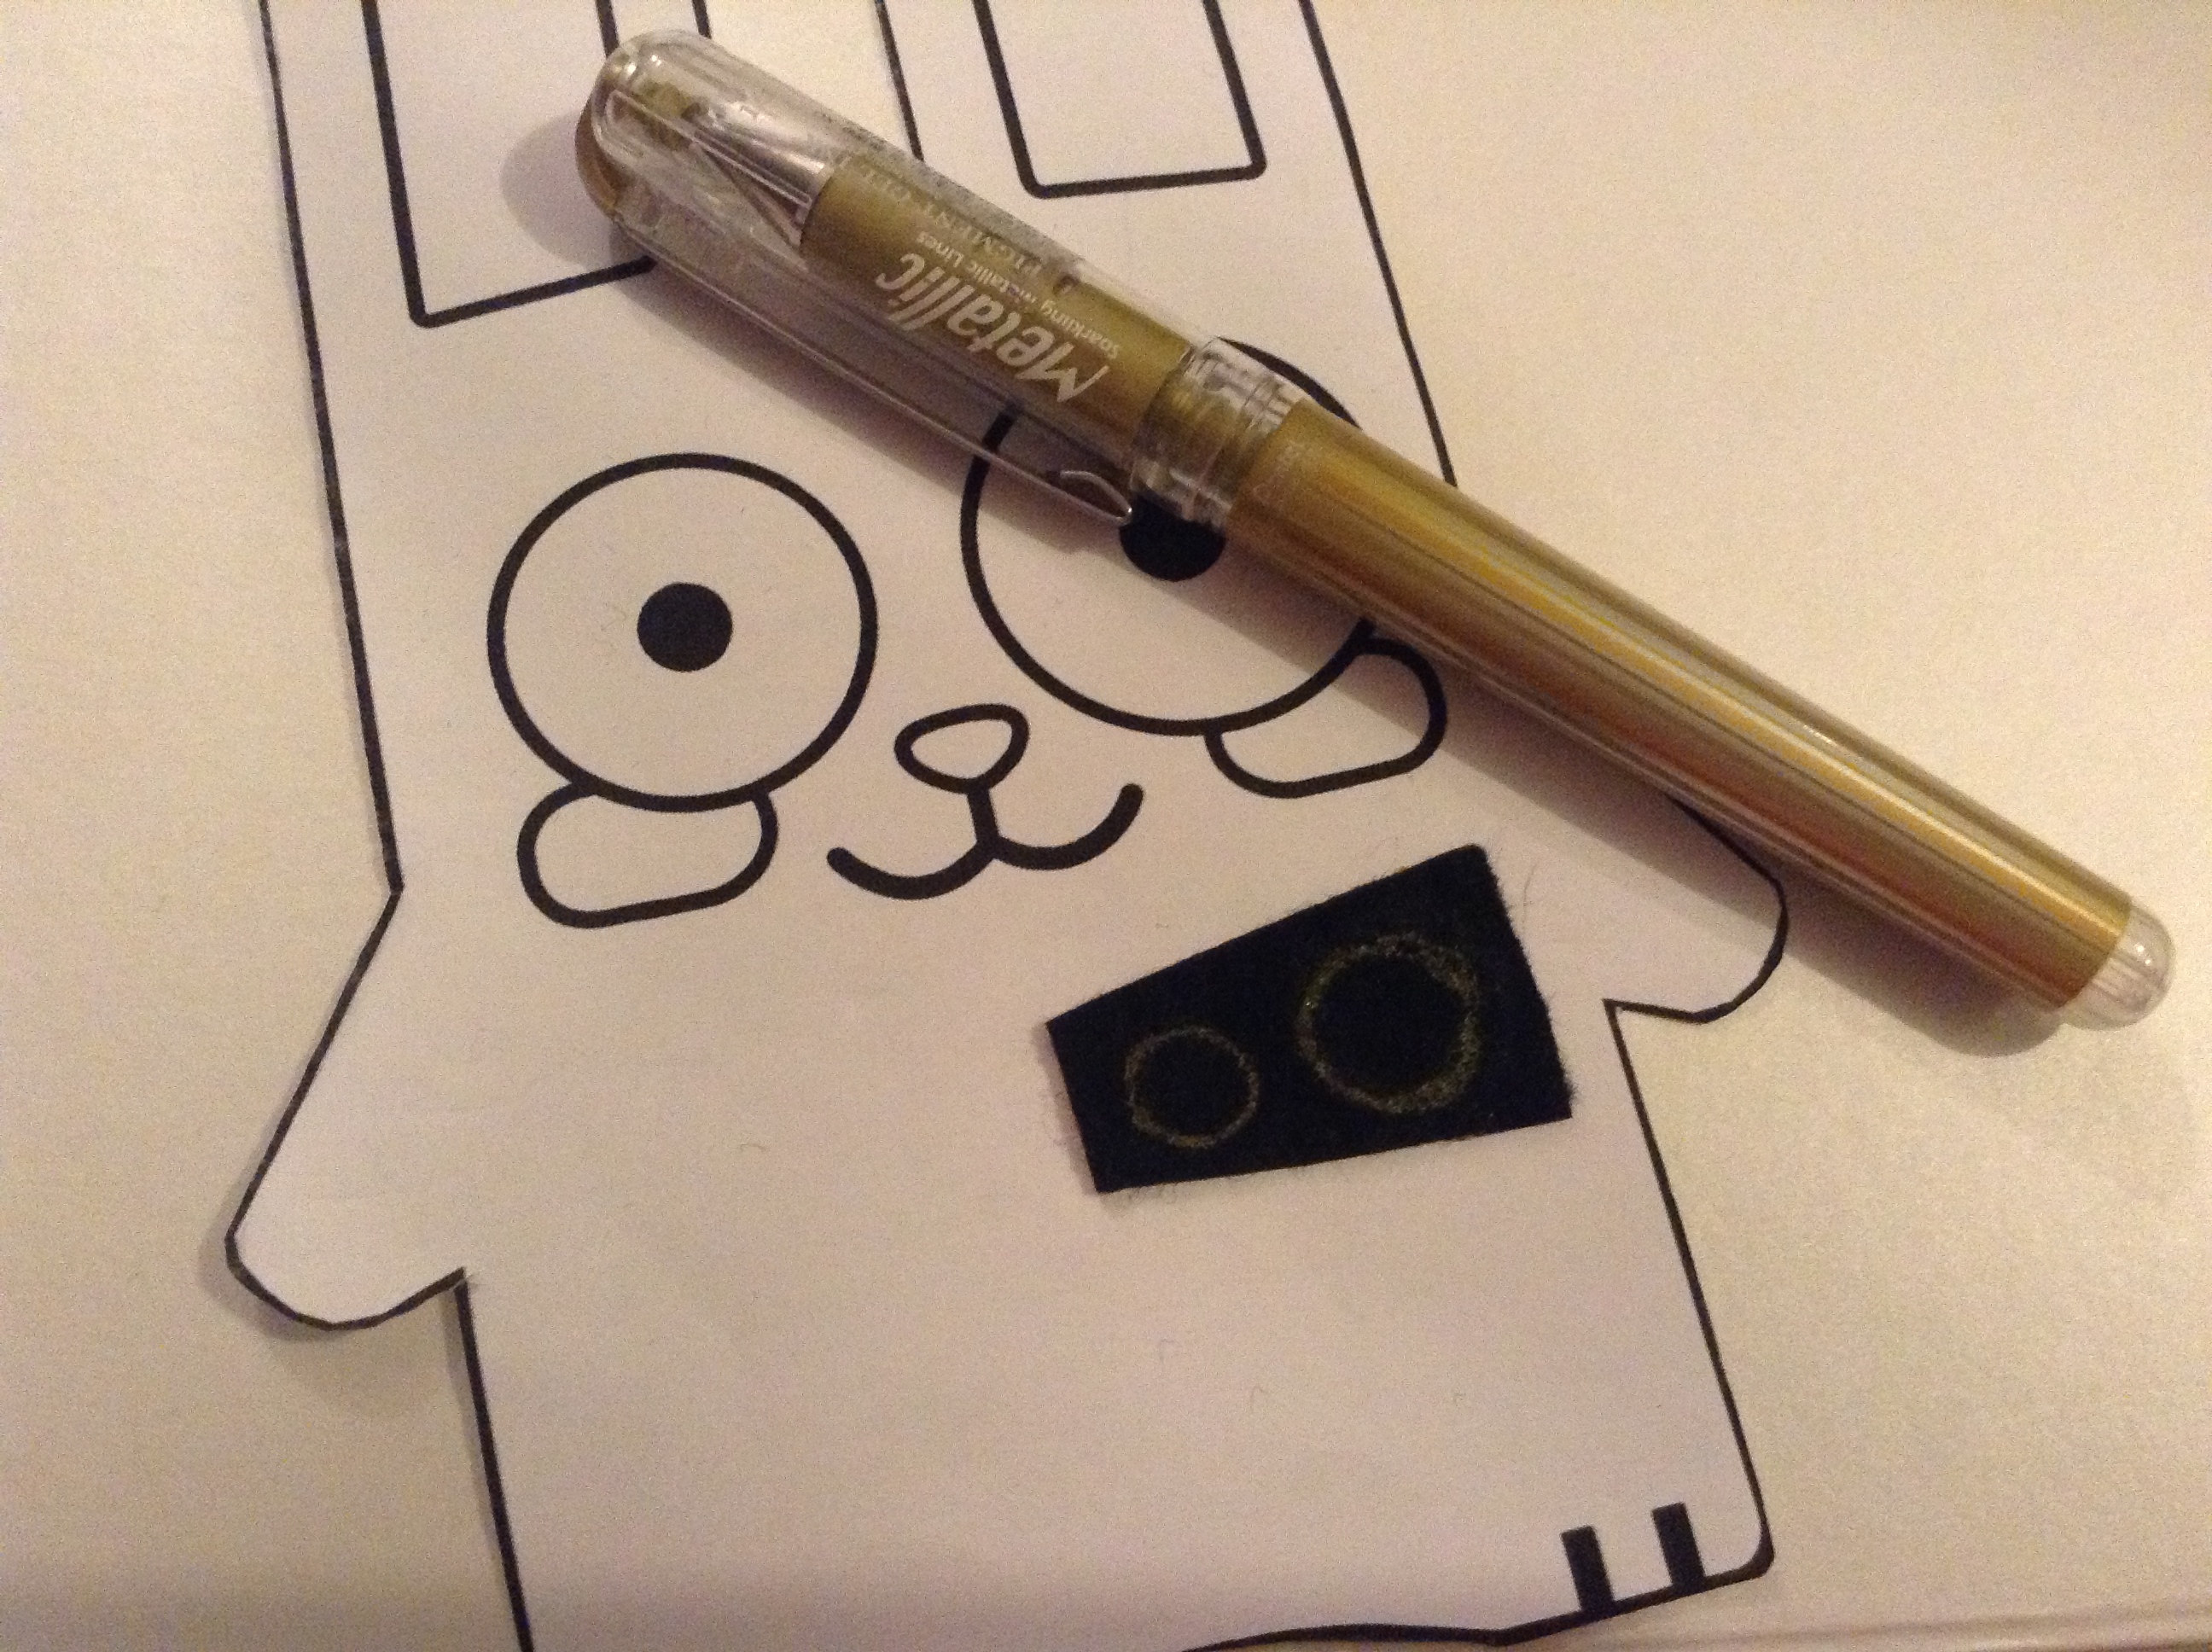
Now to do the pupils. I've done this by hand. But if you want to be safe, use the paper pupil cut-outs and draw around them with a gel pen. Tried this with pencil, but that didn't work. Either a white, silver or golden gel pen will do just fine.
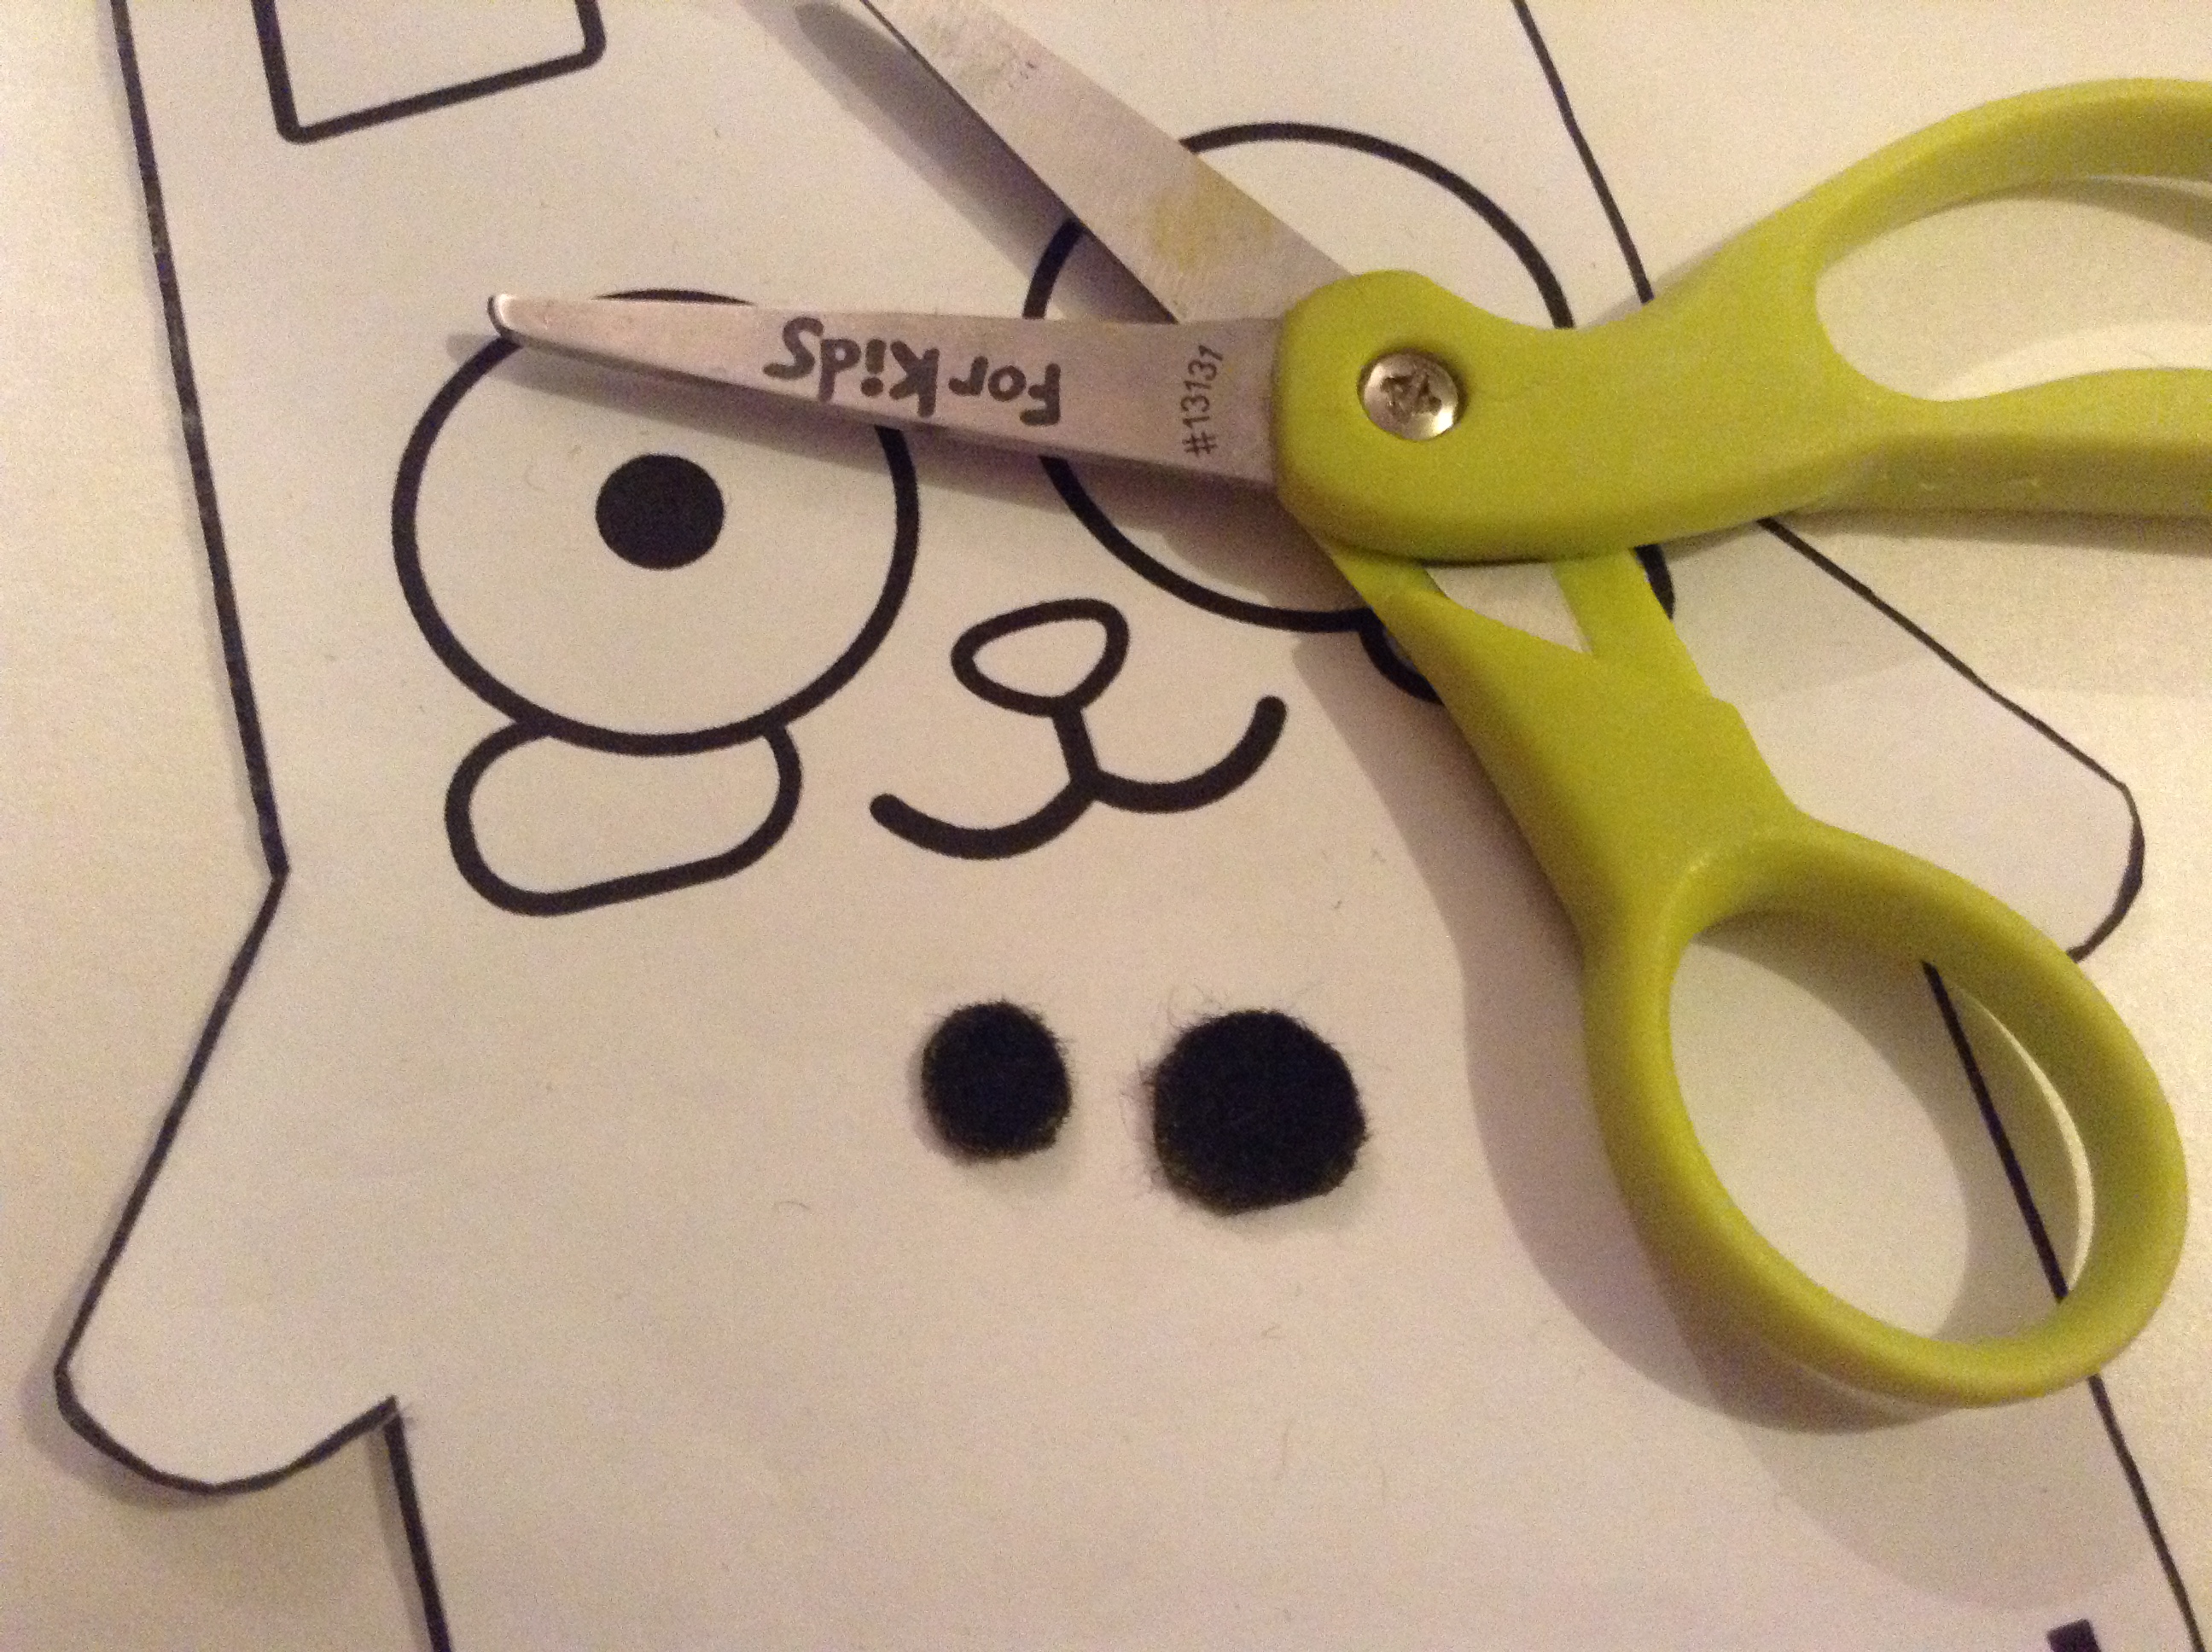
Cut out the pupils. I have adhesive black felt, because it's easier with eyes/pupils.
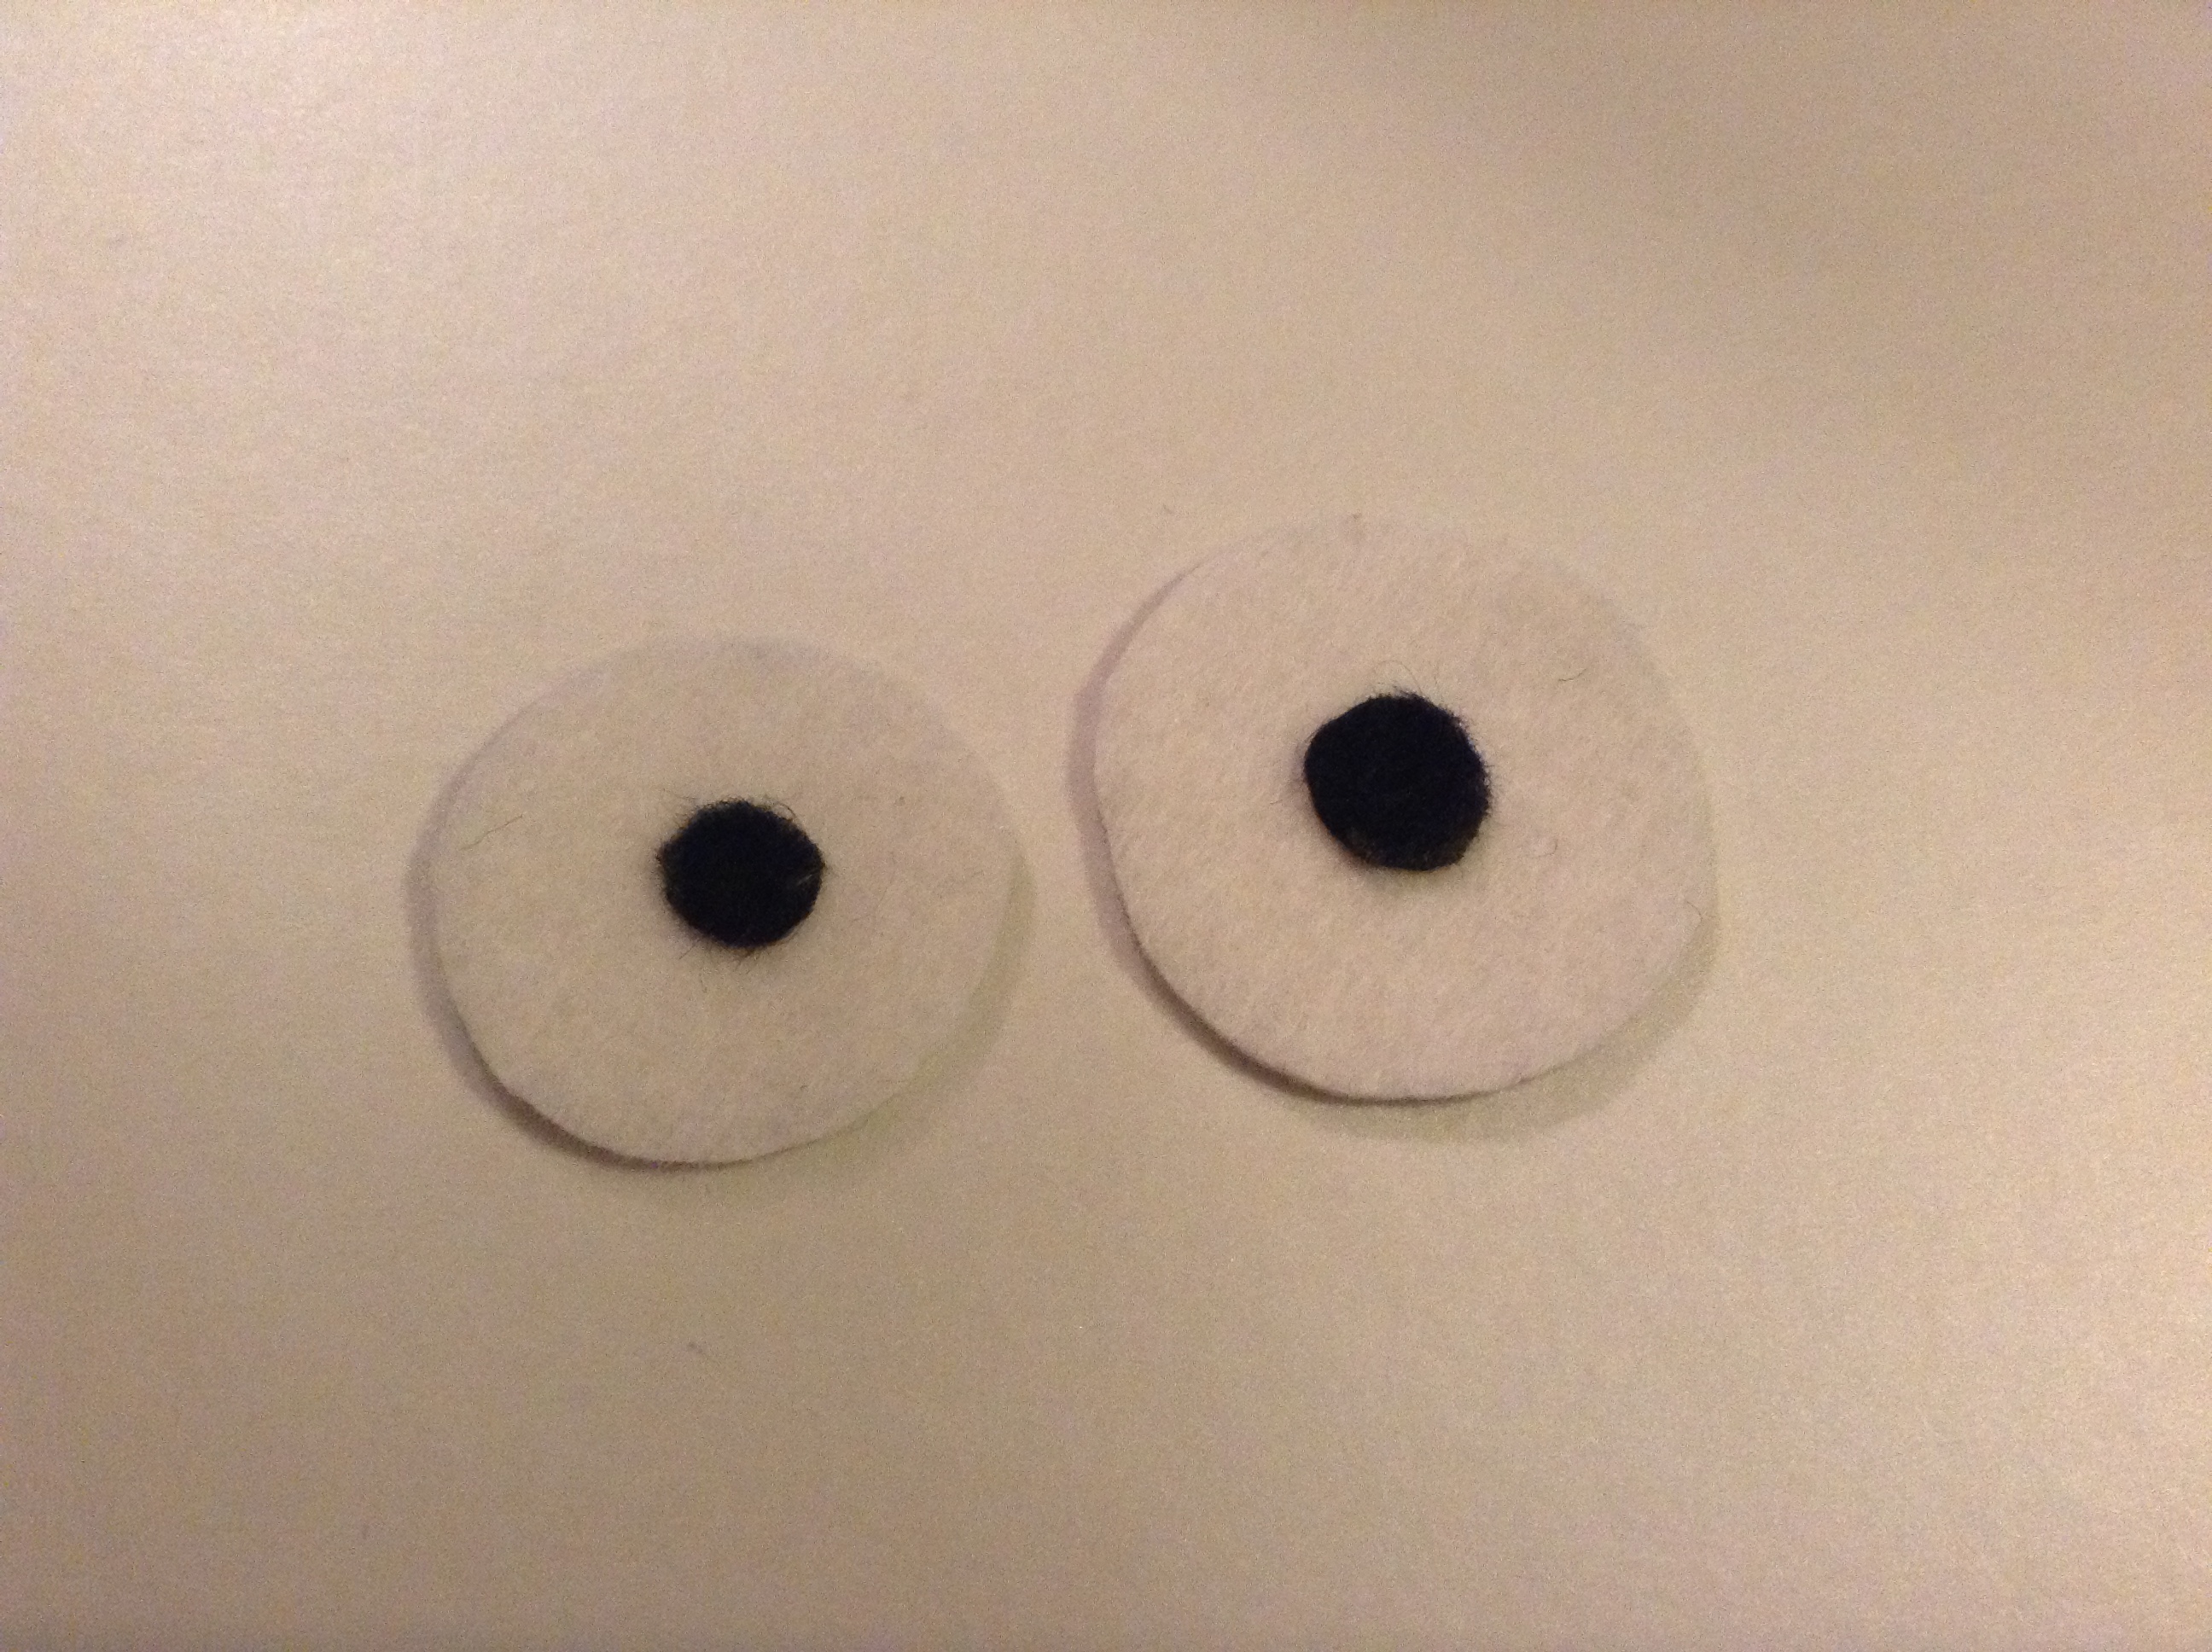
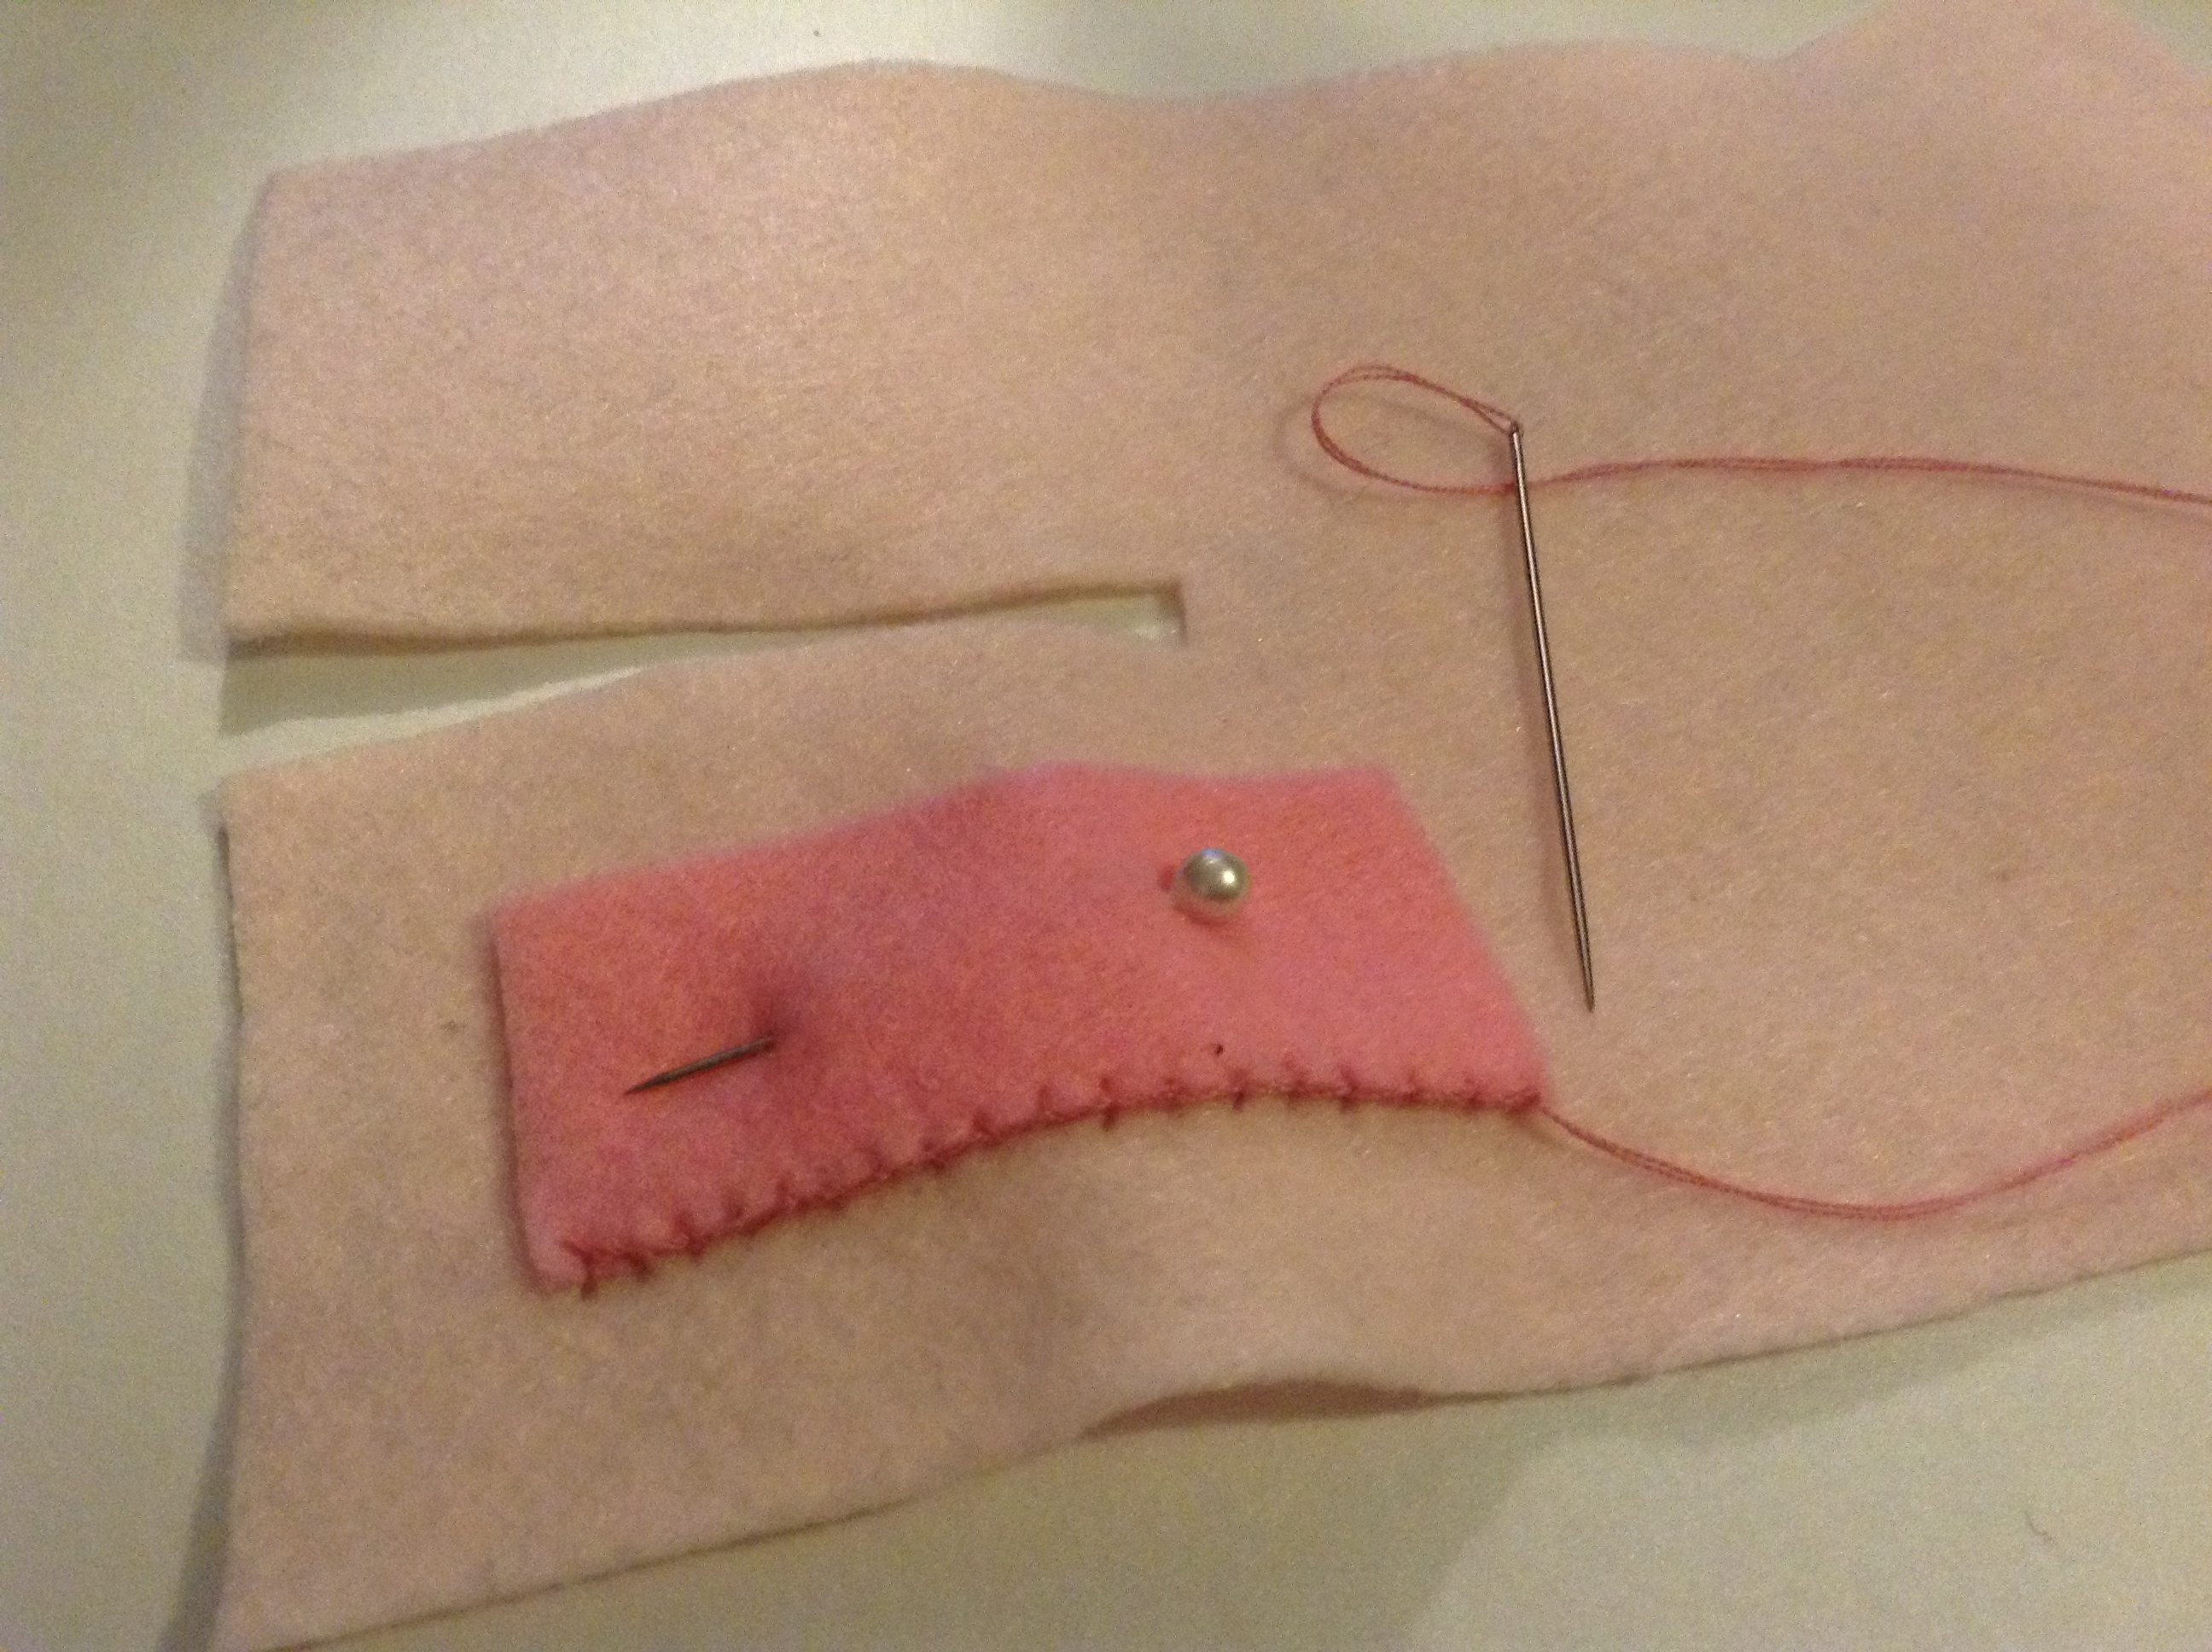
If you have adhesive black felt like me, paste the pupils onto the eyes. If you have regular black felt, sew them onto the eyes. I always start around the back of the fabric, then do a blanket stitch. If you don't know what that is, Google it. My entire Freezer Bunny is done with a blanket stitch.
You know where I'm going with this, right? 
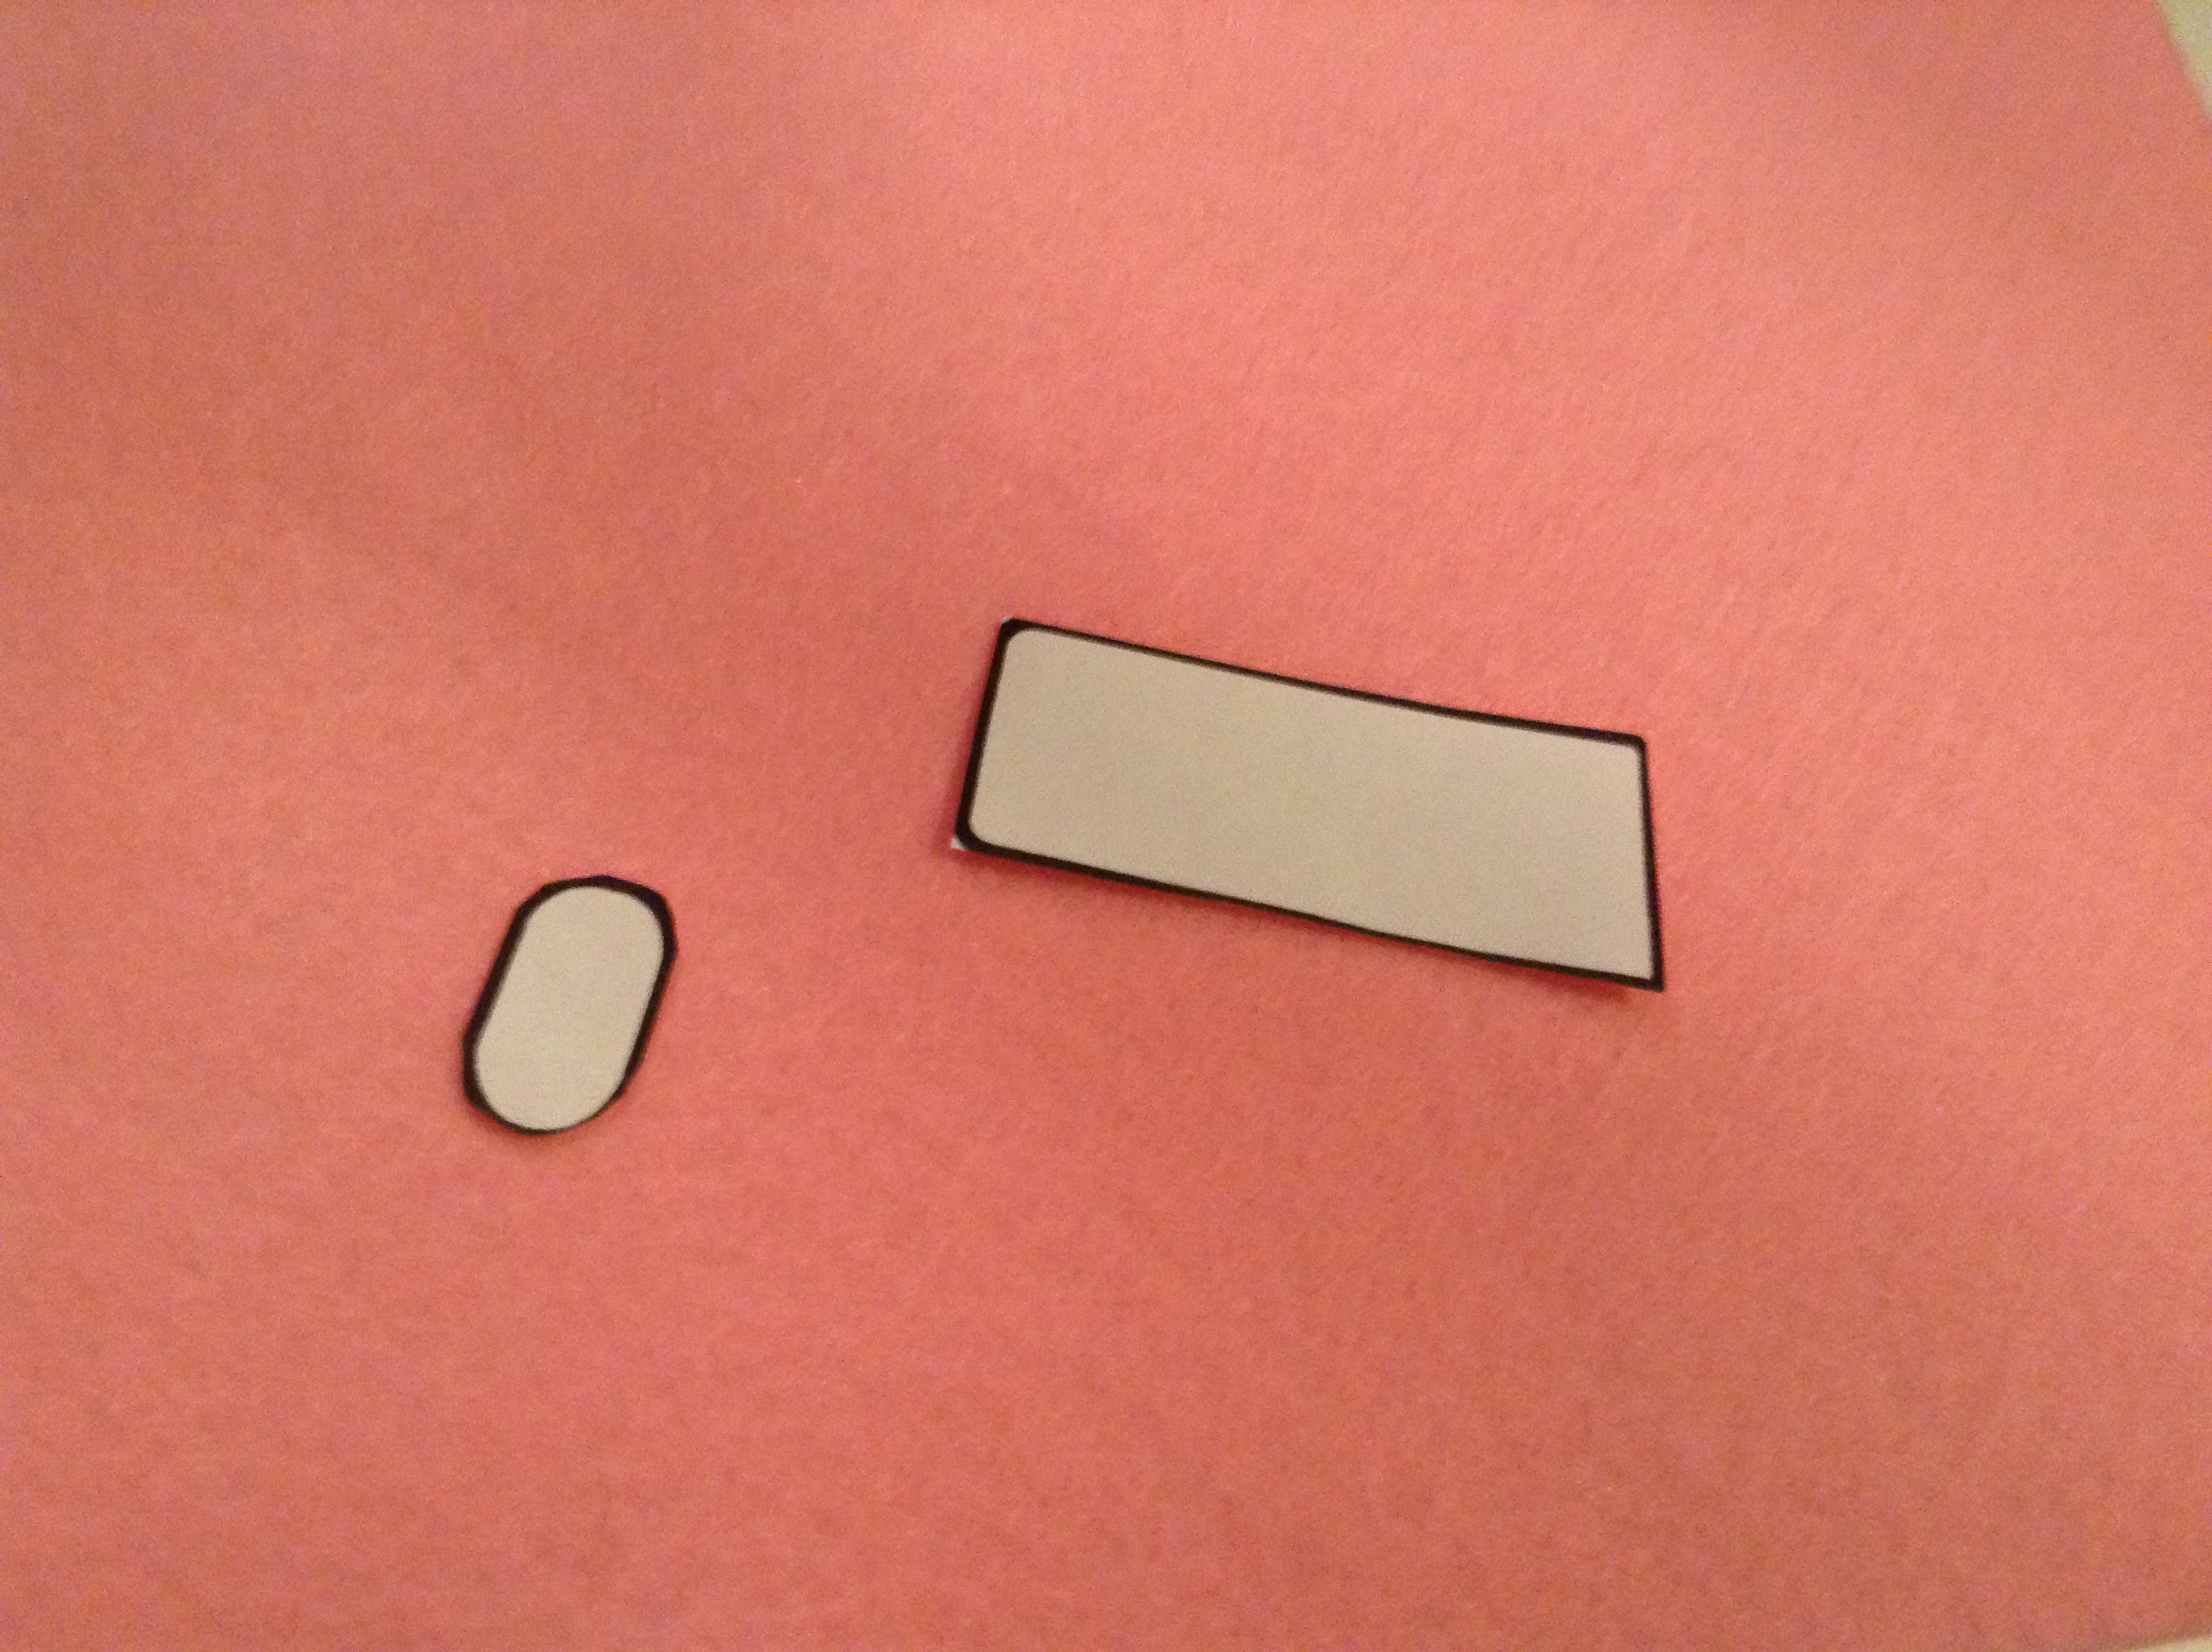
The ear shape isn't completely rectangle as you can see, so you will need to turn it around to make a mirror shape for the other ear. The cheeks are symmetrical so you don't have to turn that one around.
Auauauauau!
No. Freezer Bunny, that didn't hurt. You don't exist, not yet.
To help yourself with the position of eyes, nose, ears etc, you can draw the shapes with pencil onto the fabric.

Simply place the Freezer Bunny pattern underneath it and the lines will be visible. Make sure you draw on the side that has the outline, not the other side!
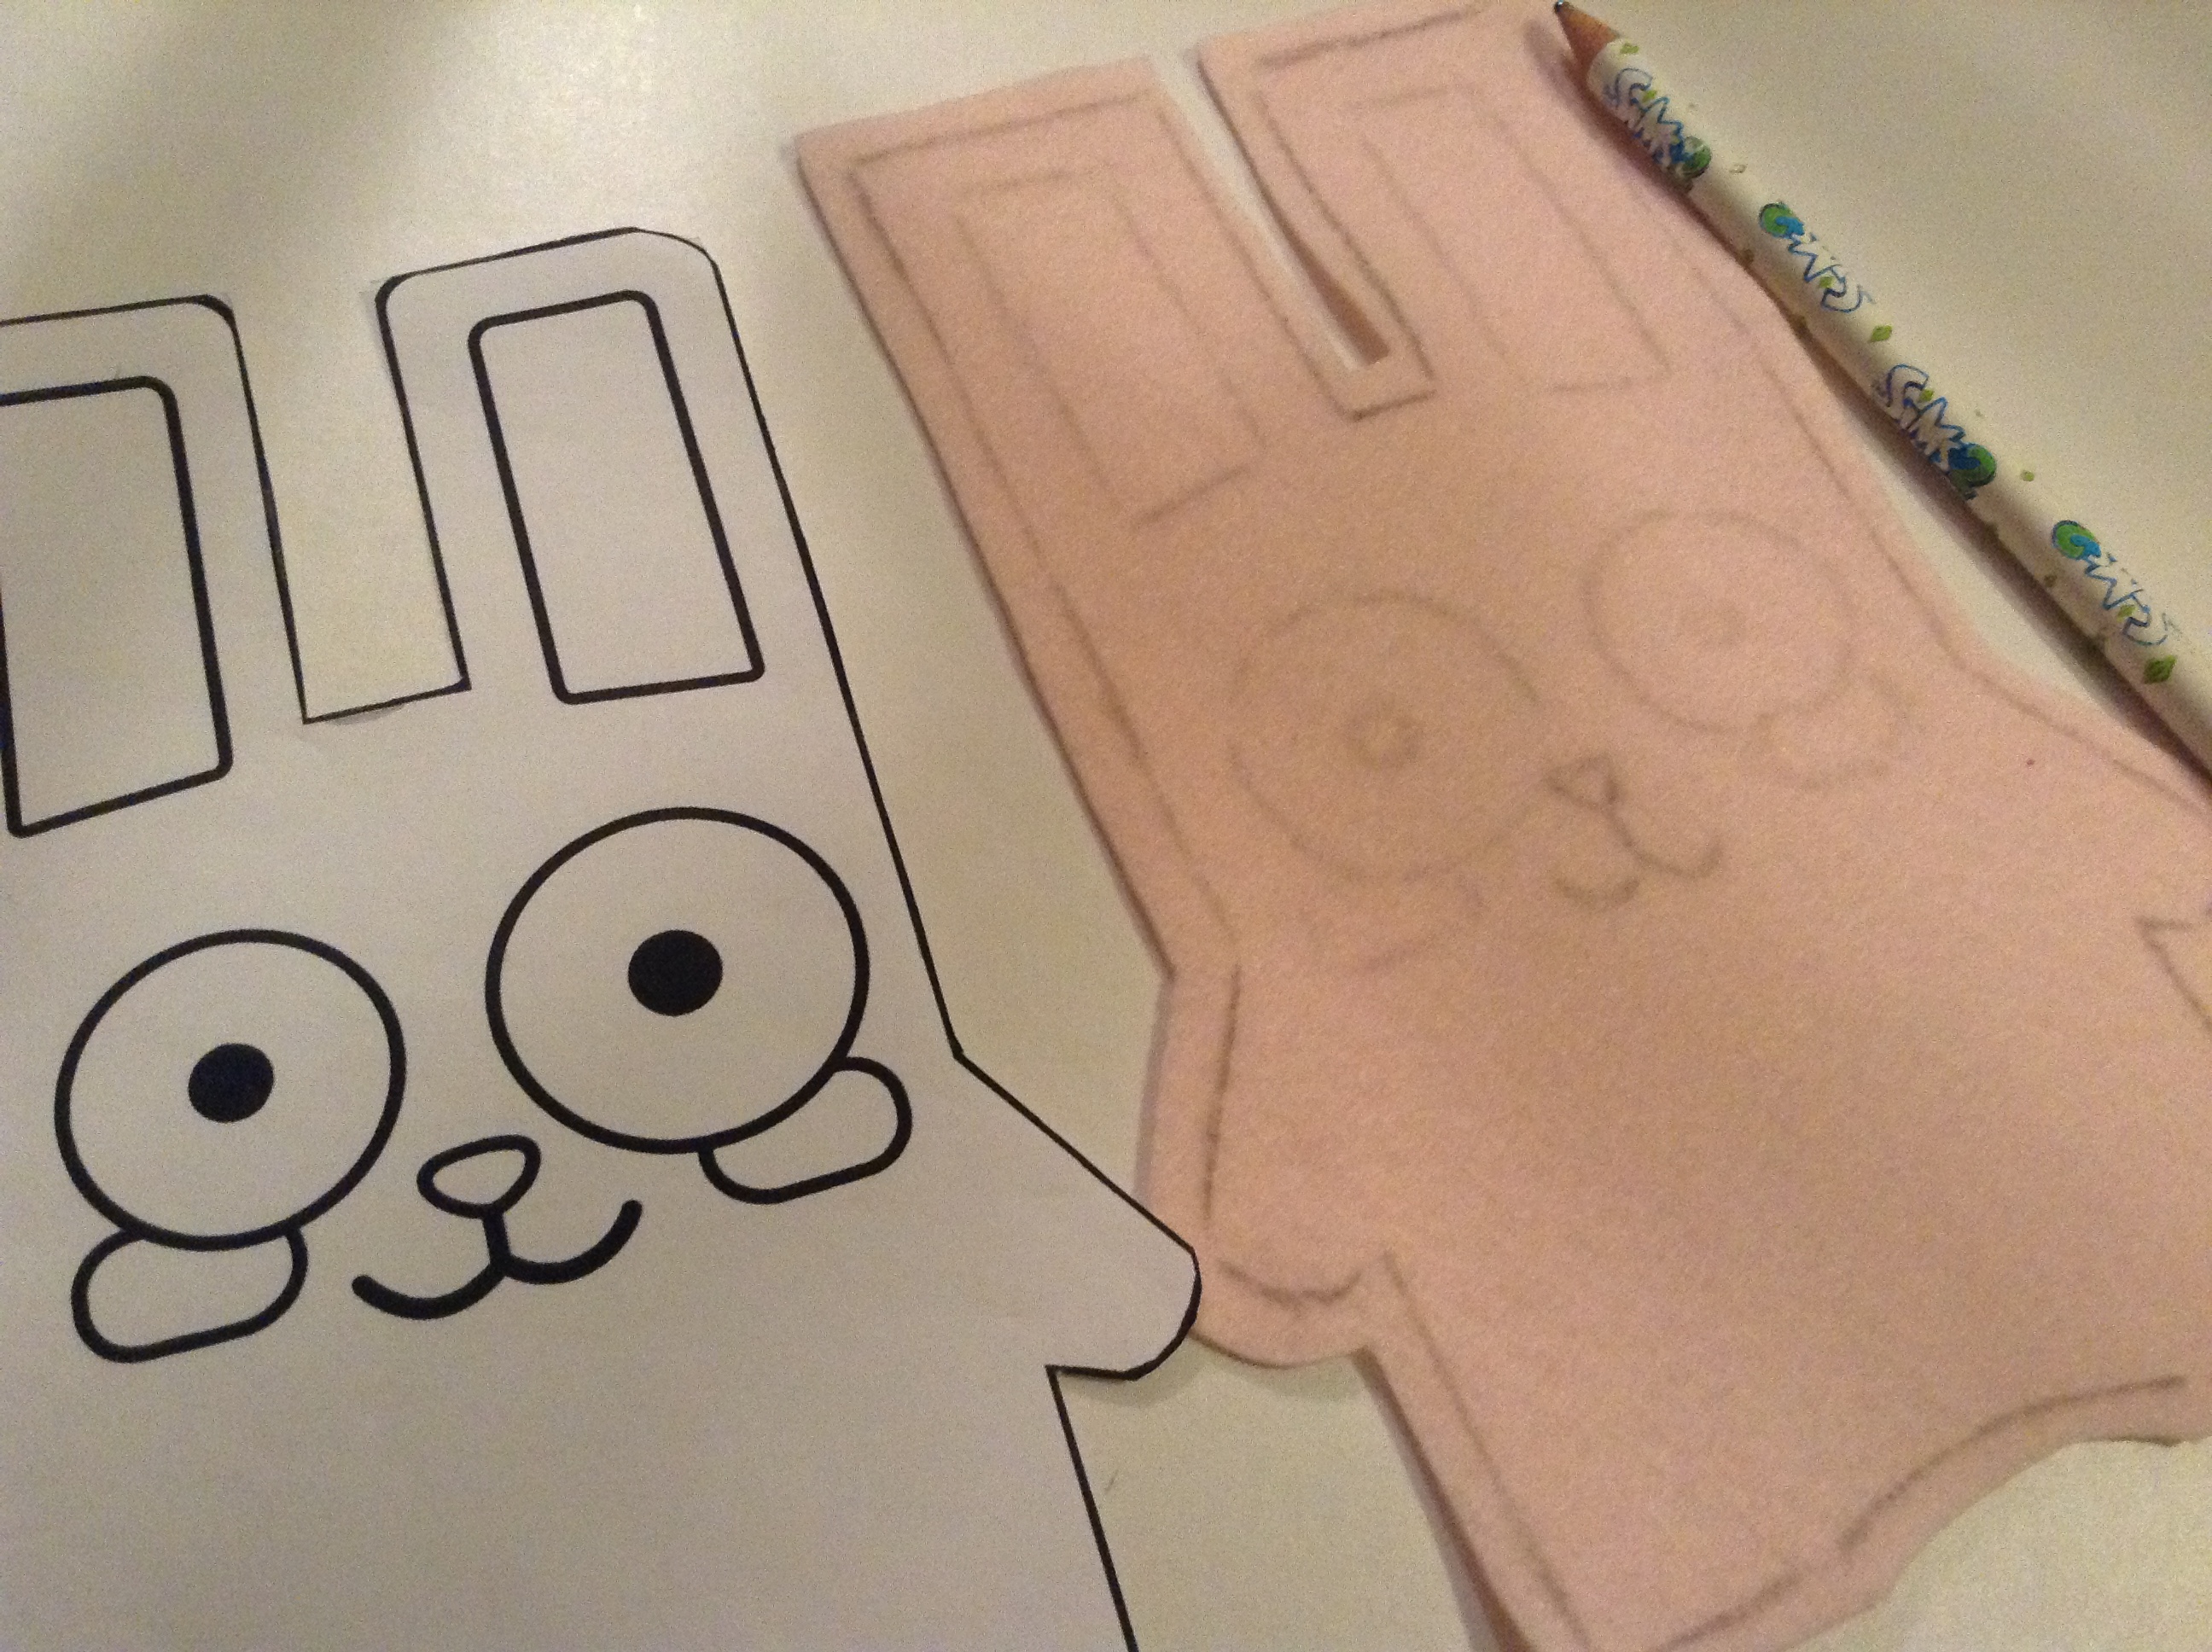
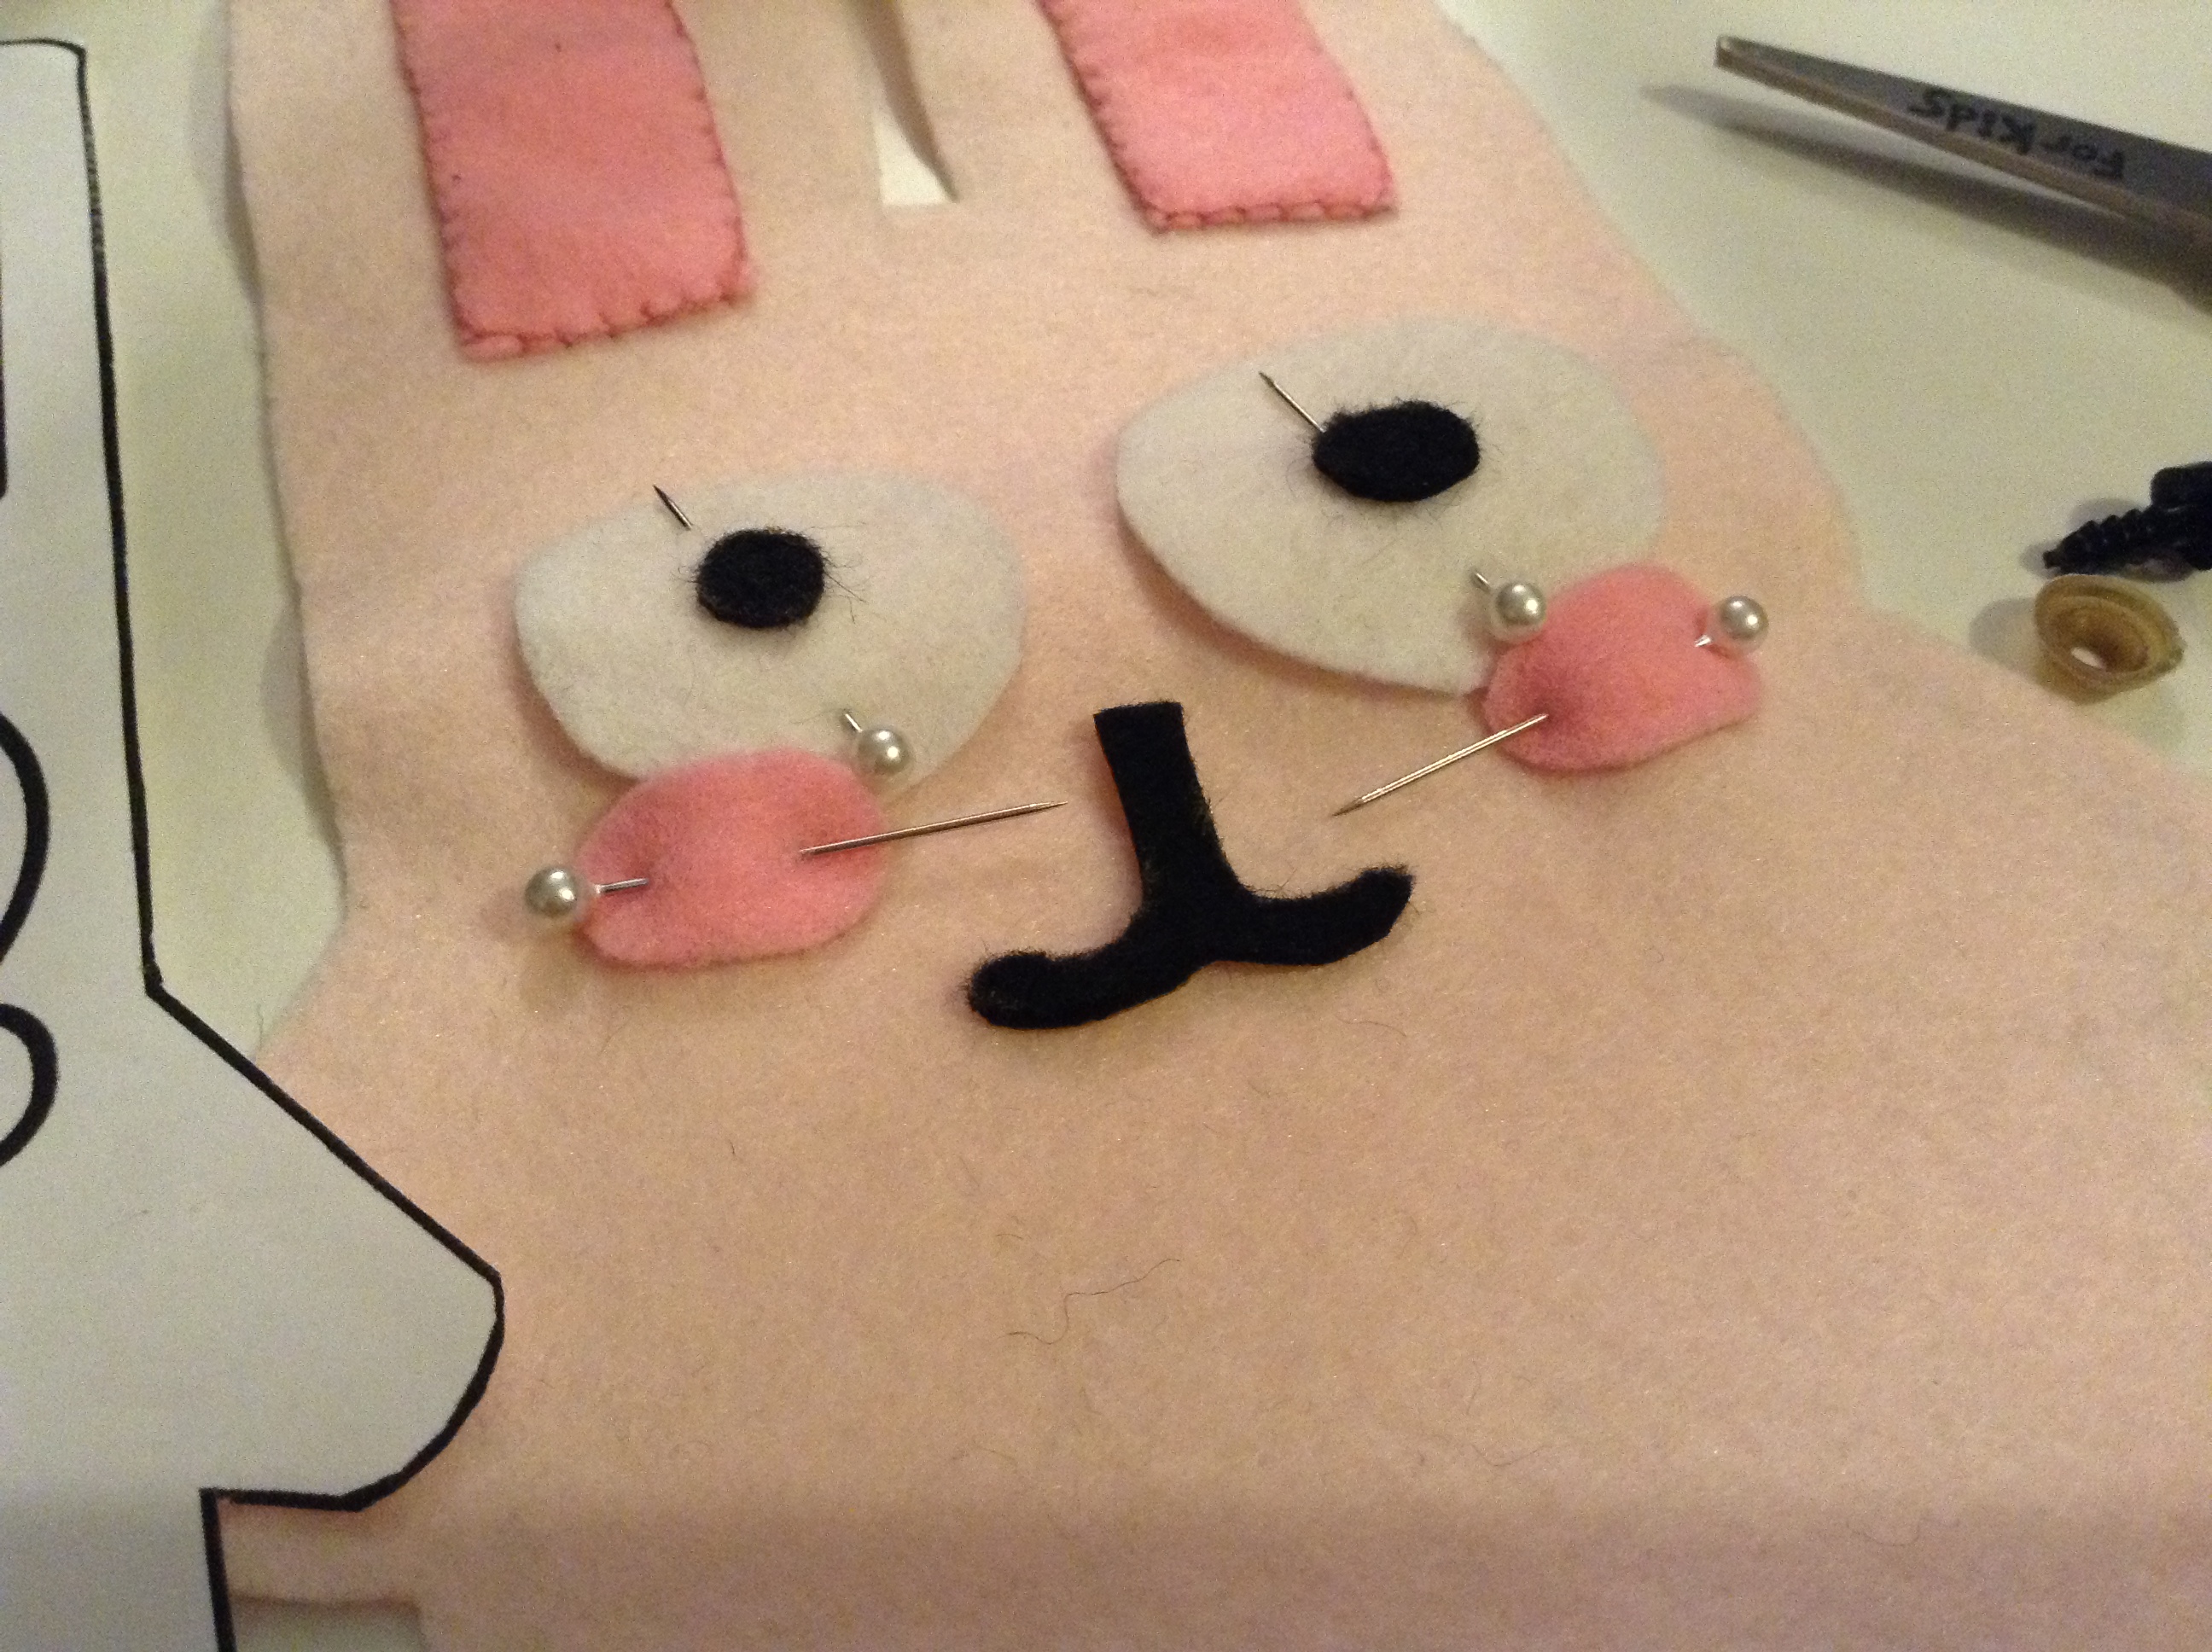
This is what my lines looked like. Remember it's simply a guideline, as you can see the nose and eyes aren't quite right. It's merely to guide you when you have to position the needle from the back.
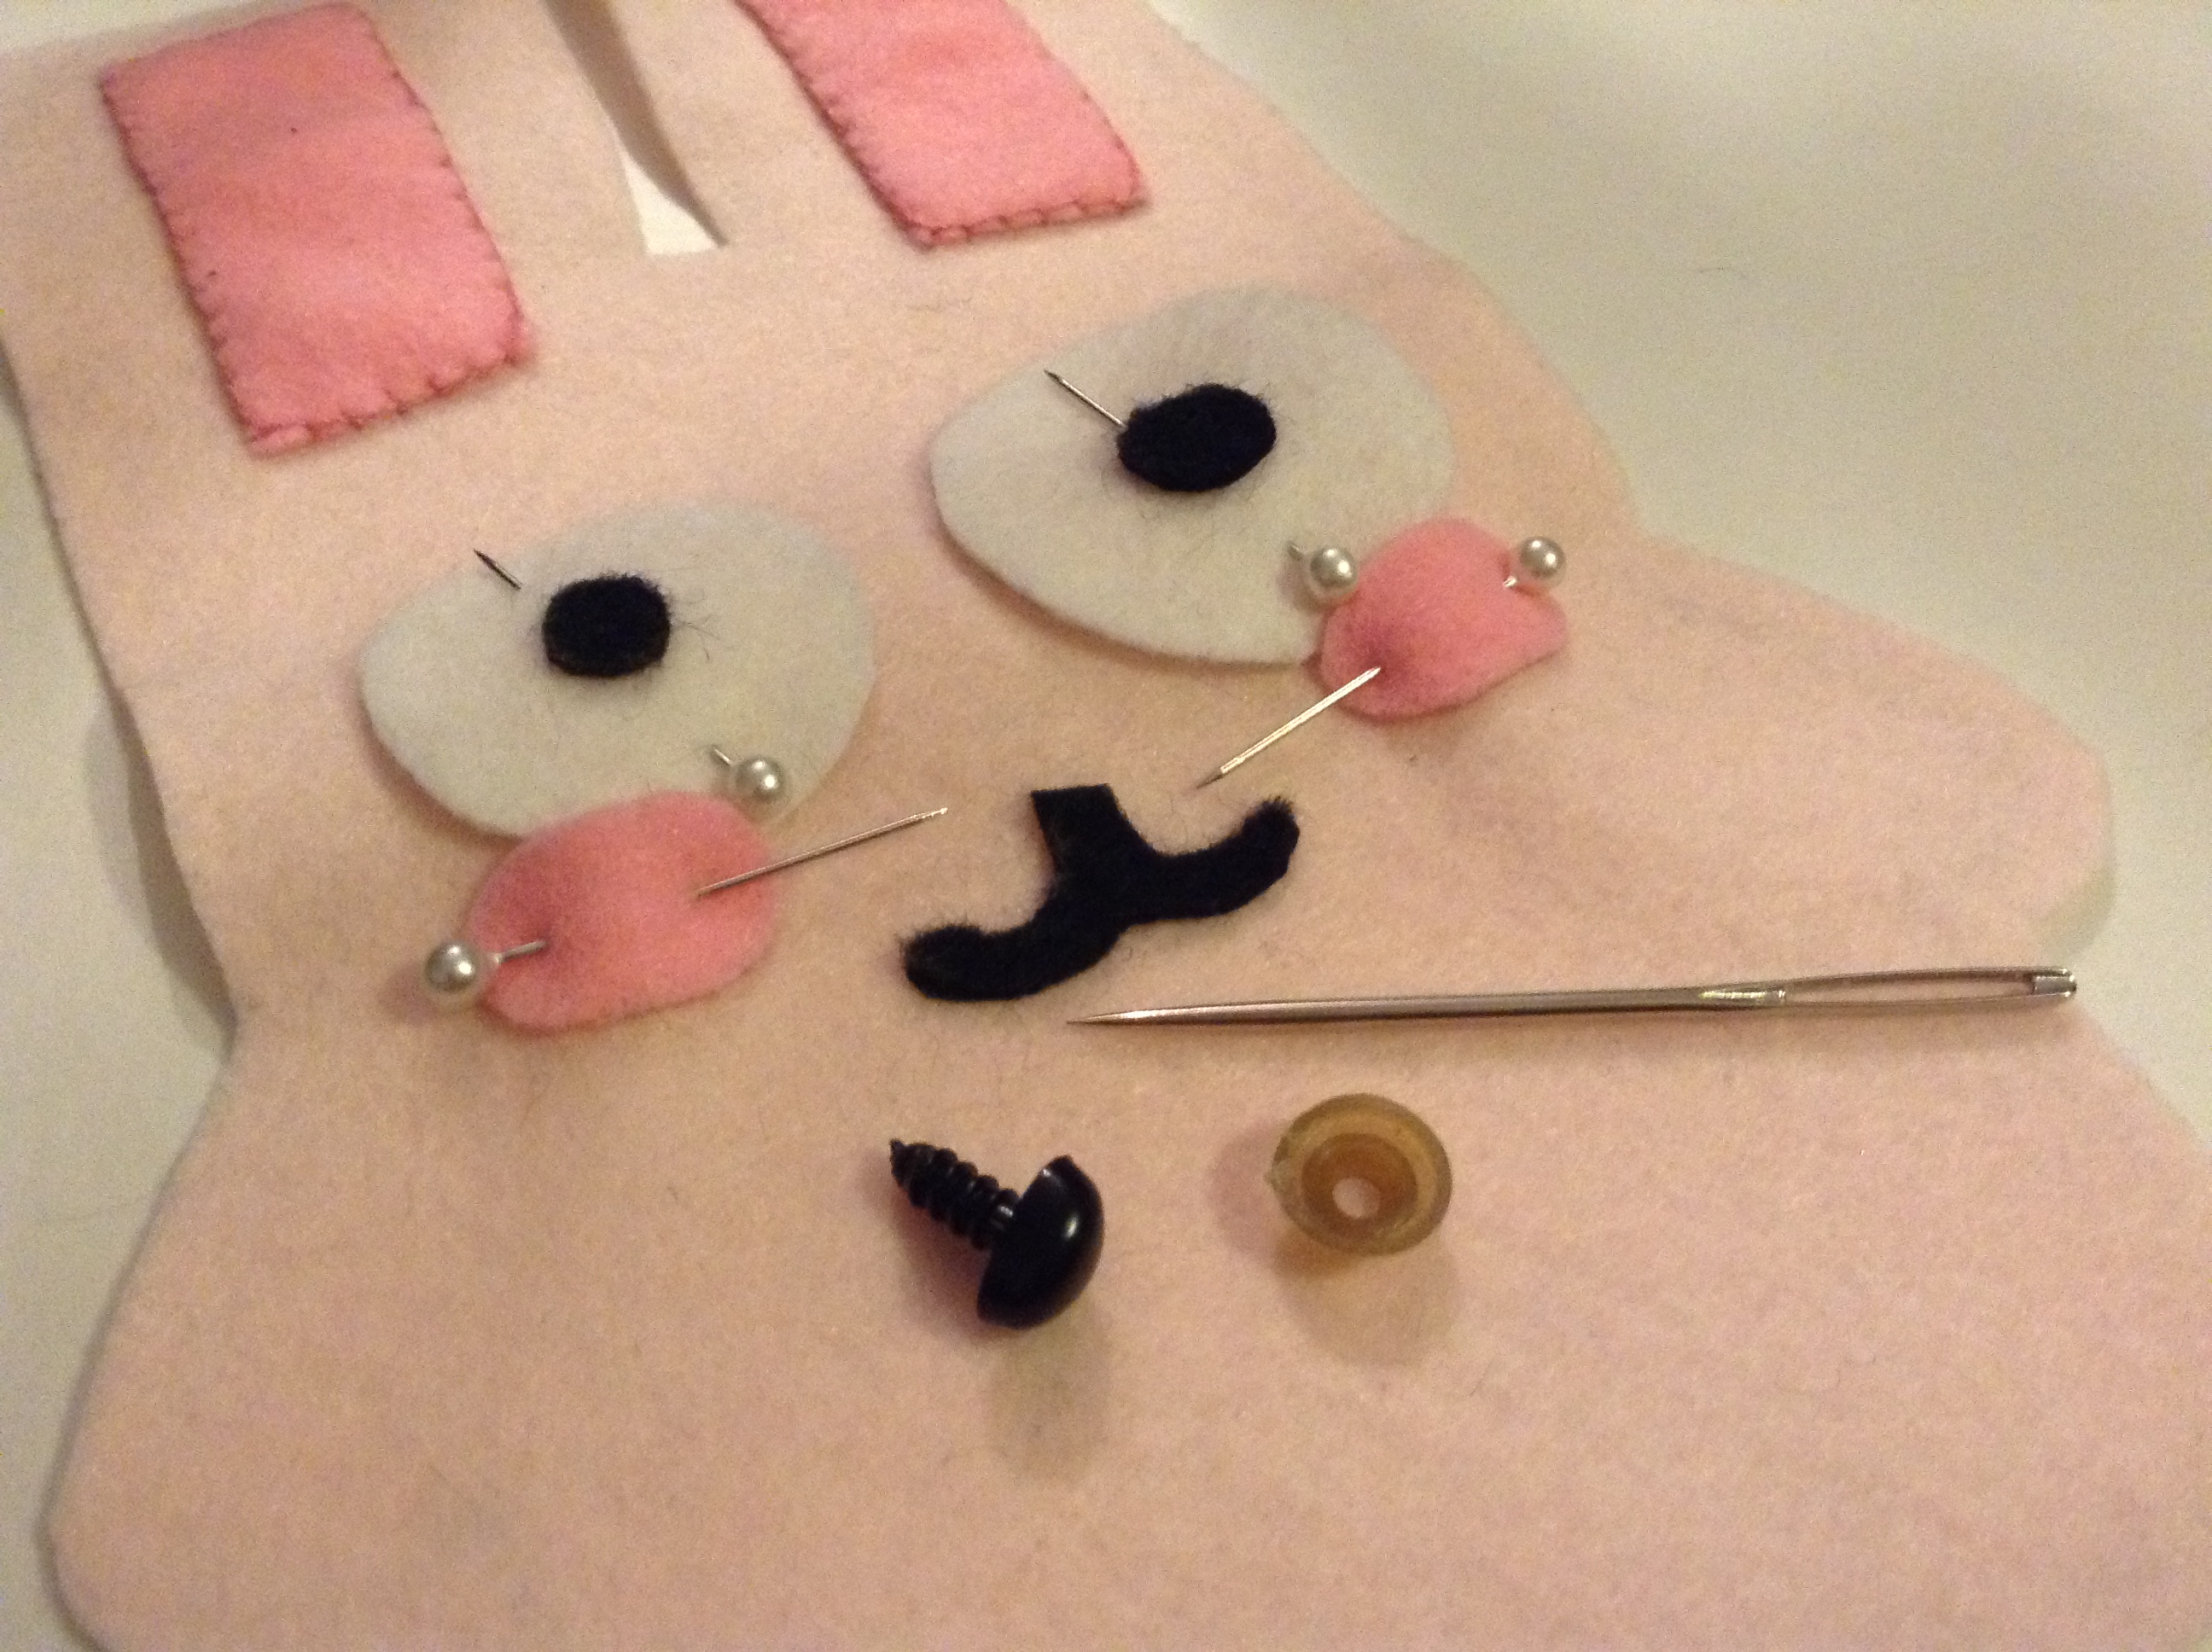
Preparing some of the things I will need to put everything together!
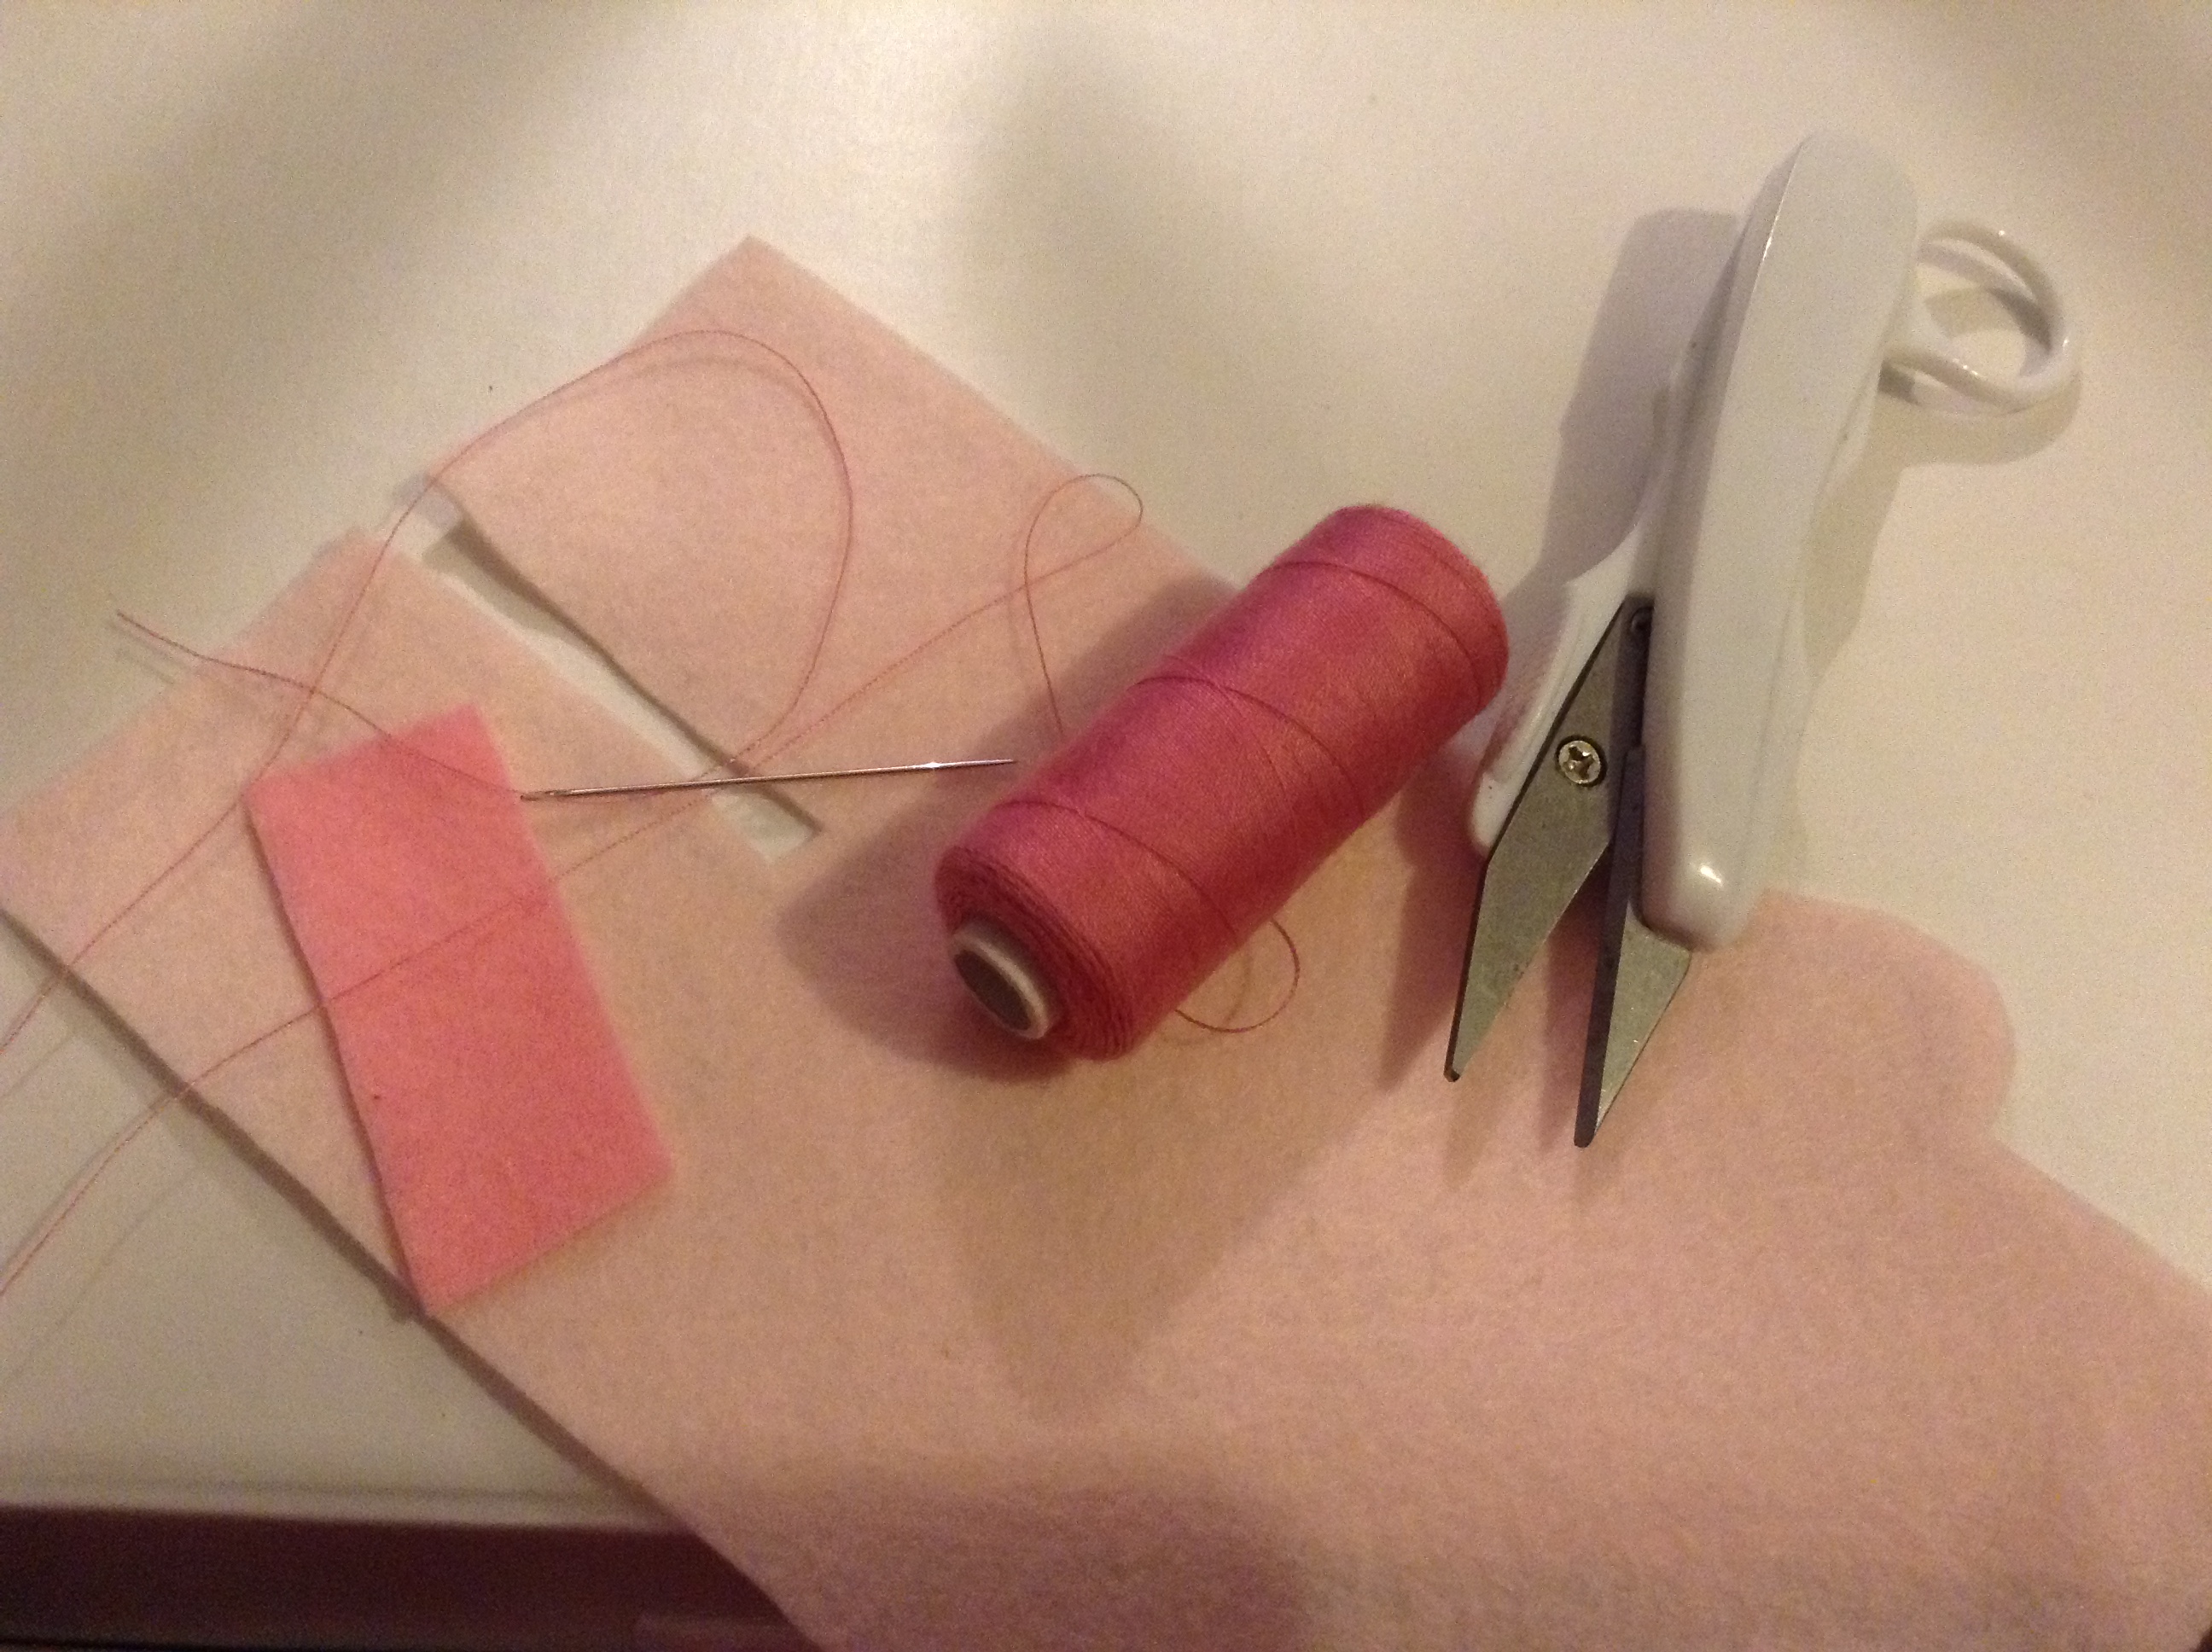
I have a medium pink thread I am going to use to sew the ears onto the bunny. I am making sure to assemble all the small parts to the front first. And I'm starting with the ears.
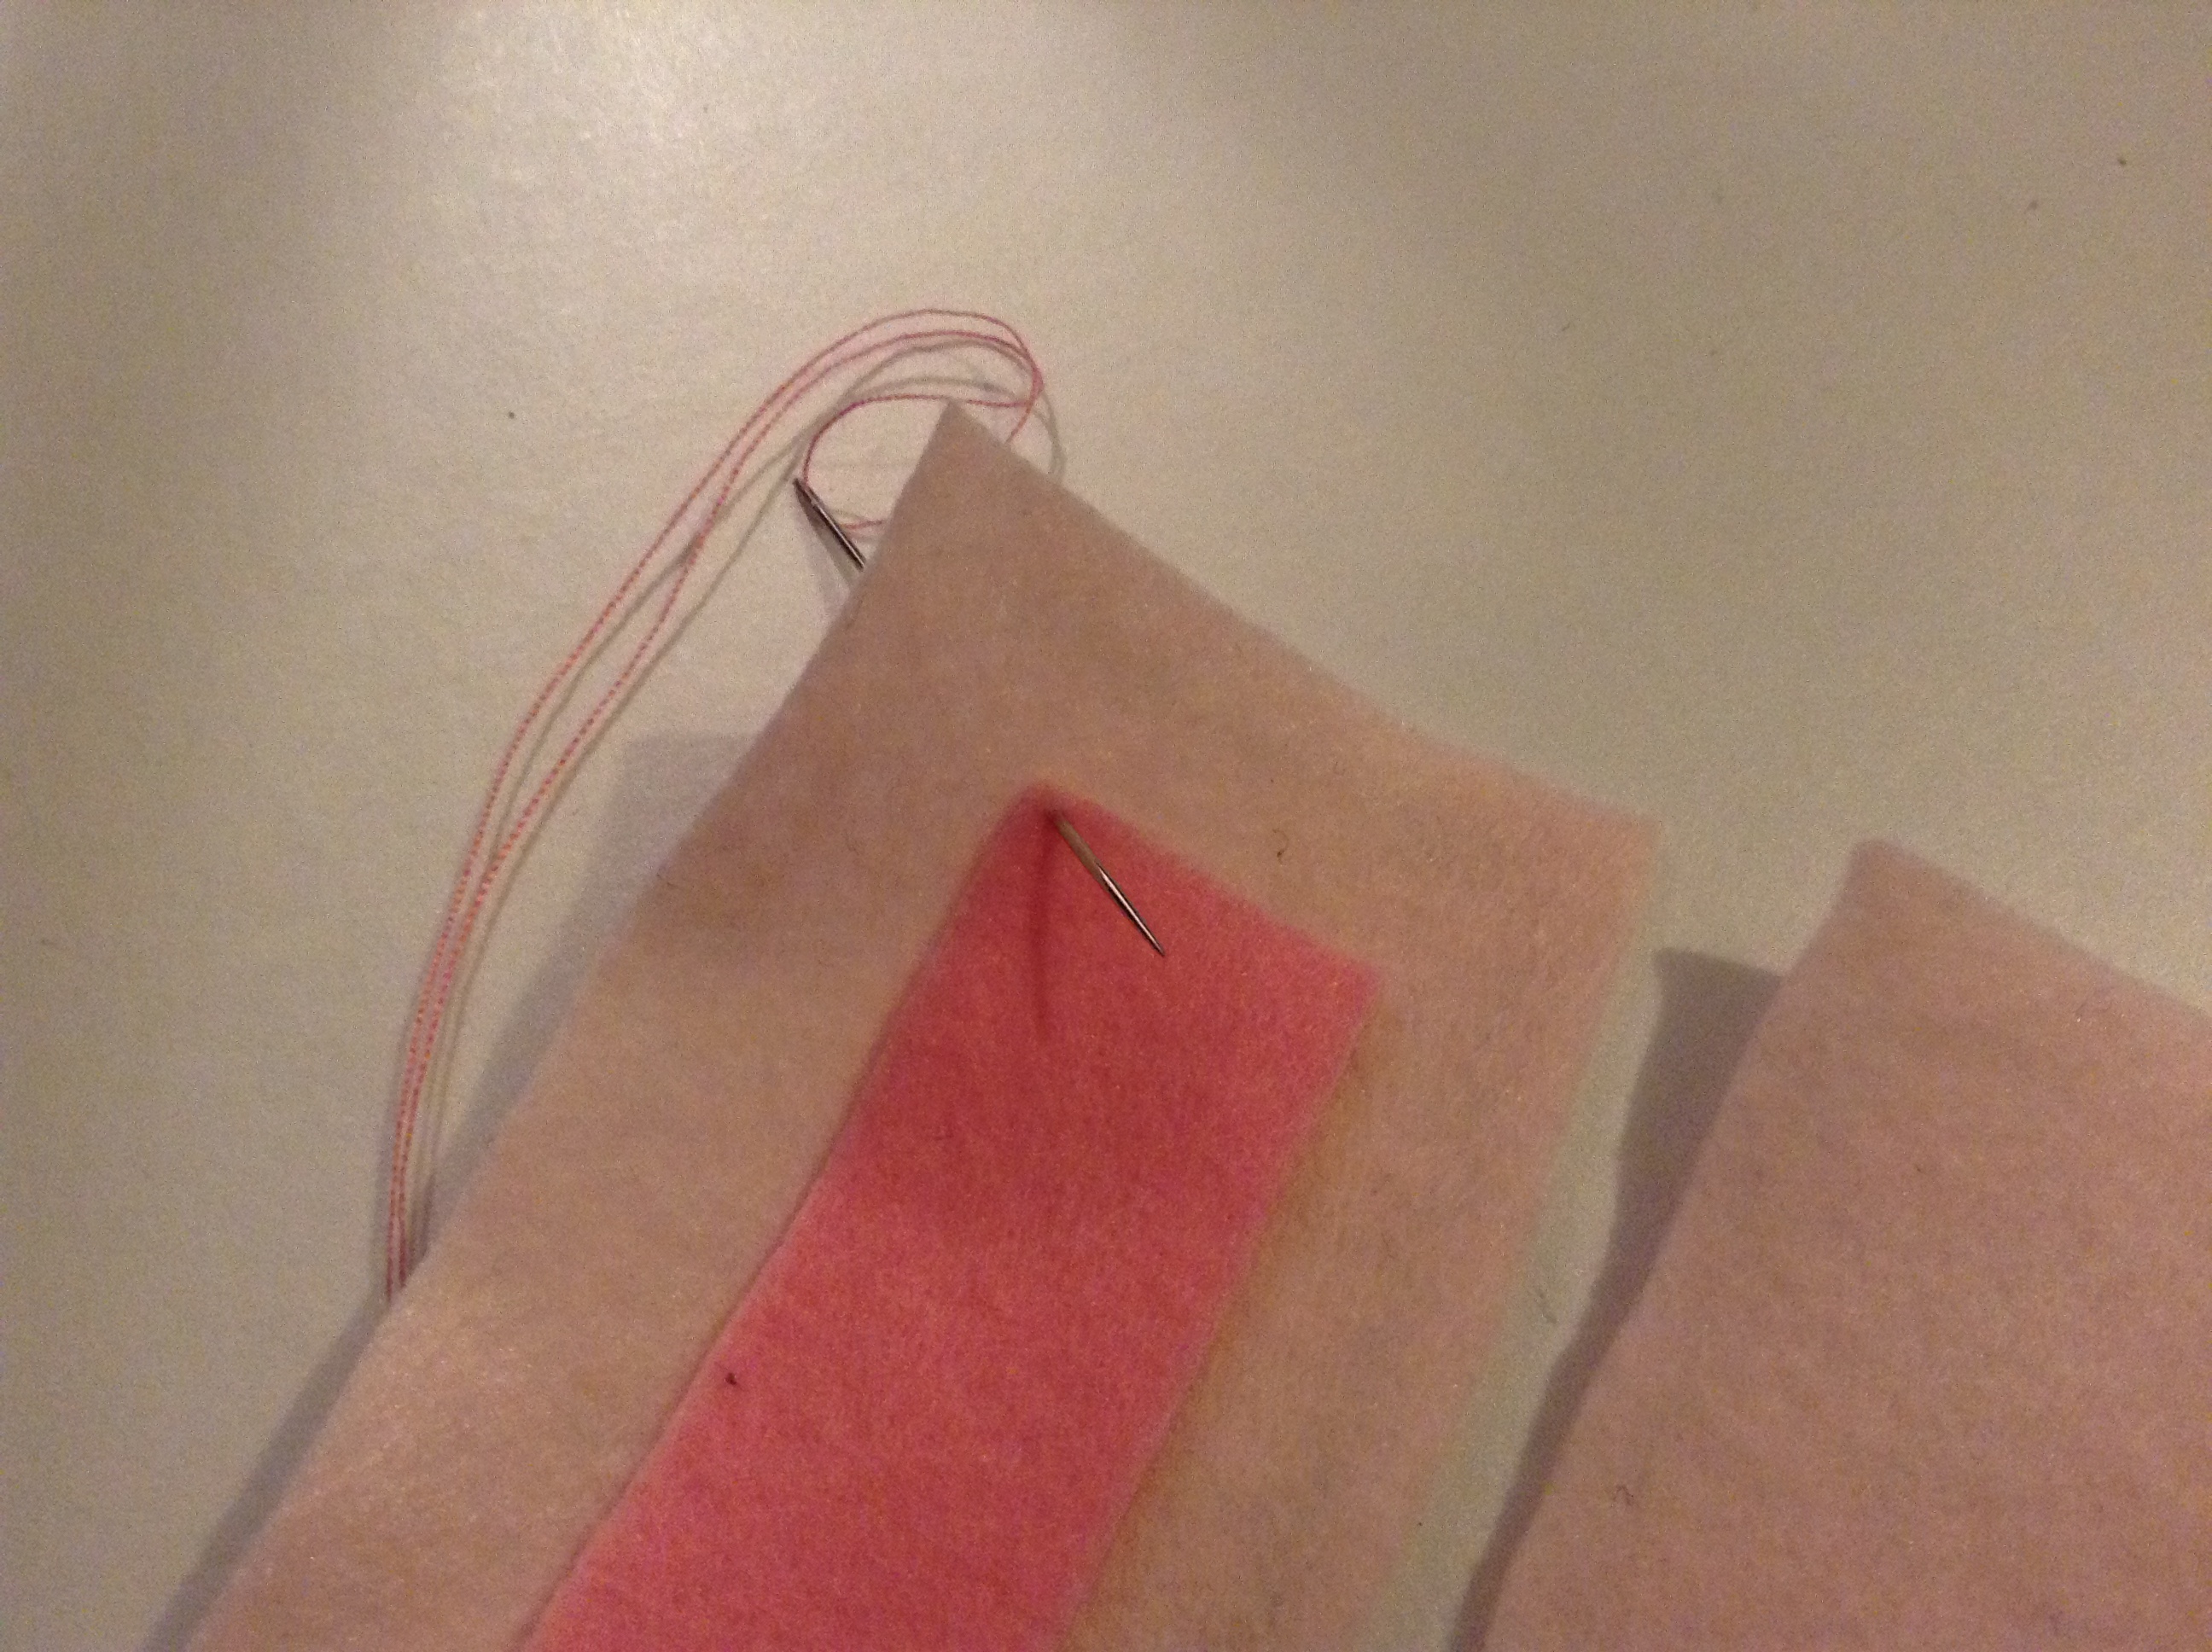
Use the guidelines at the back side to position the needle properly.
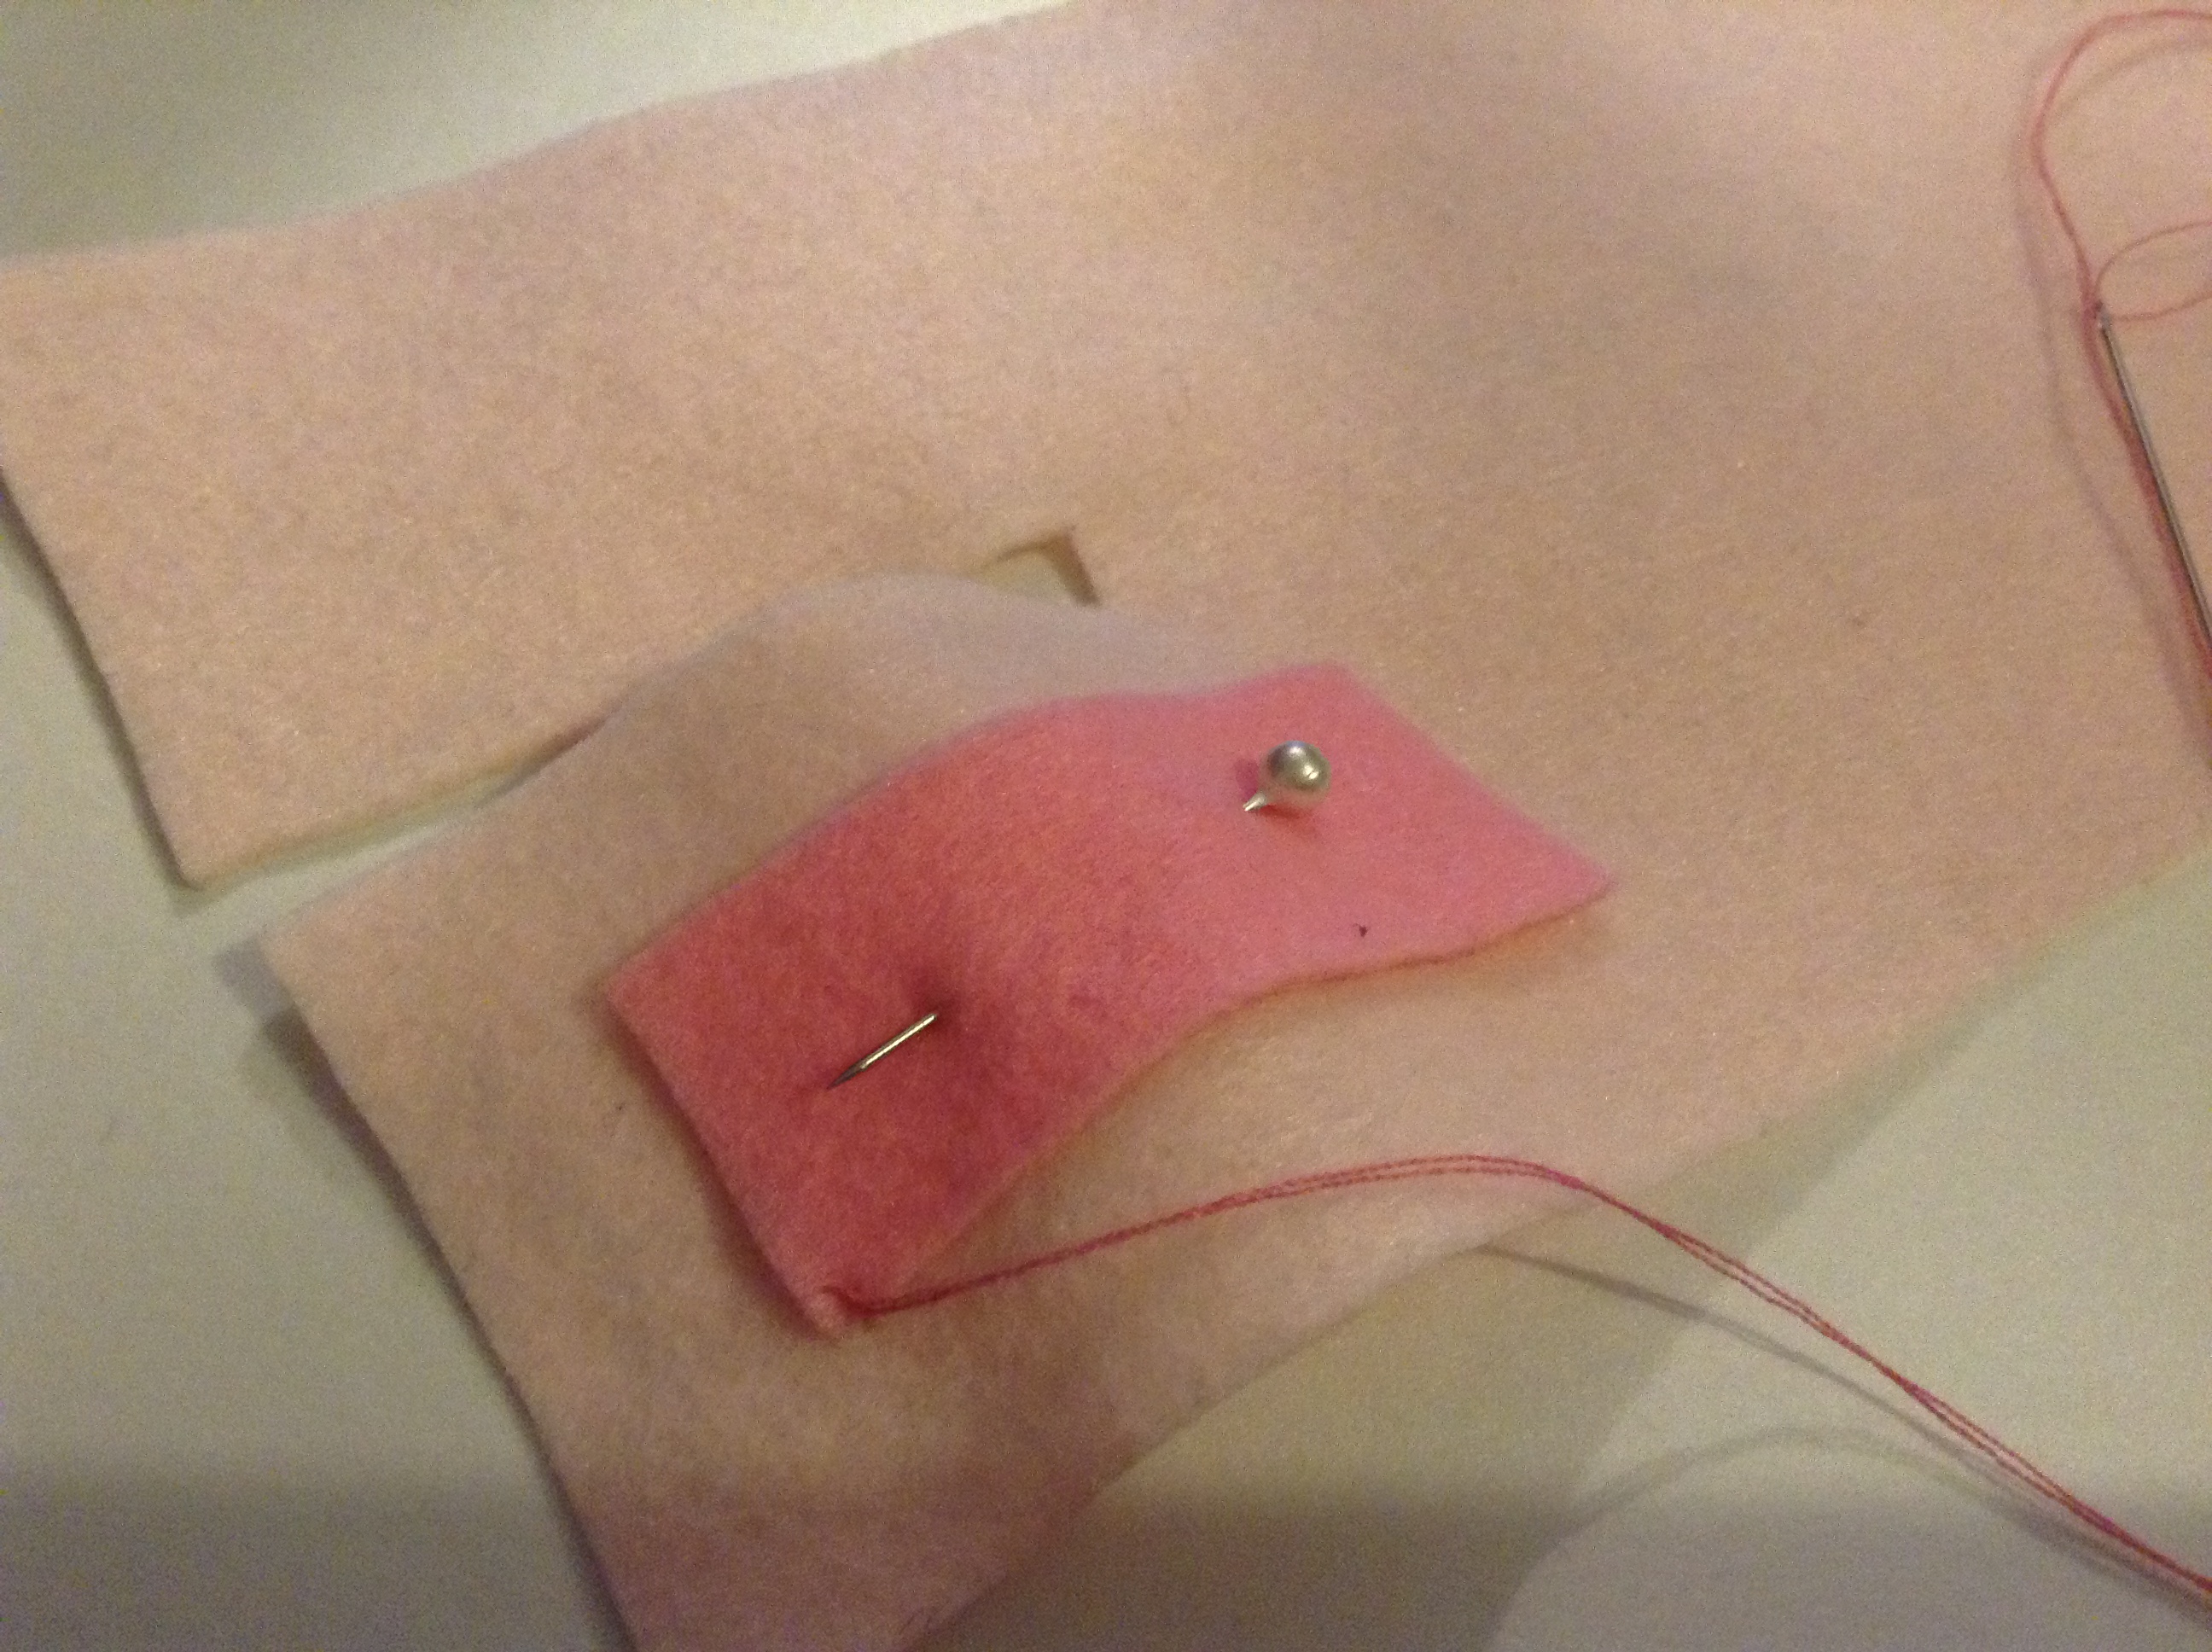
You can position a sewing pin so the ear won't move as much while sewing.
I use the blanket stitch for the entire bunny, including the ears.
What the ears look like once they are sewn onto the bunny.
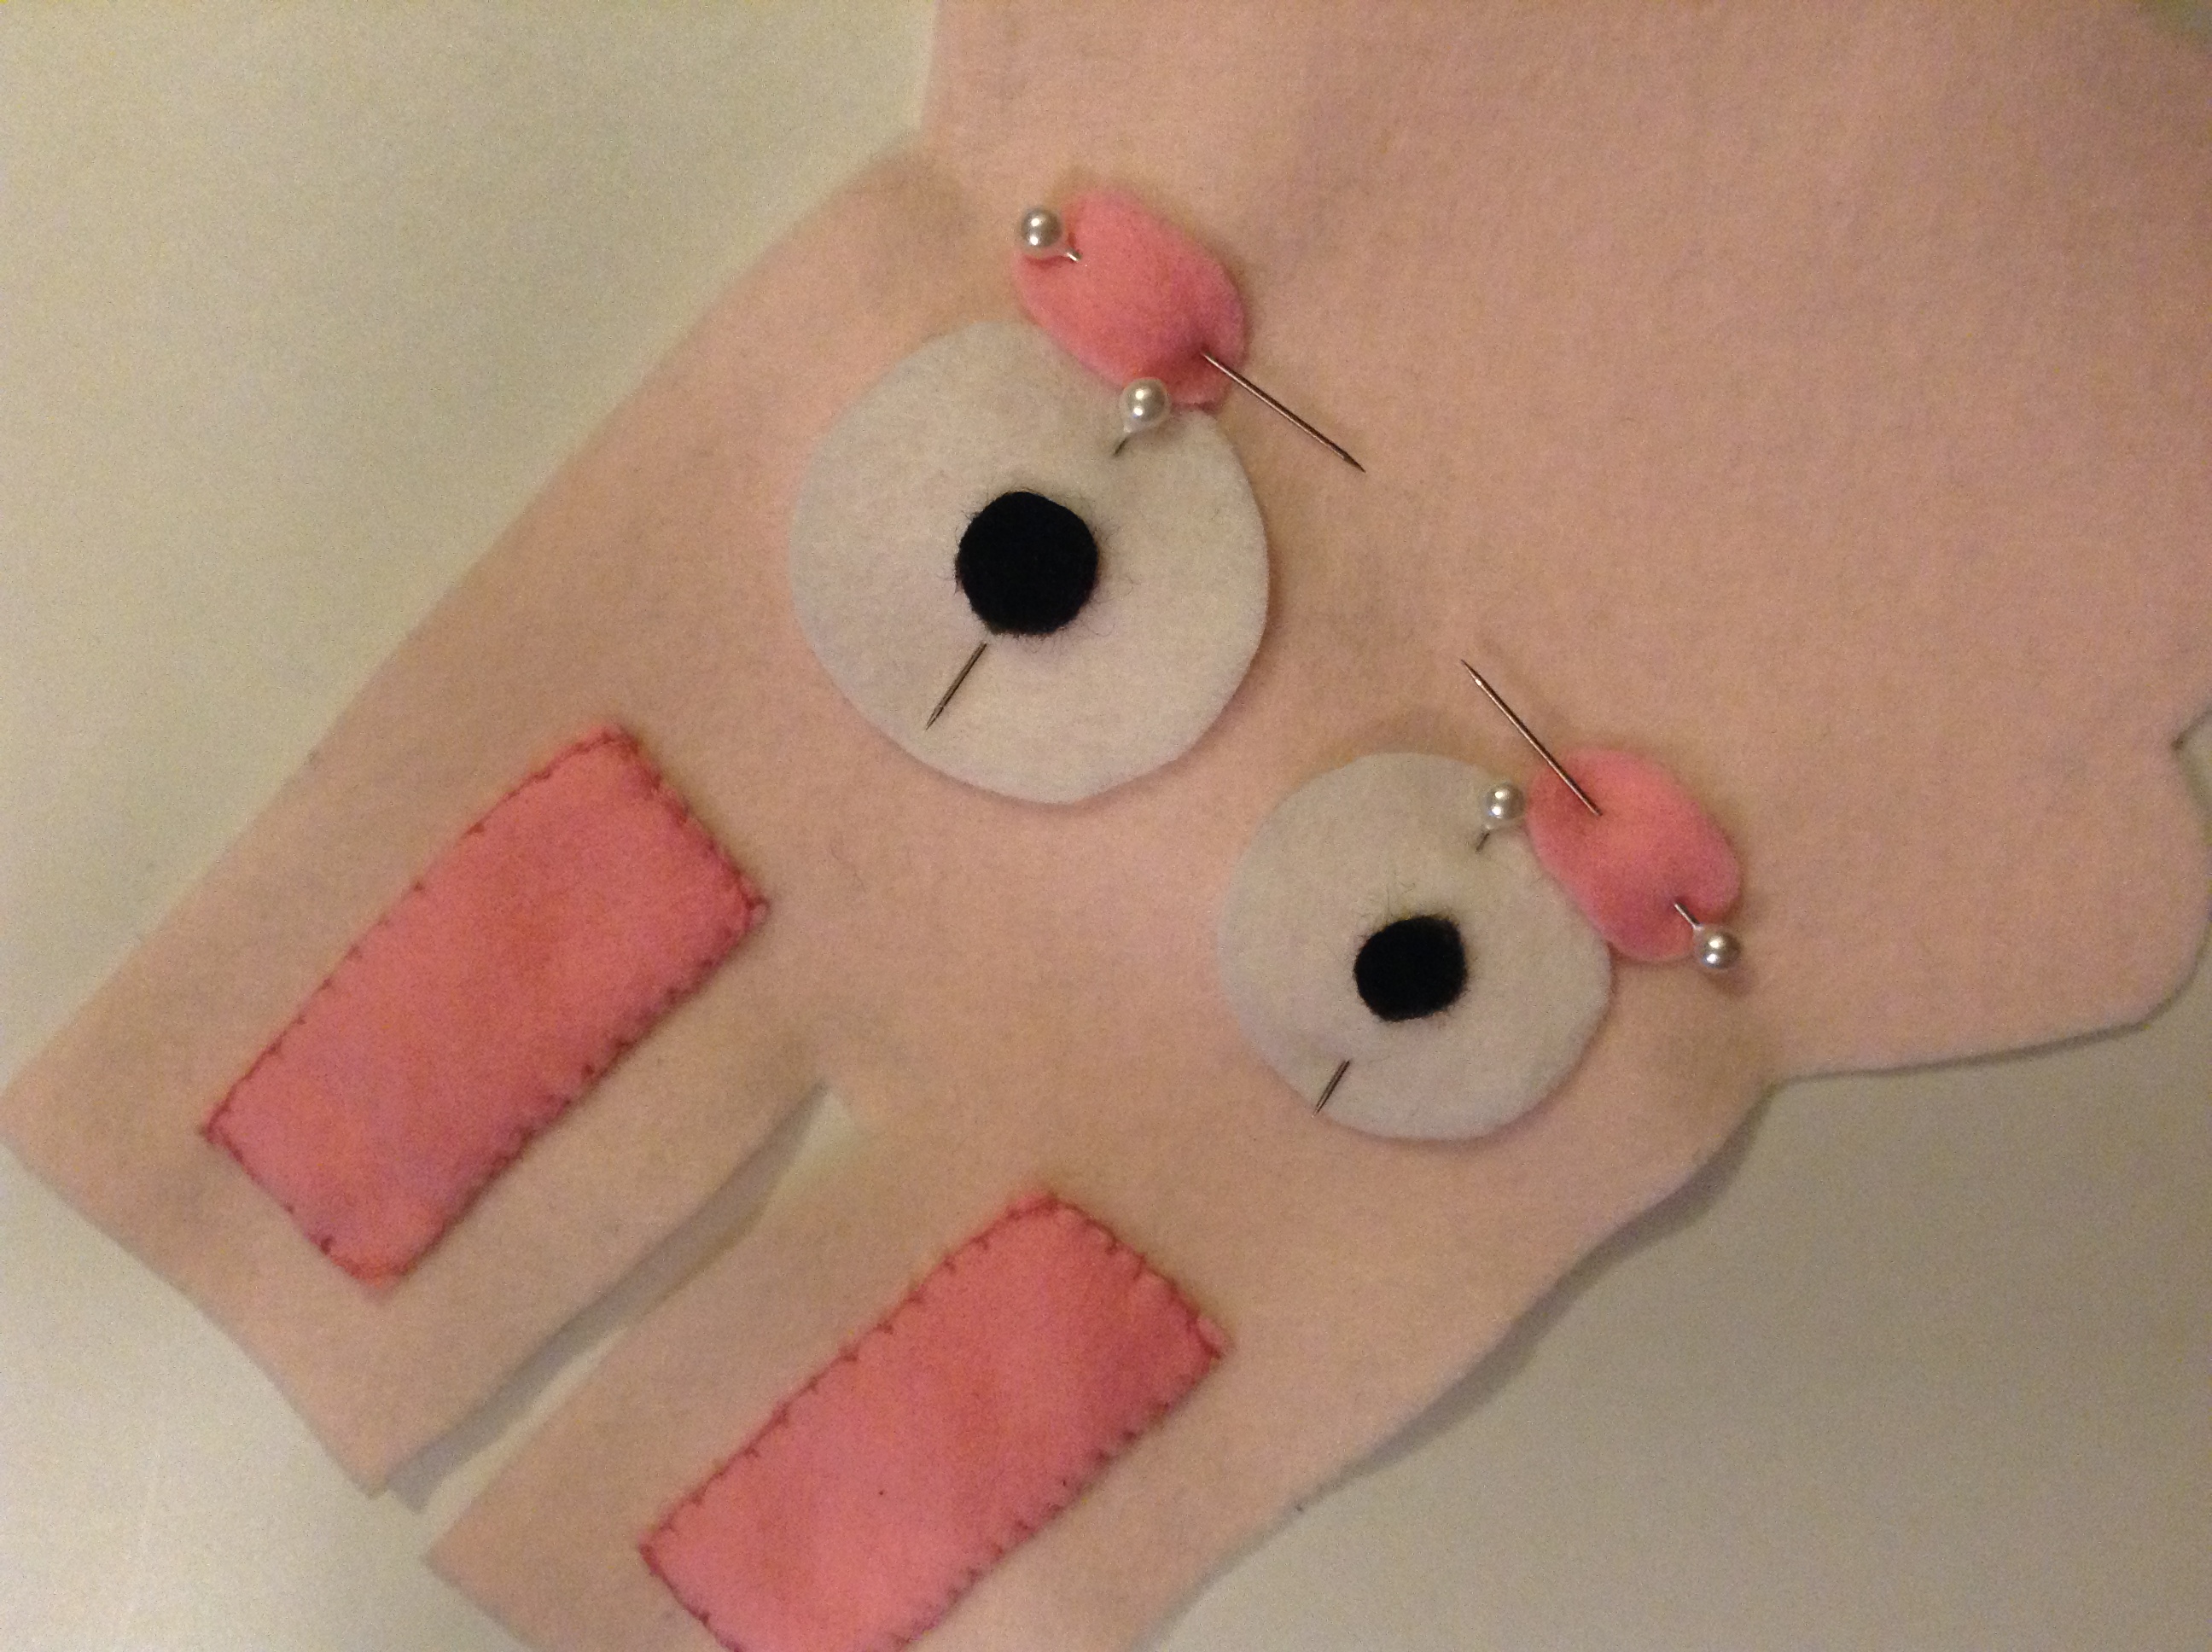
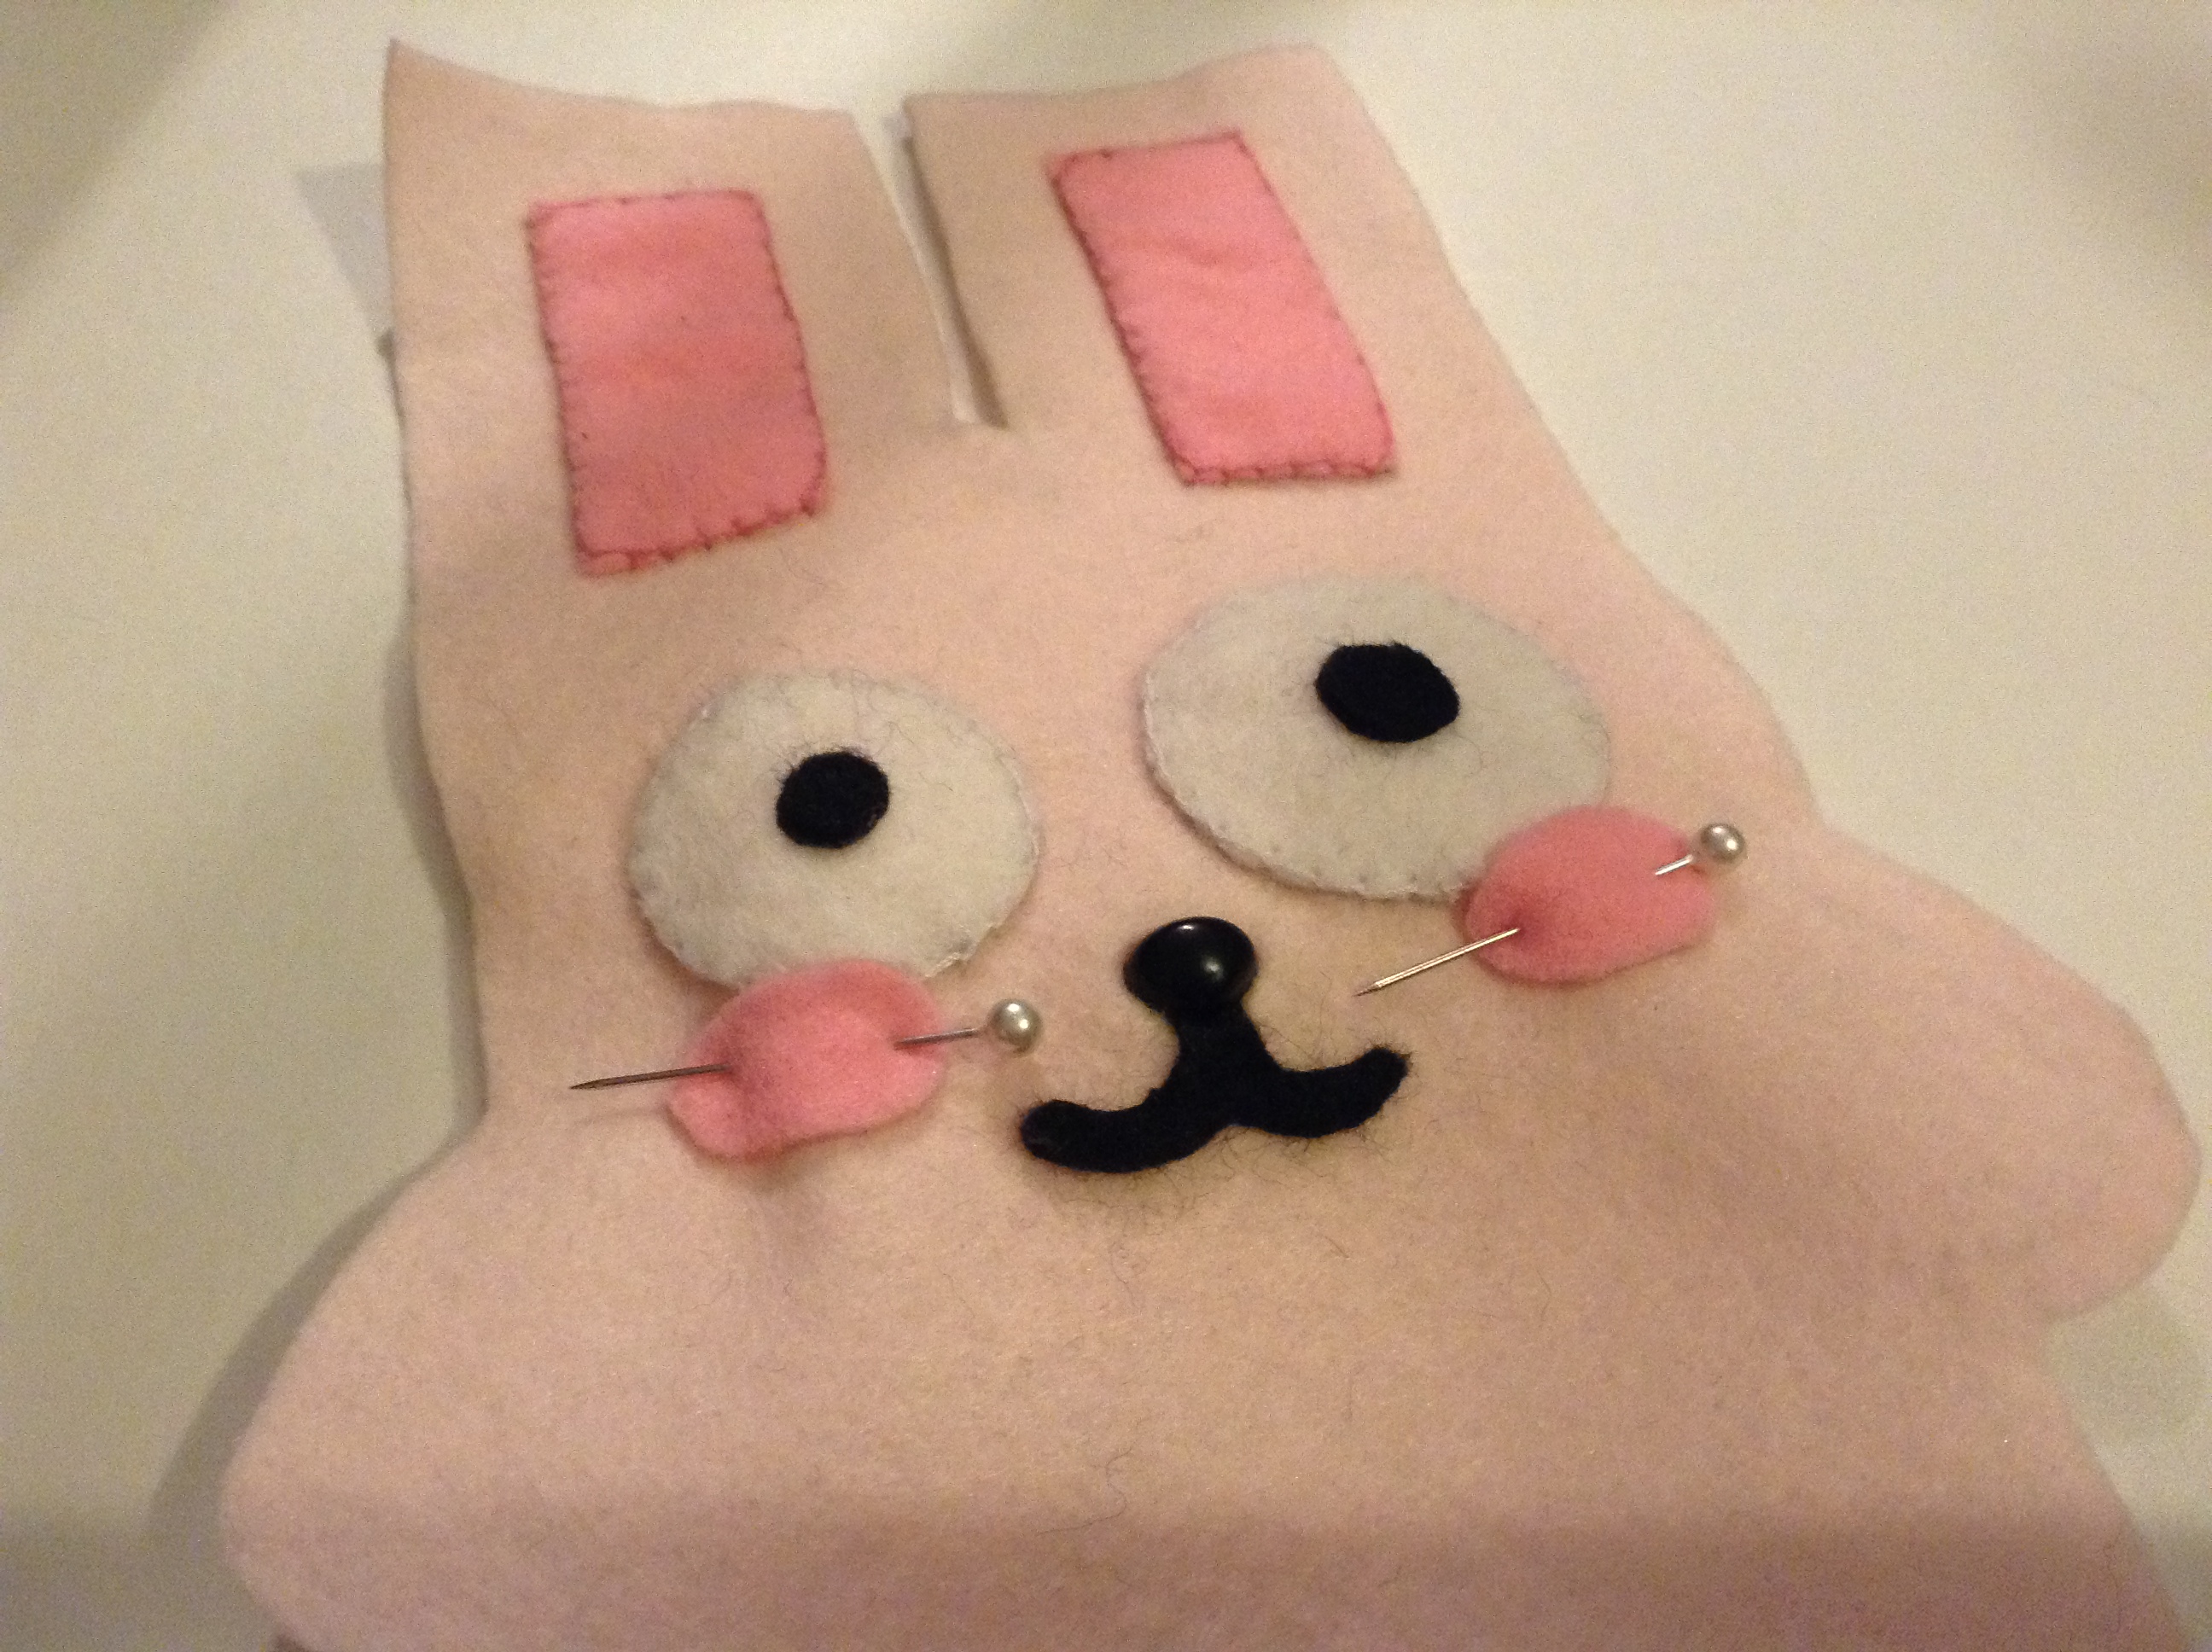
Auauauau, miss Rosie is pinching meeee!
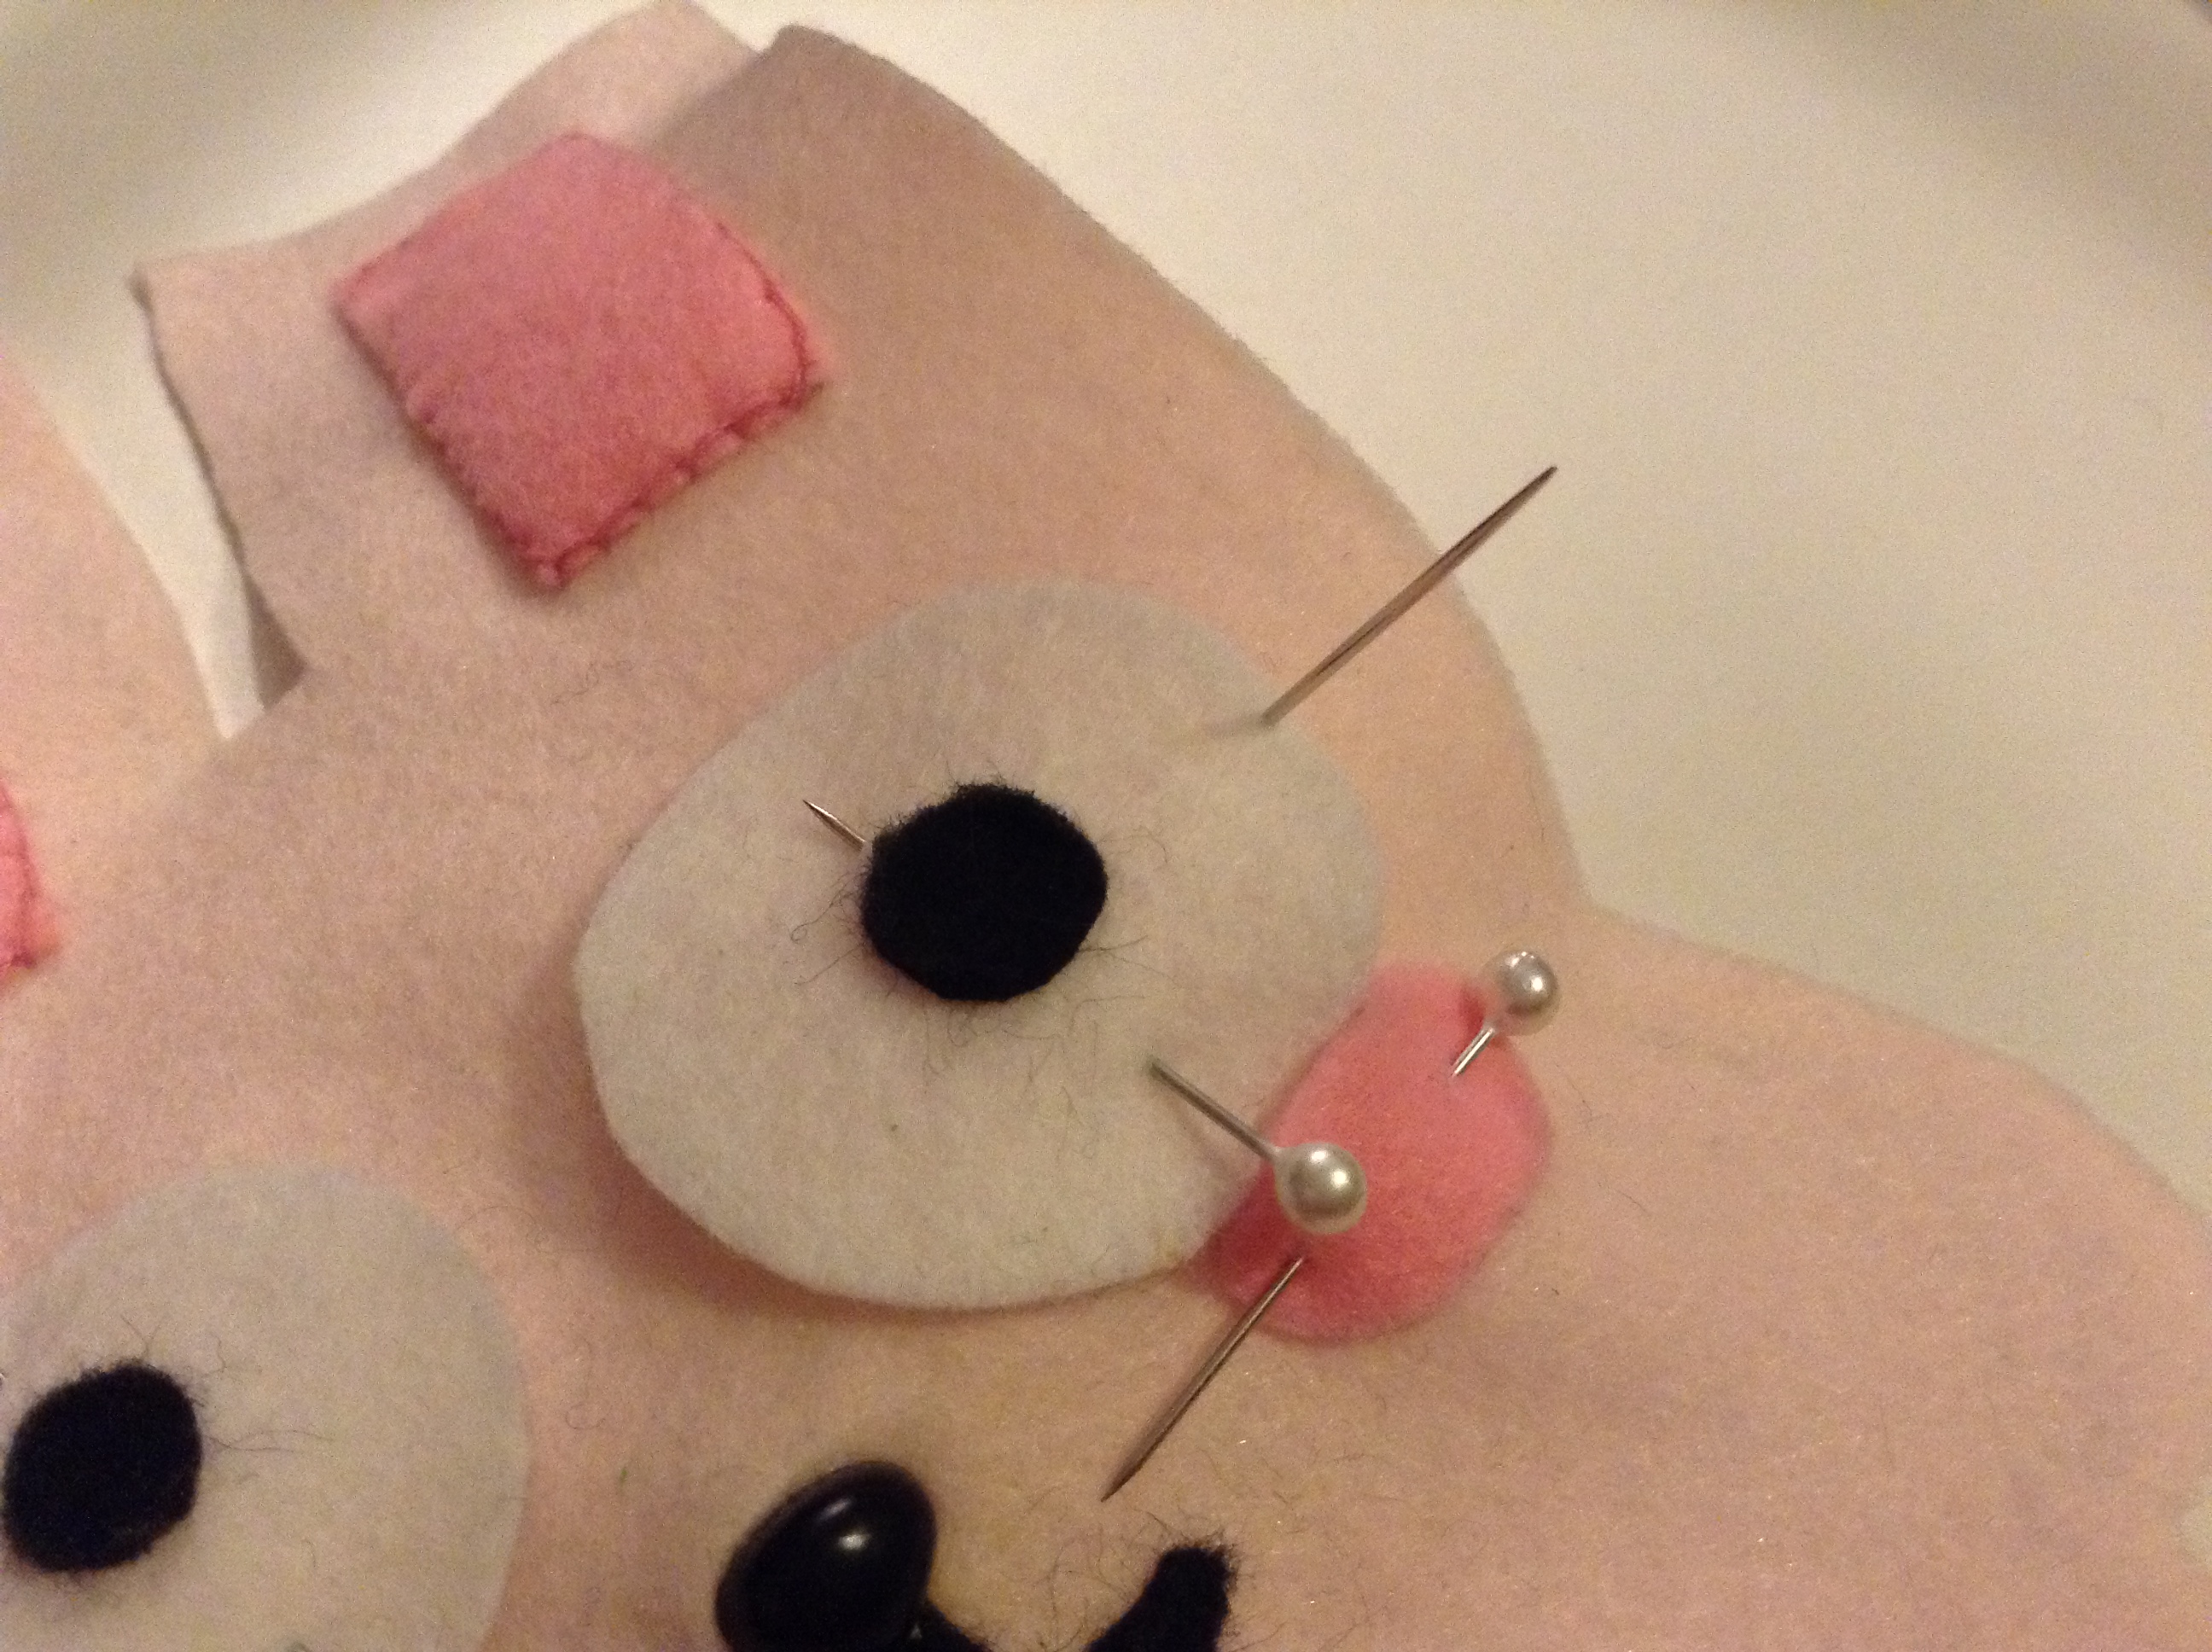
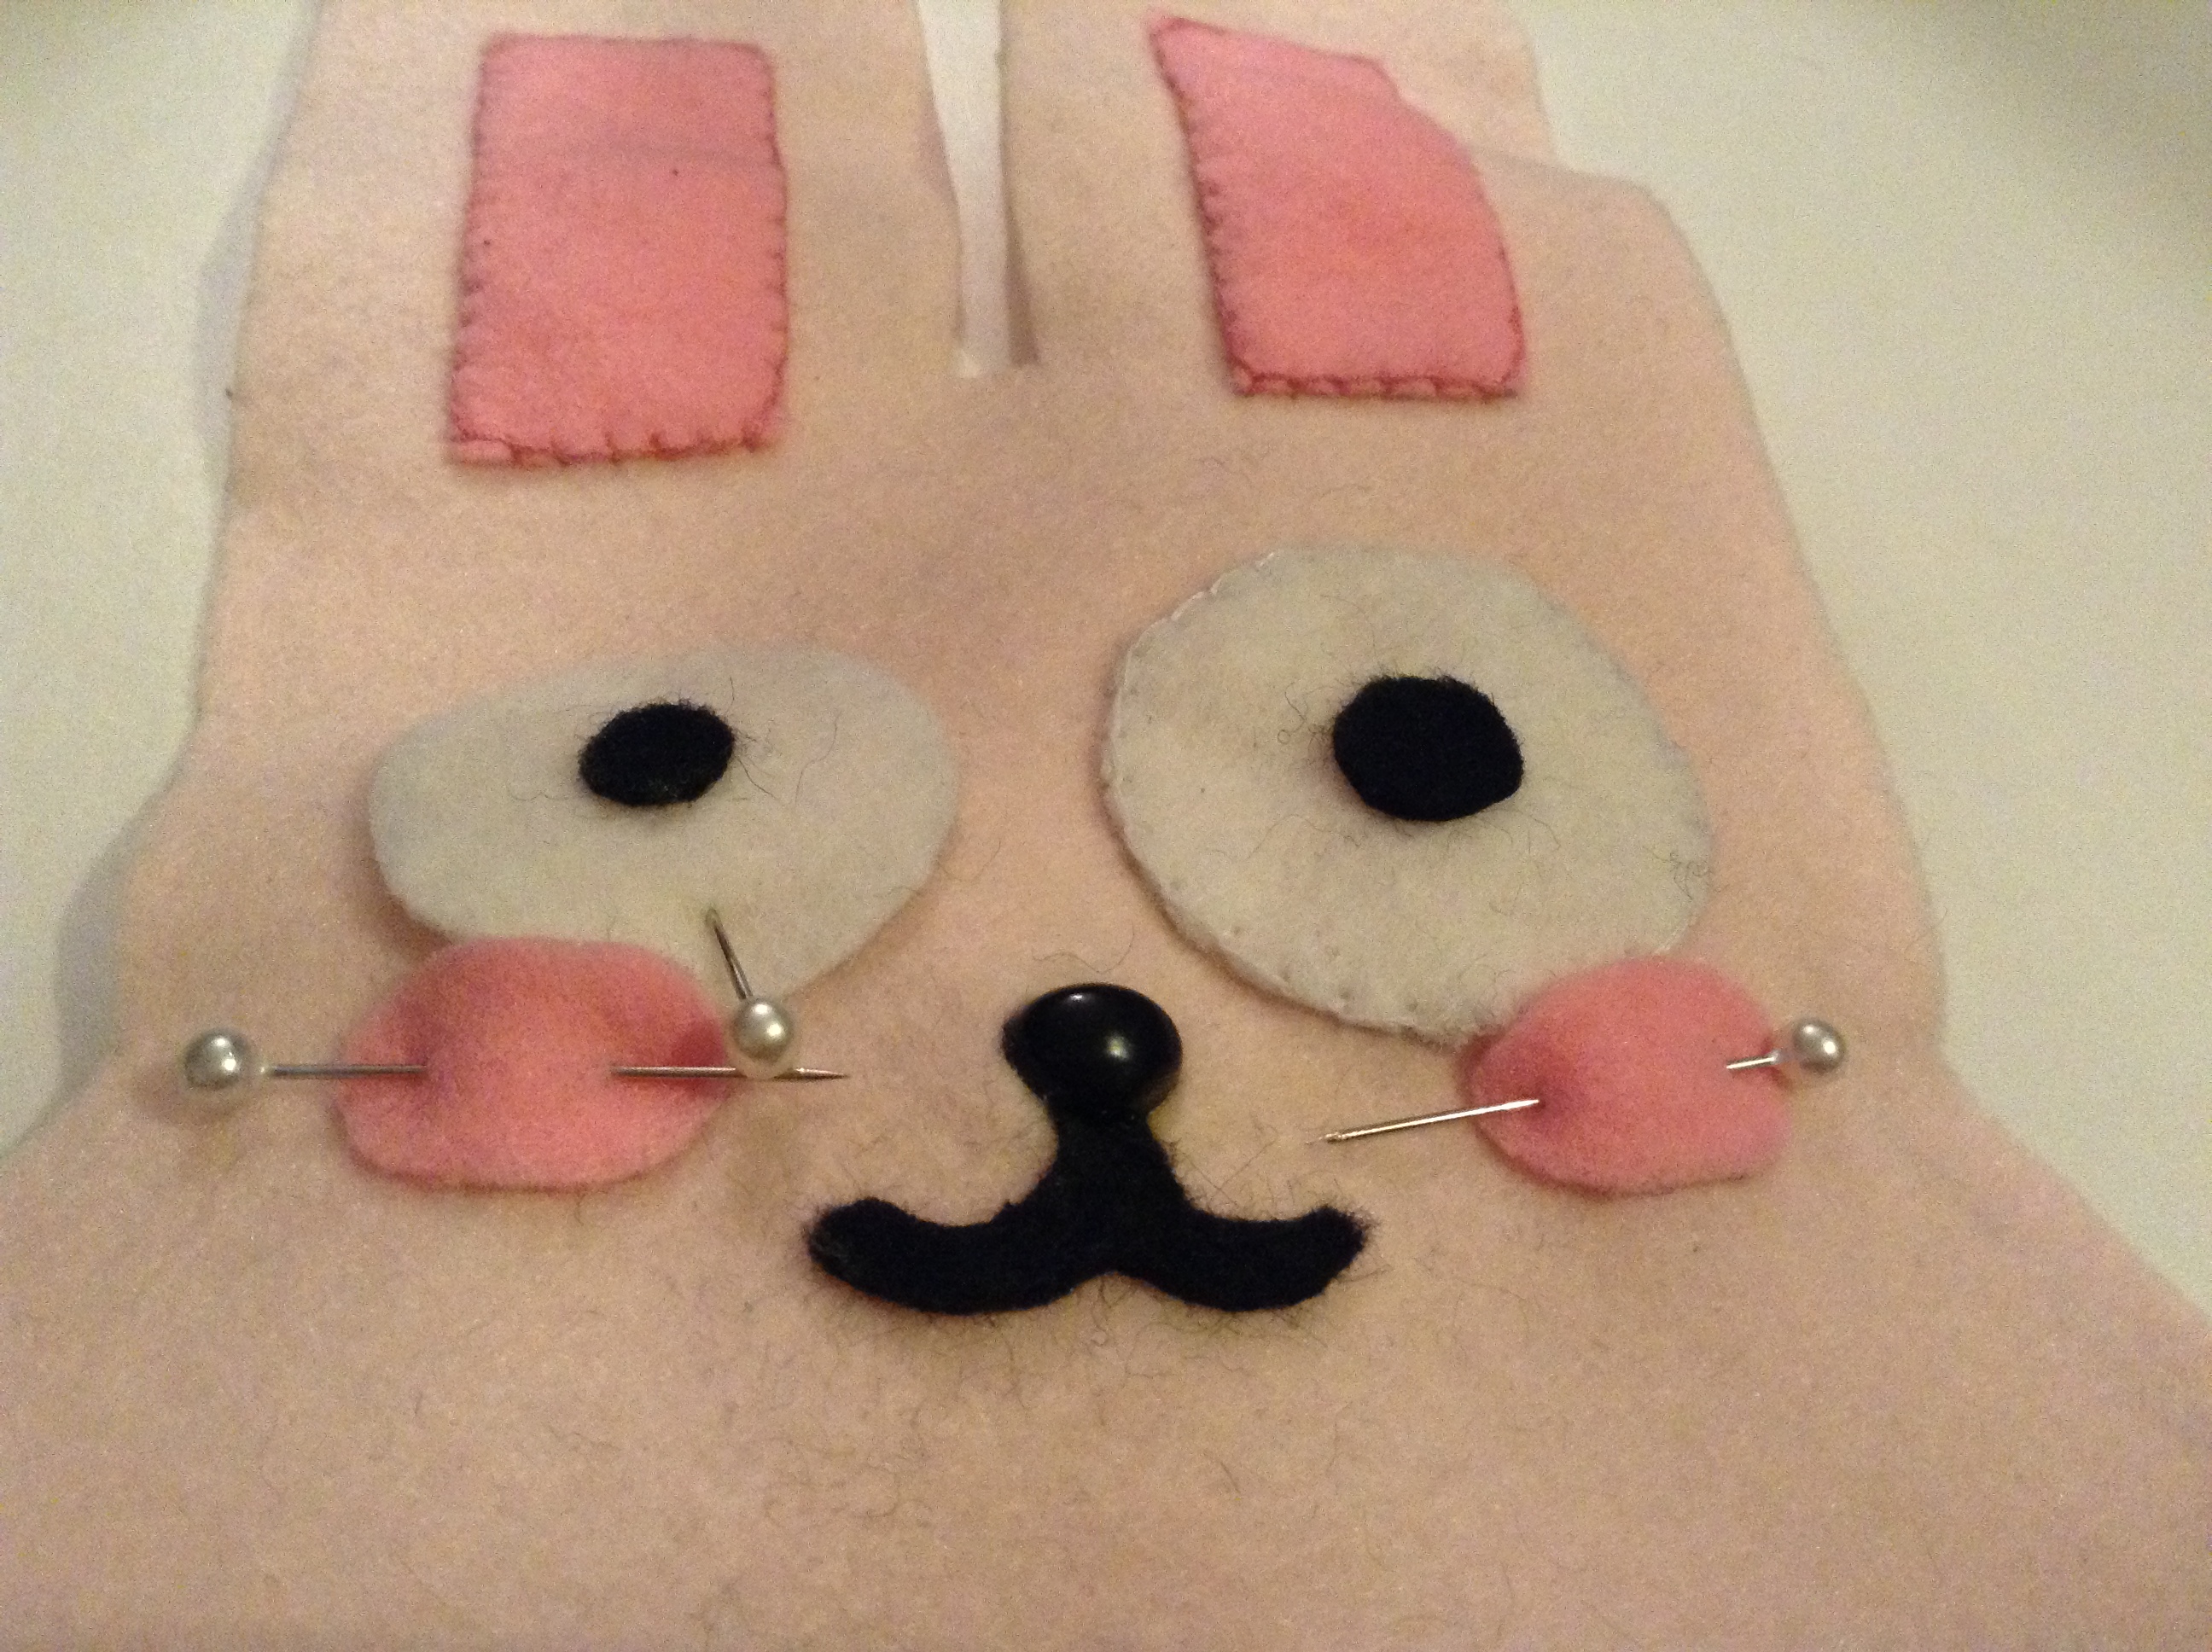
Yes, position the sewing pins on the eyes and cheeks to secure them.
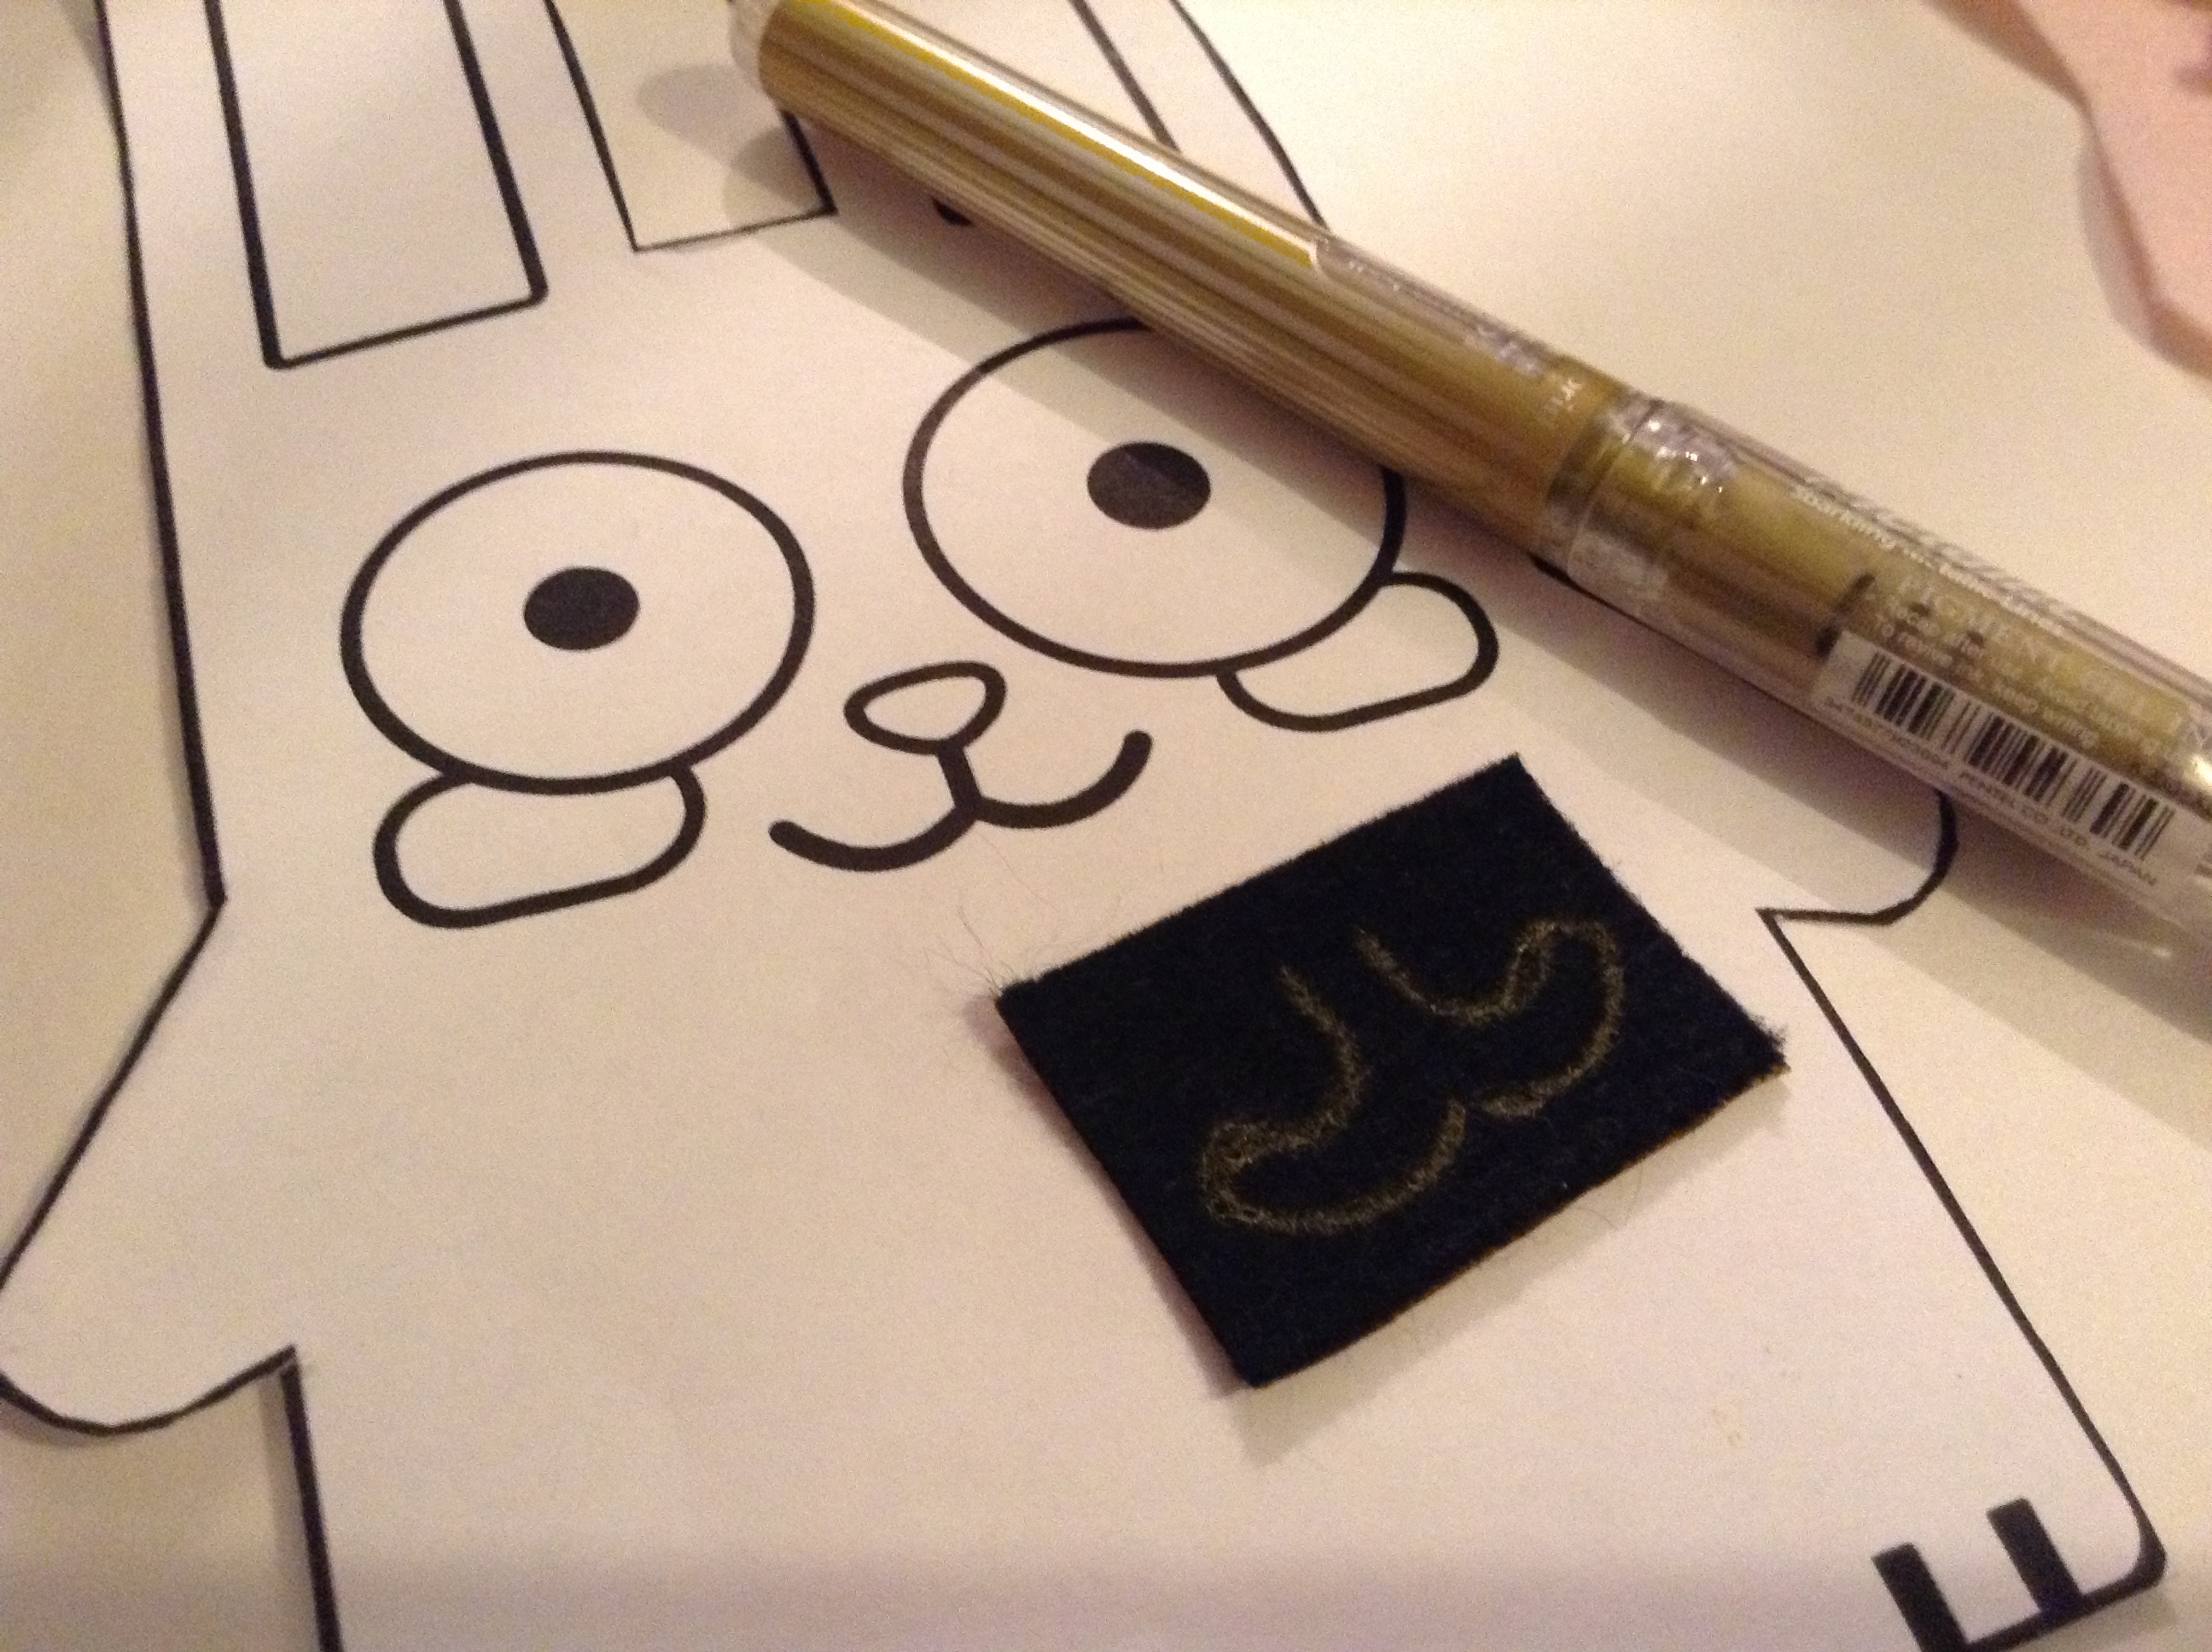
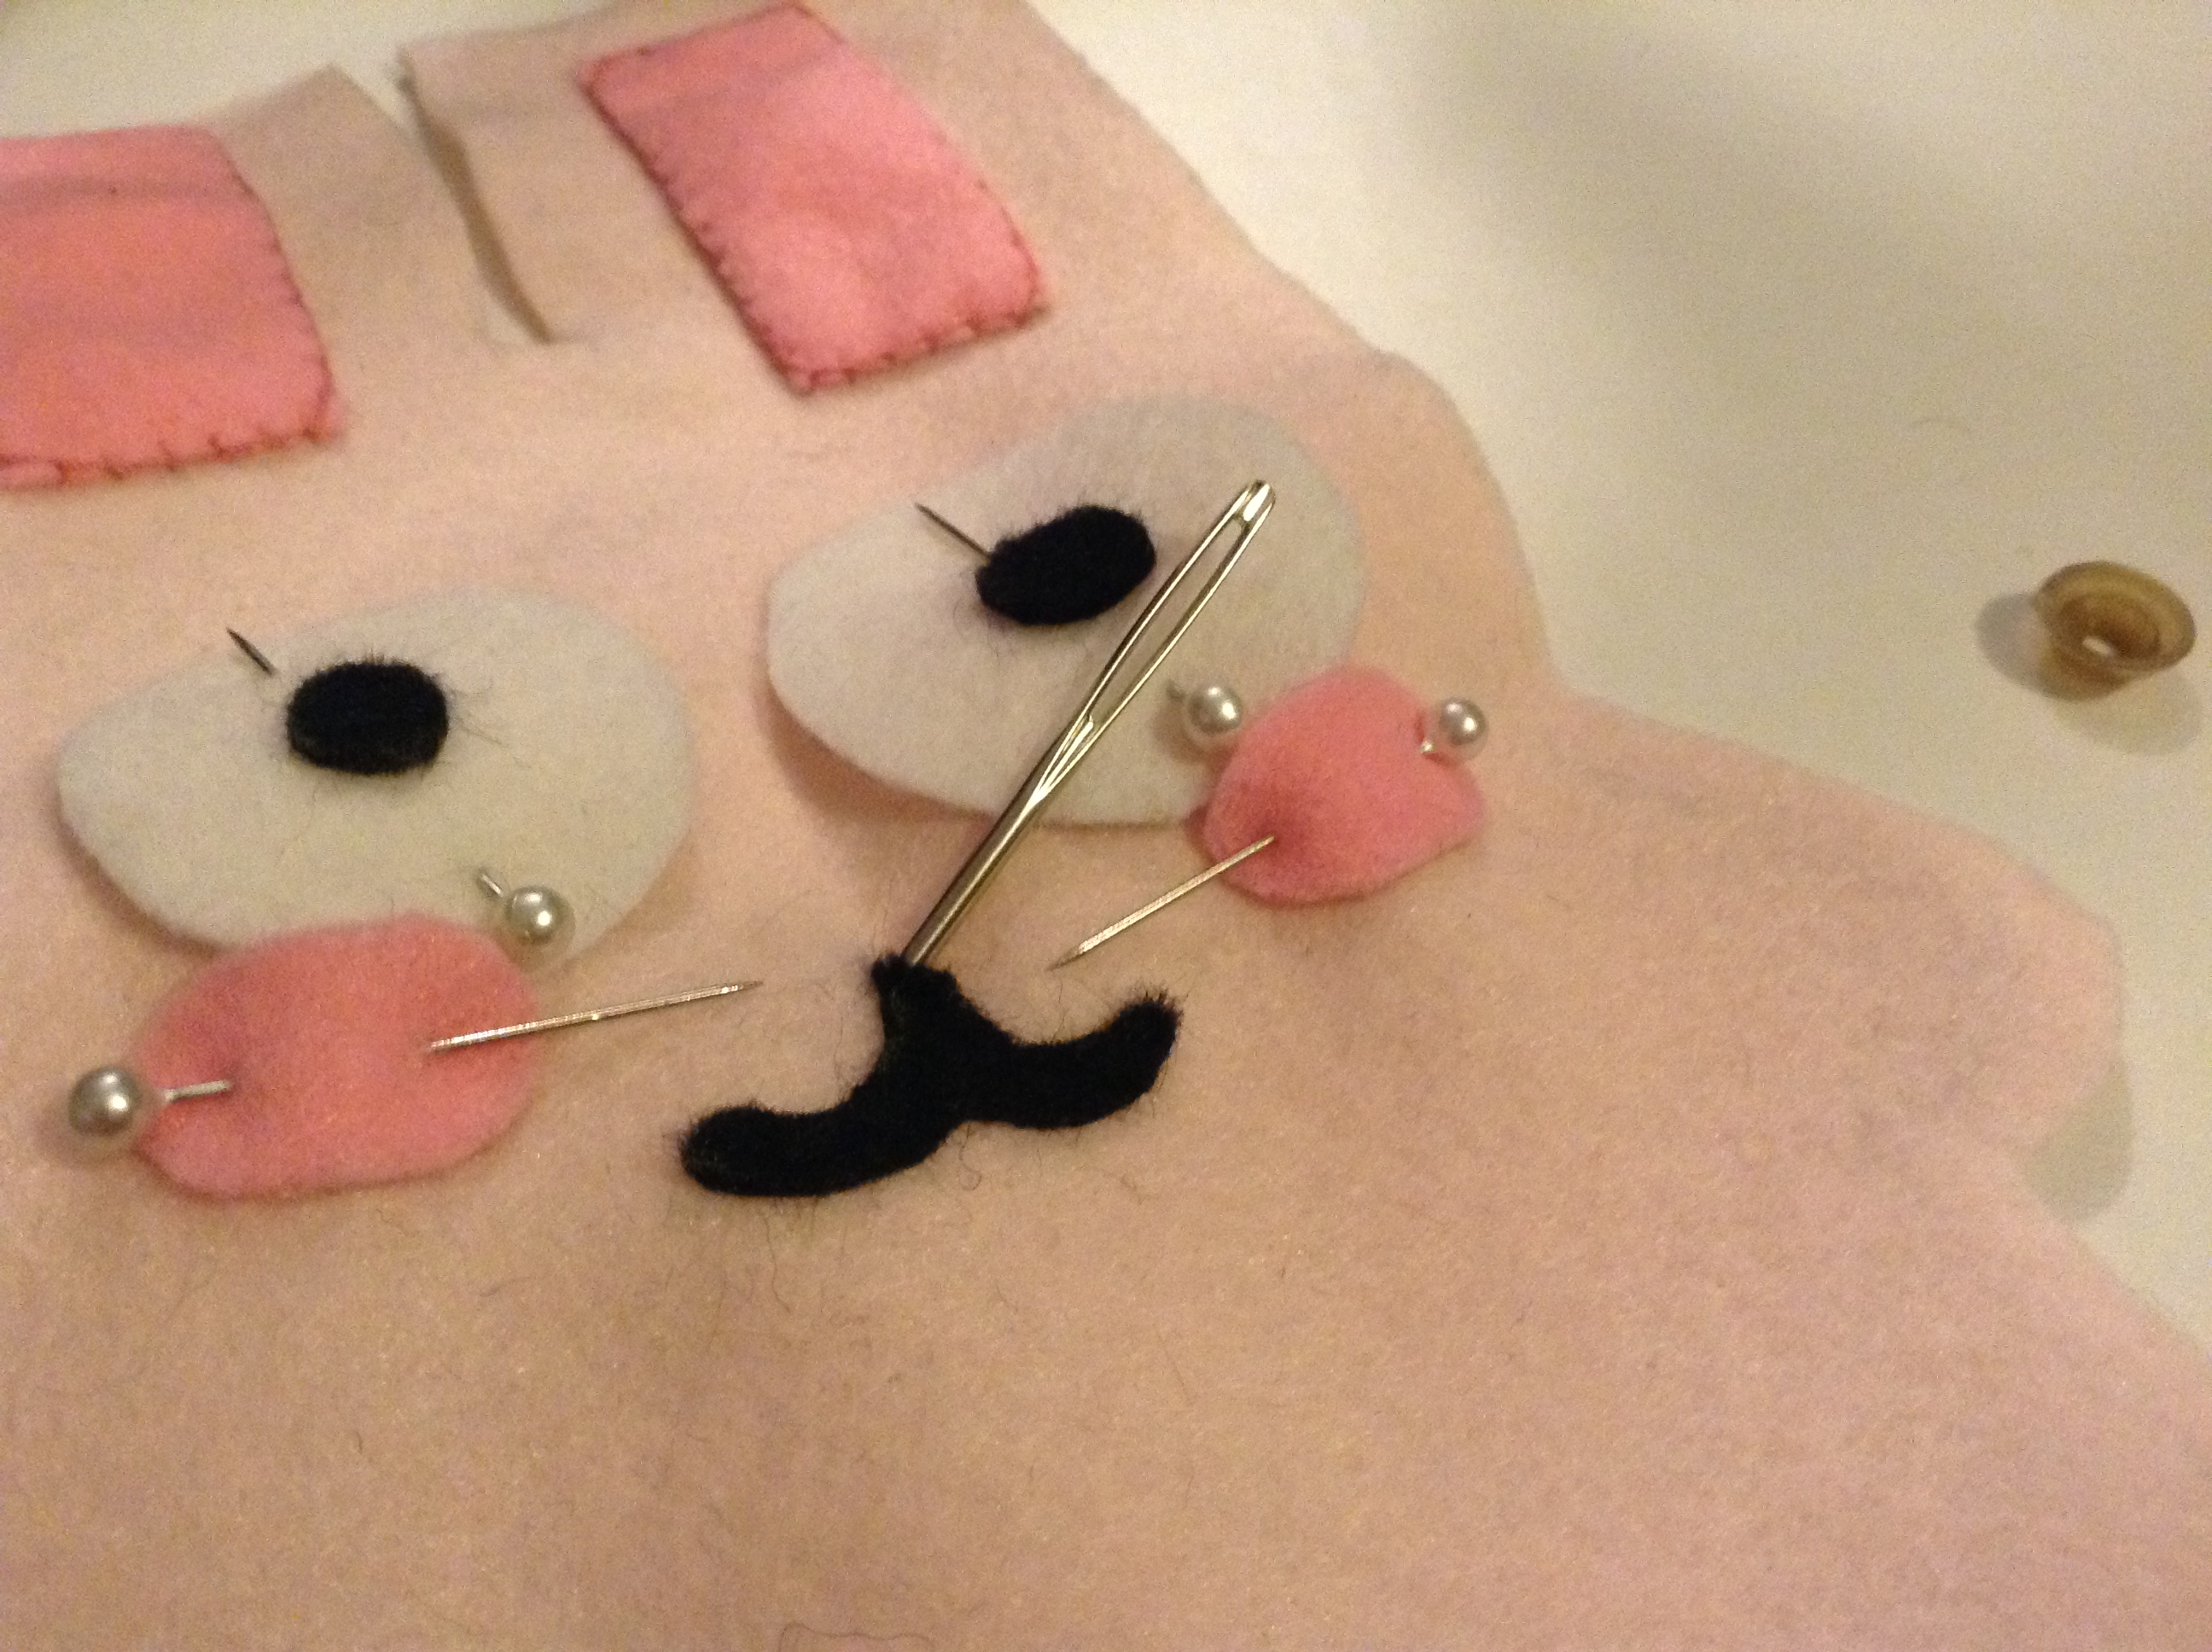
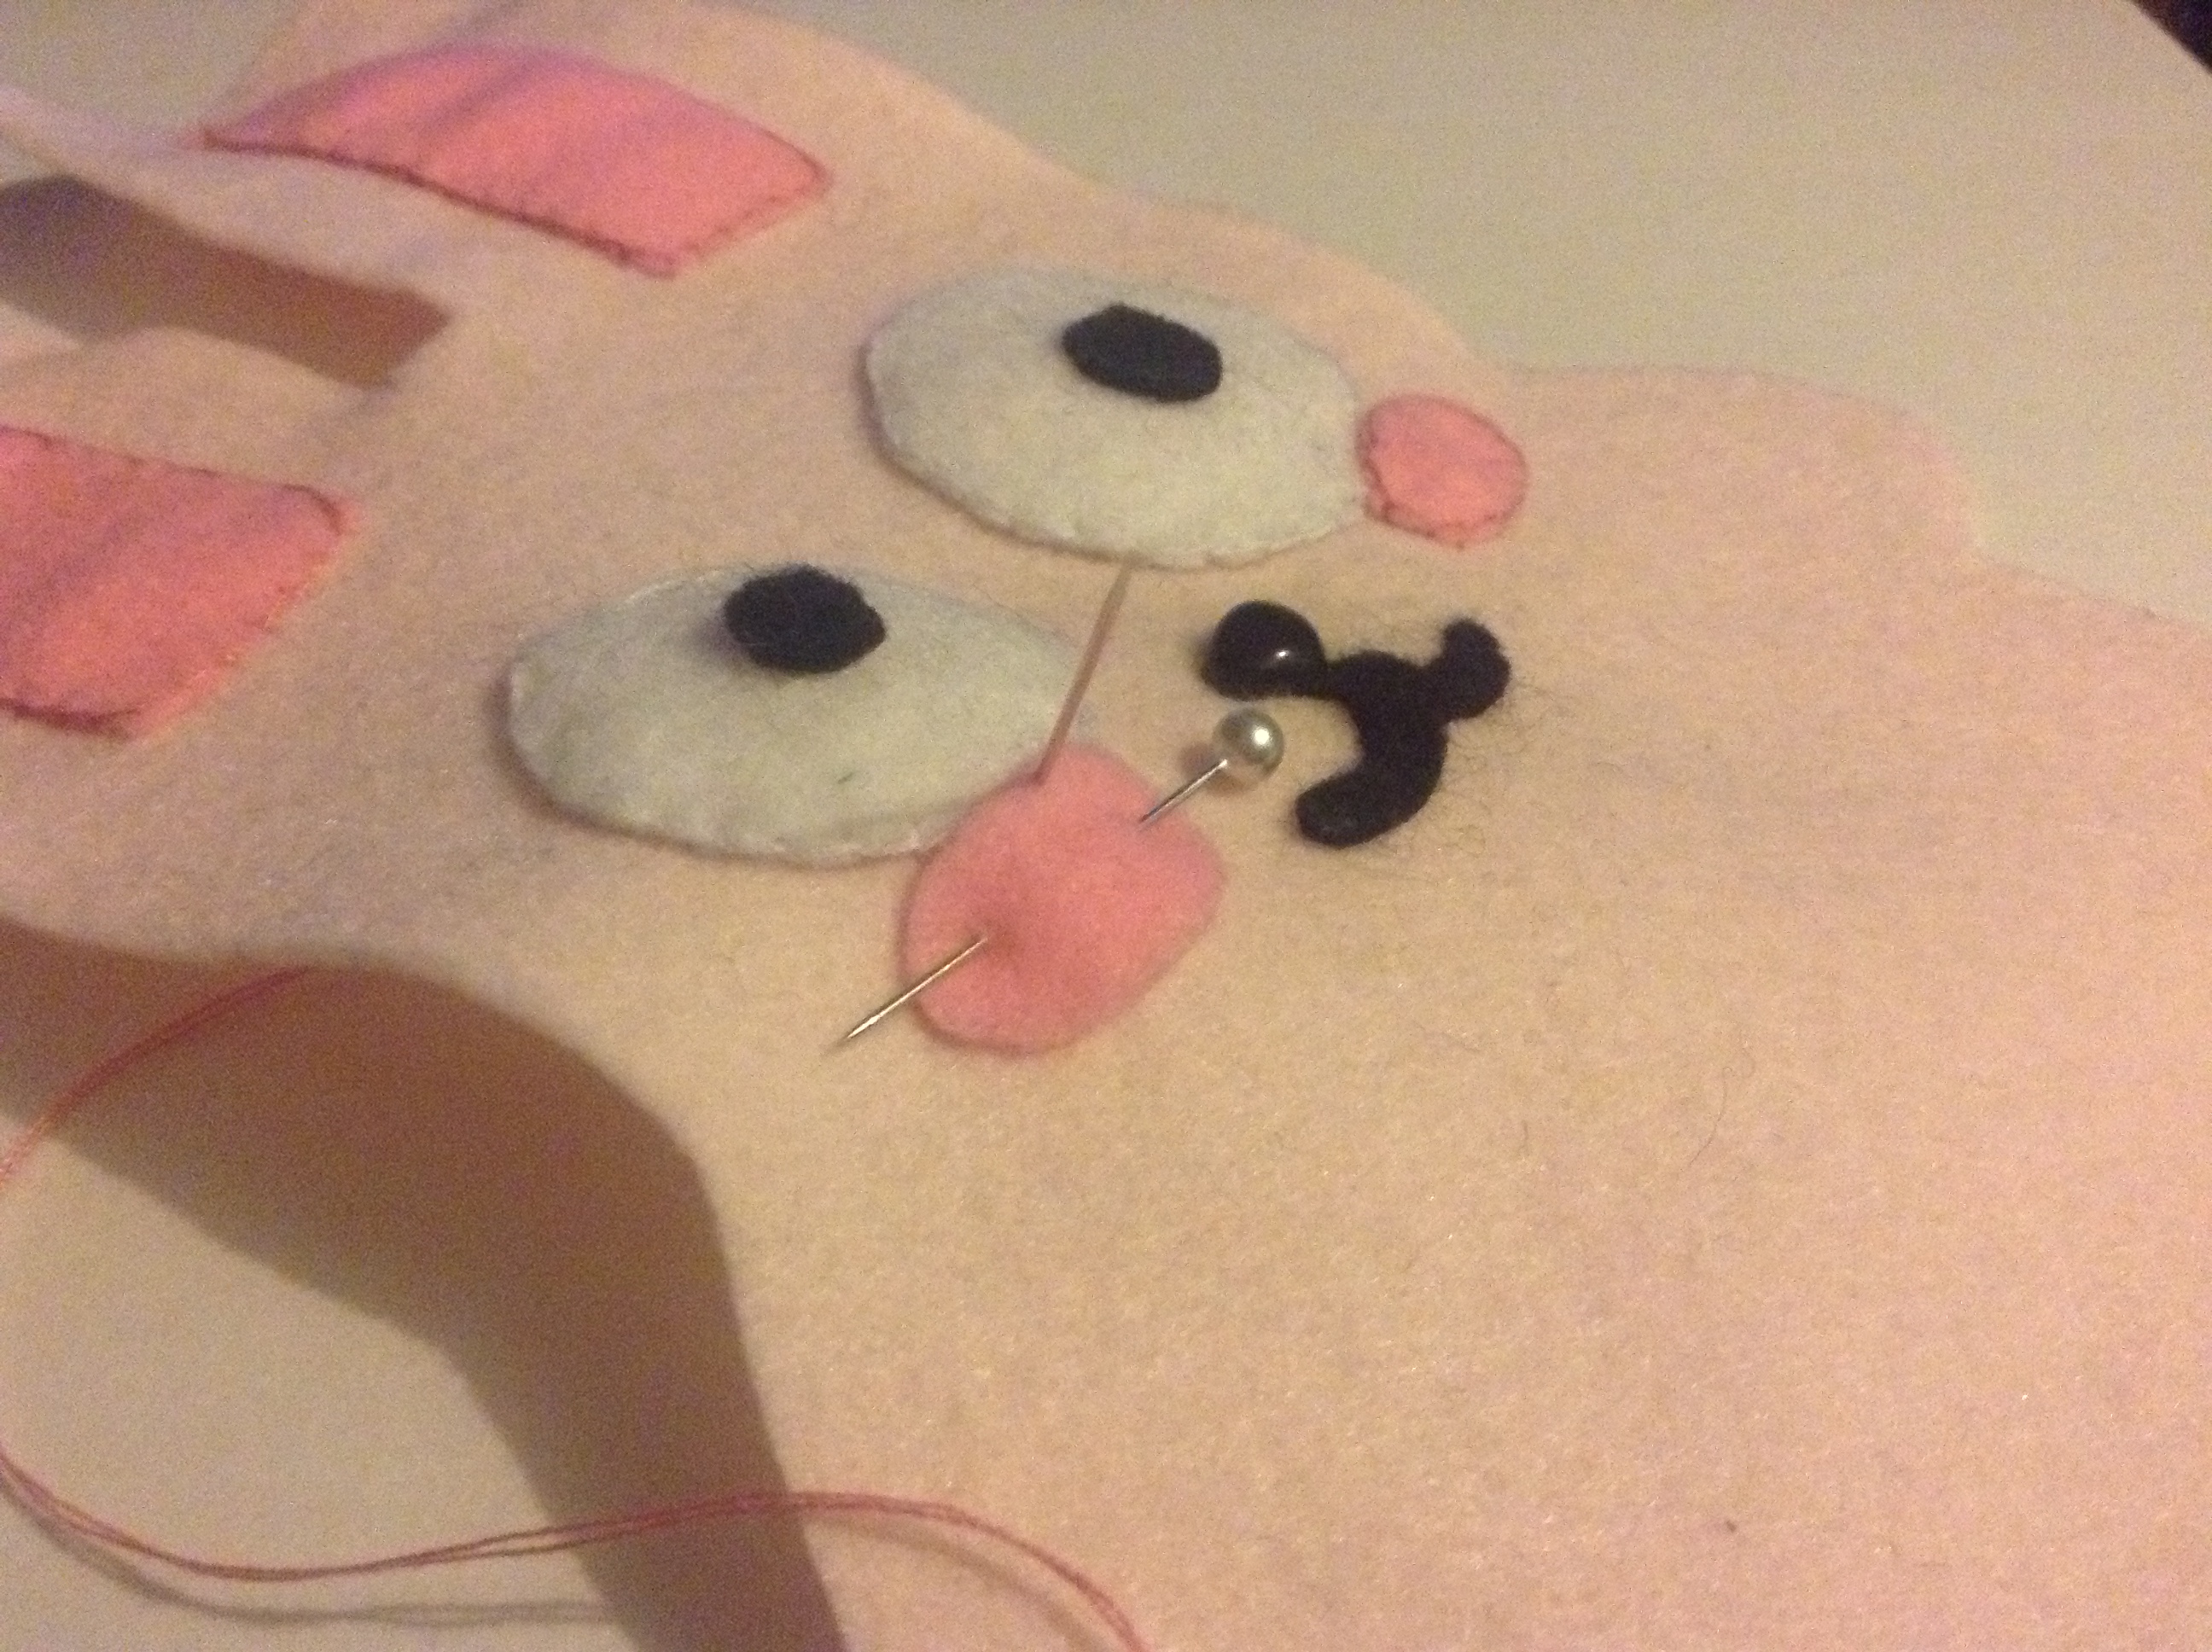
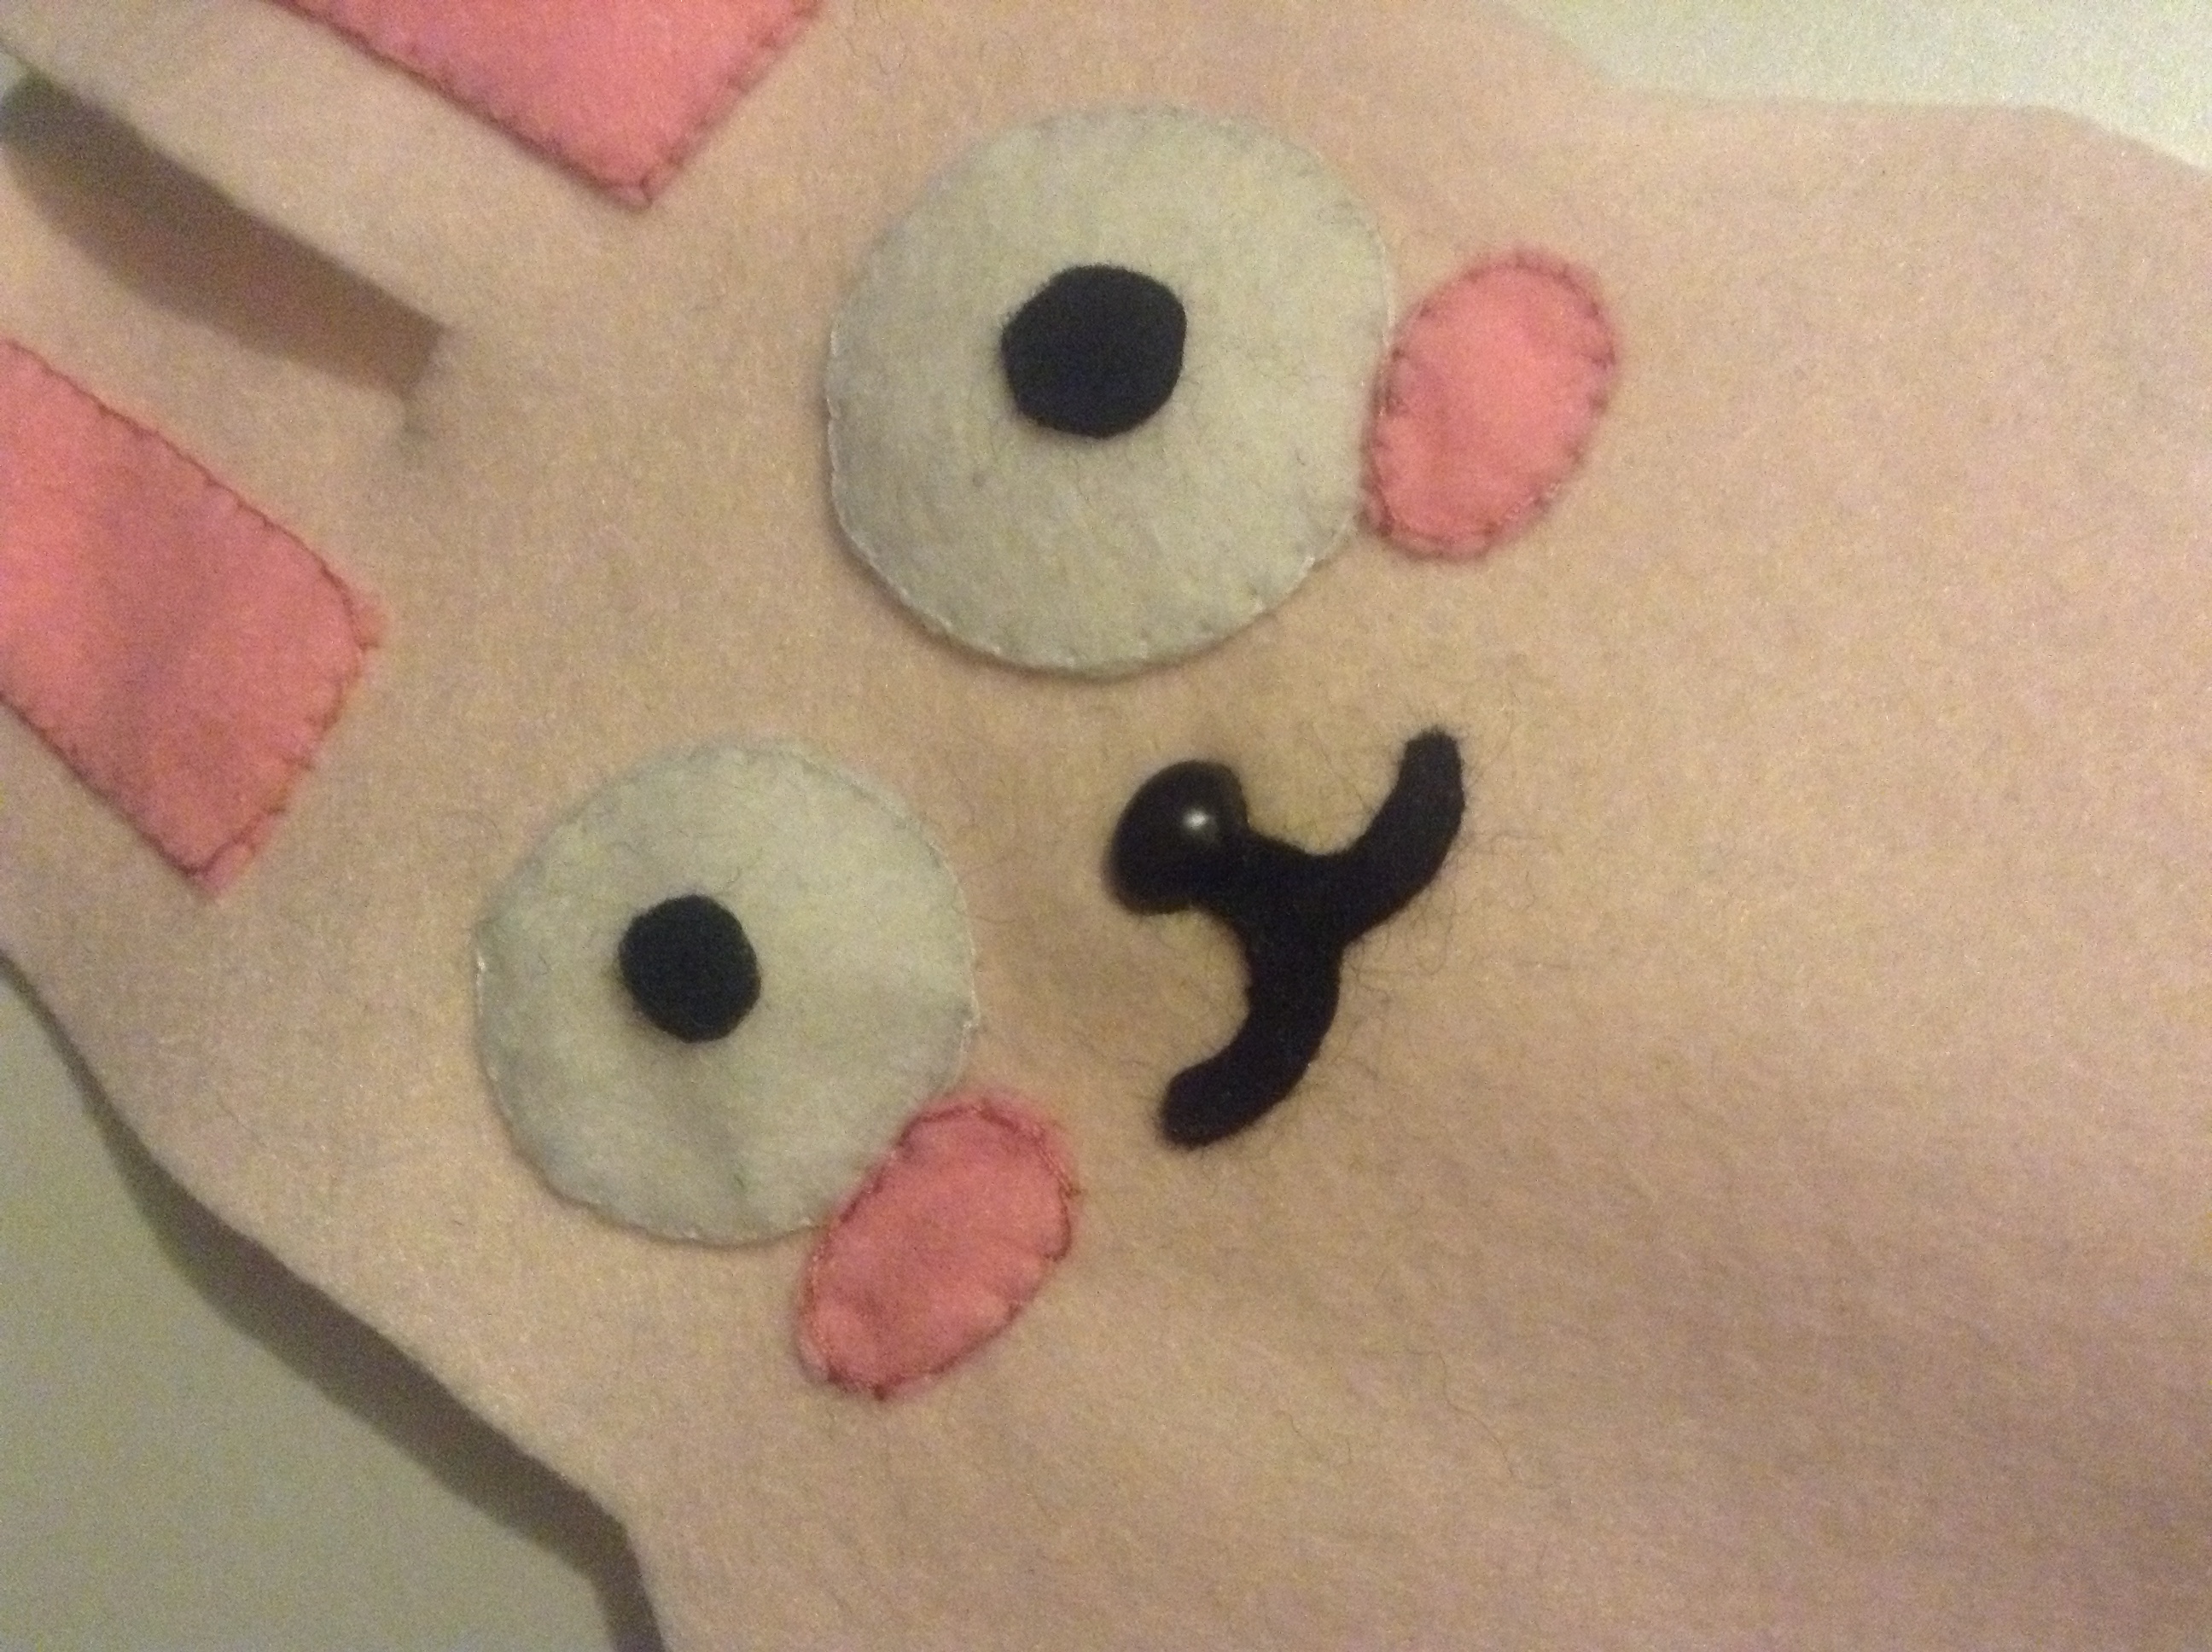
Now draw the snouth/mouth outlines on the black felt. Use a gel pen, as pencil won't work as well.
Cut out the snout/mouth. Position it on the right place between the cheeks/eyes.
Cut off the excess felt.
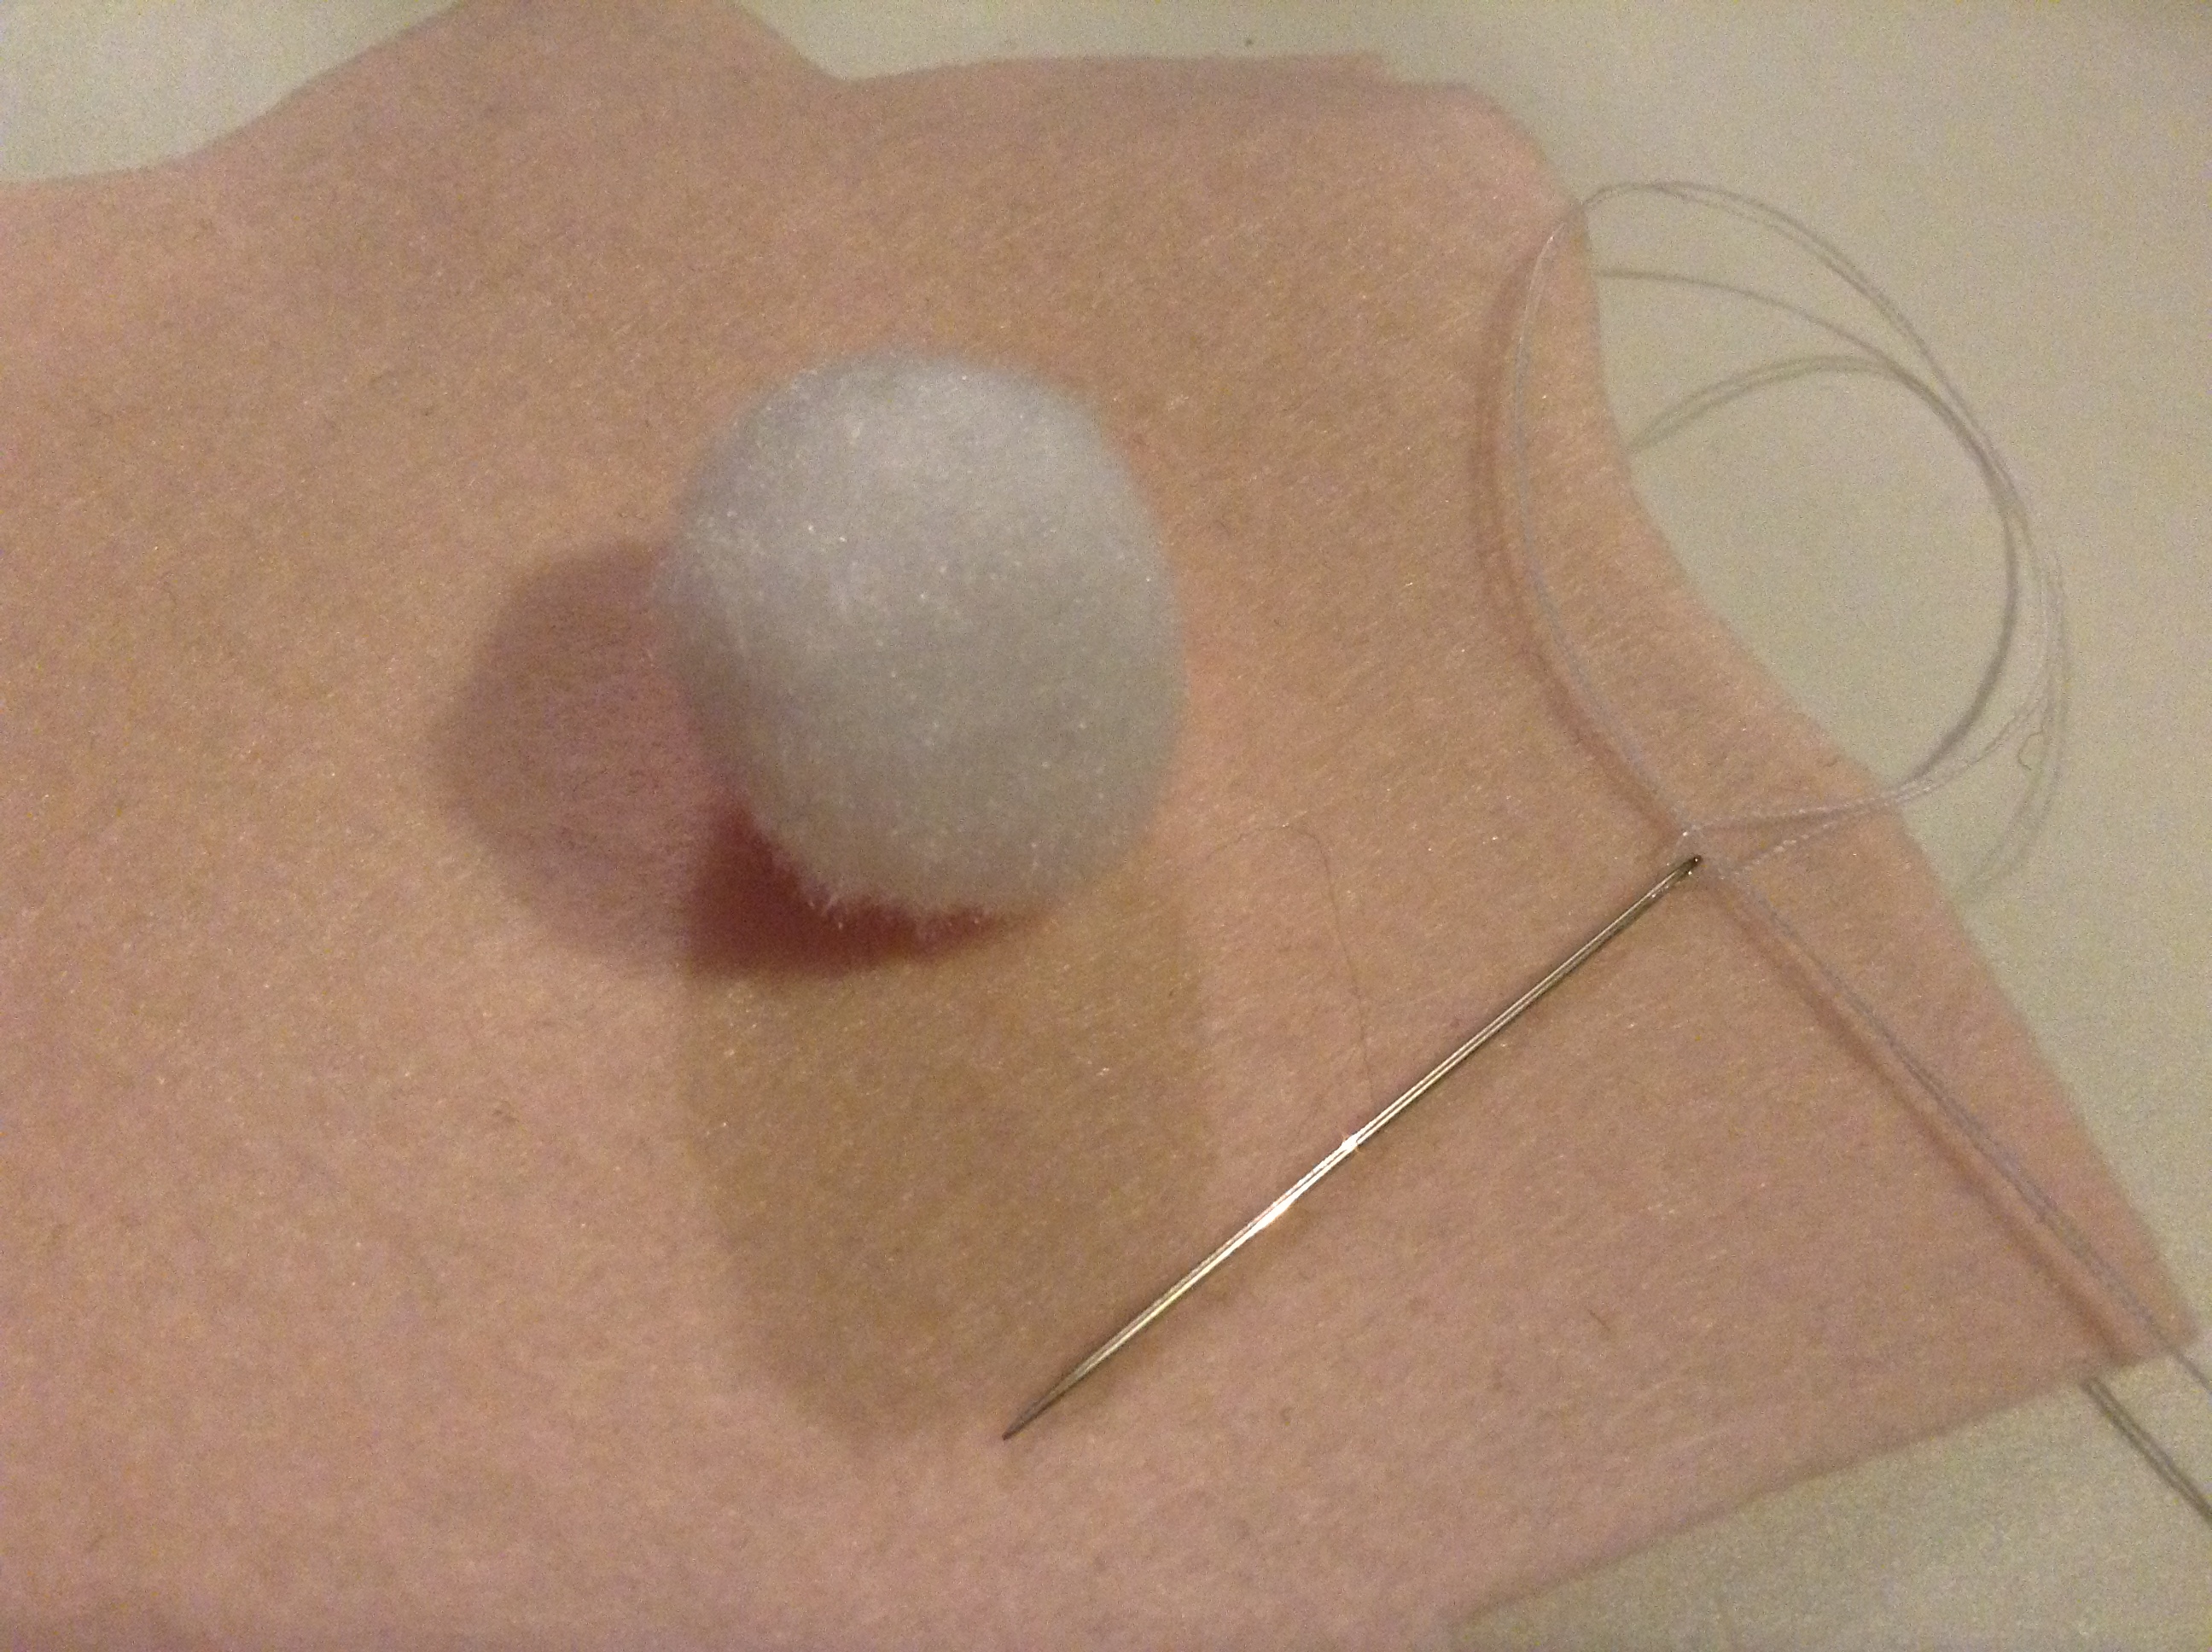
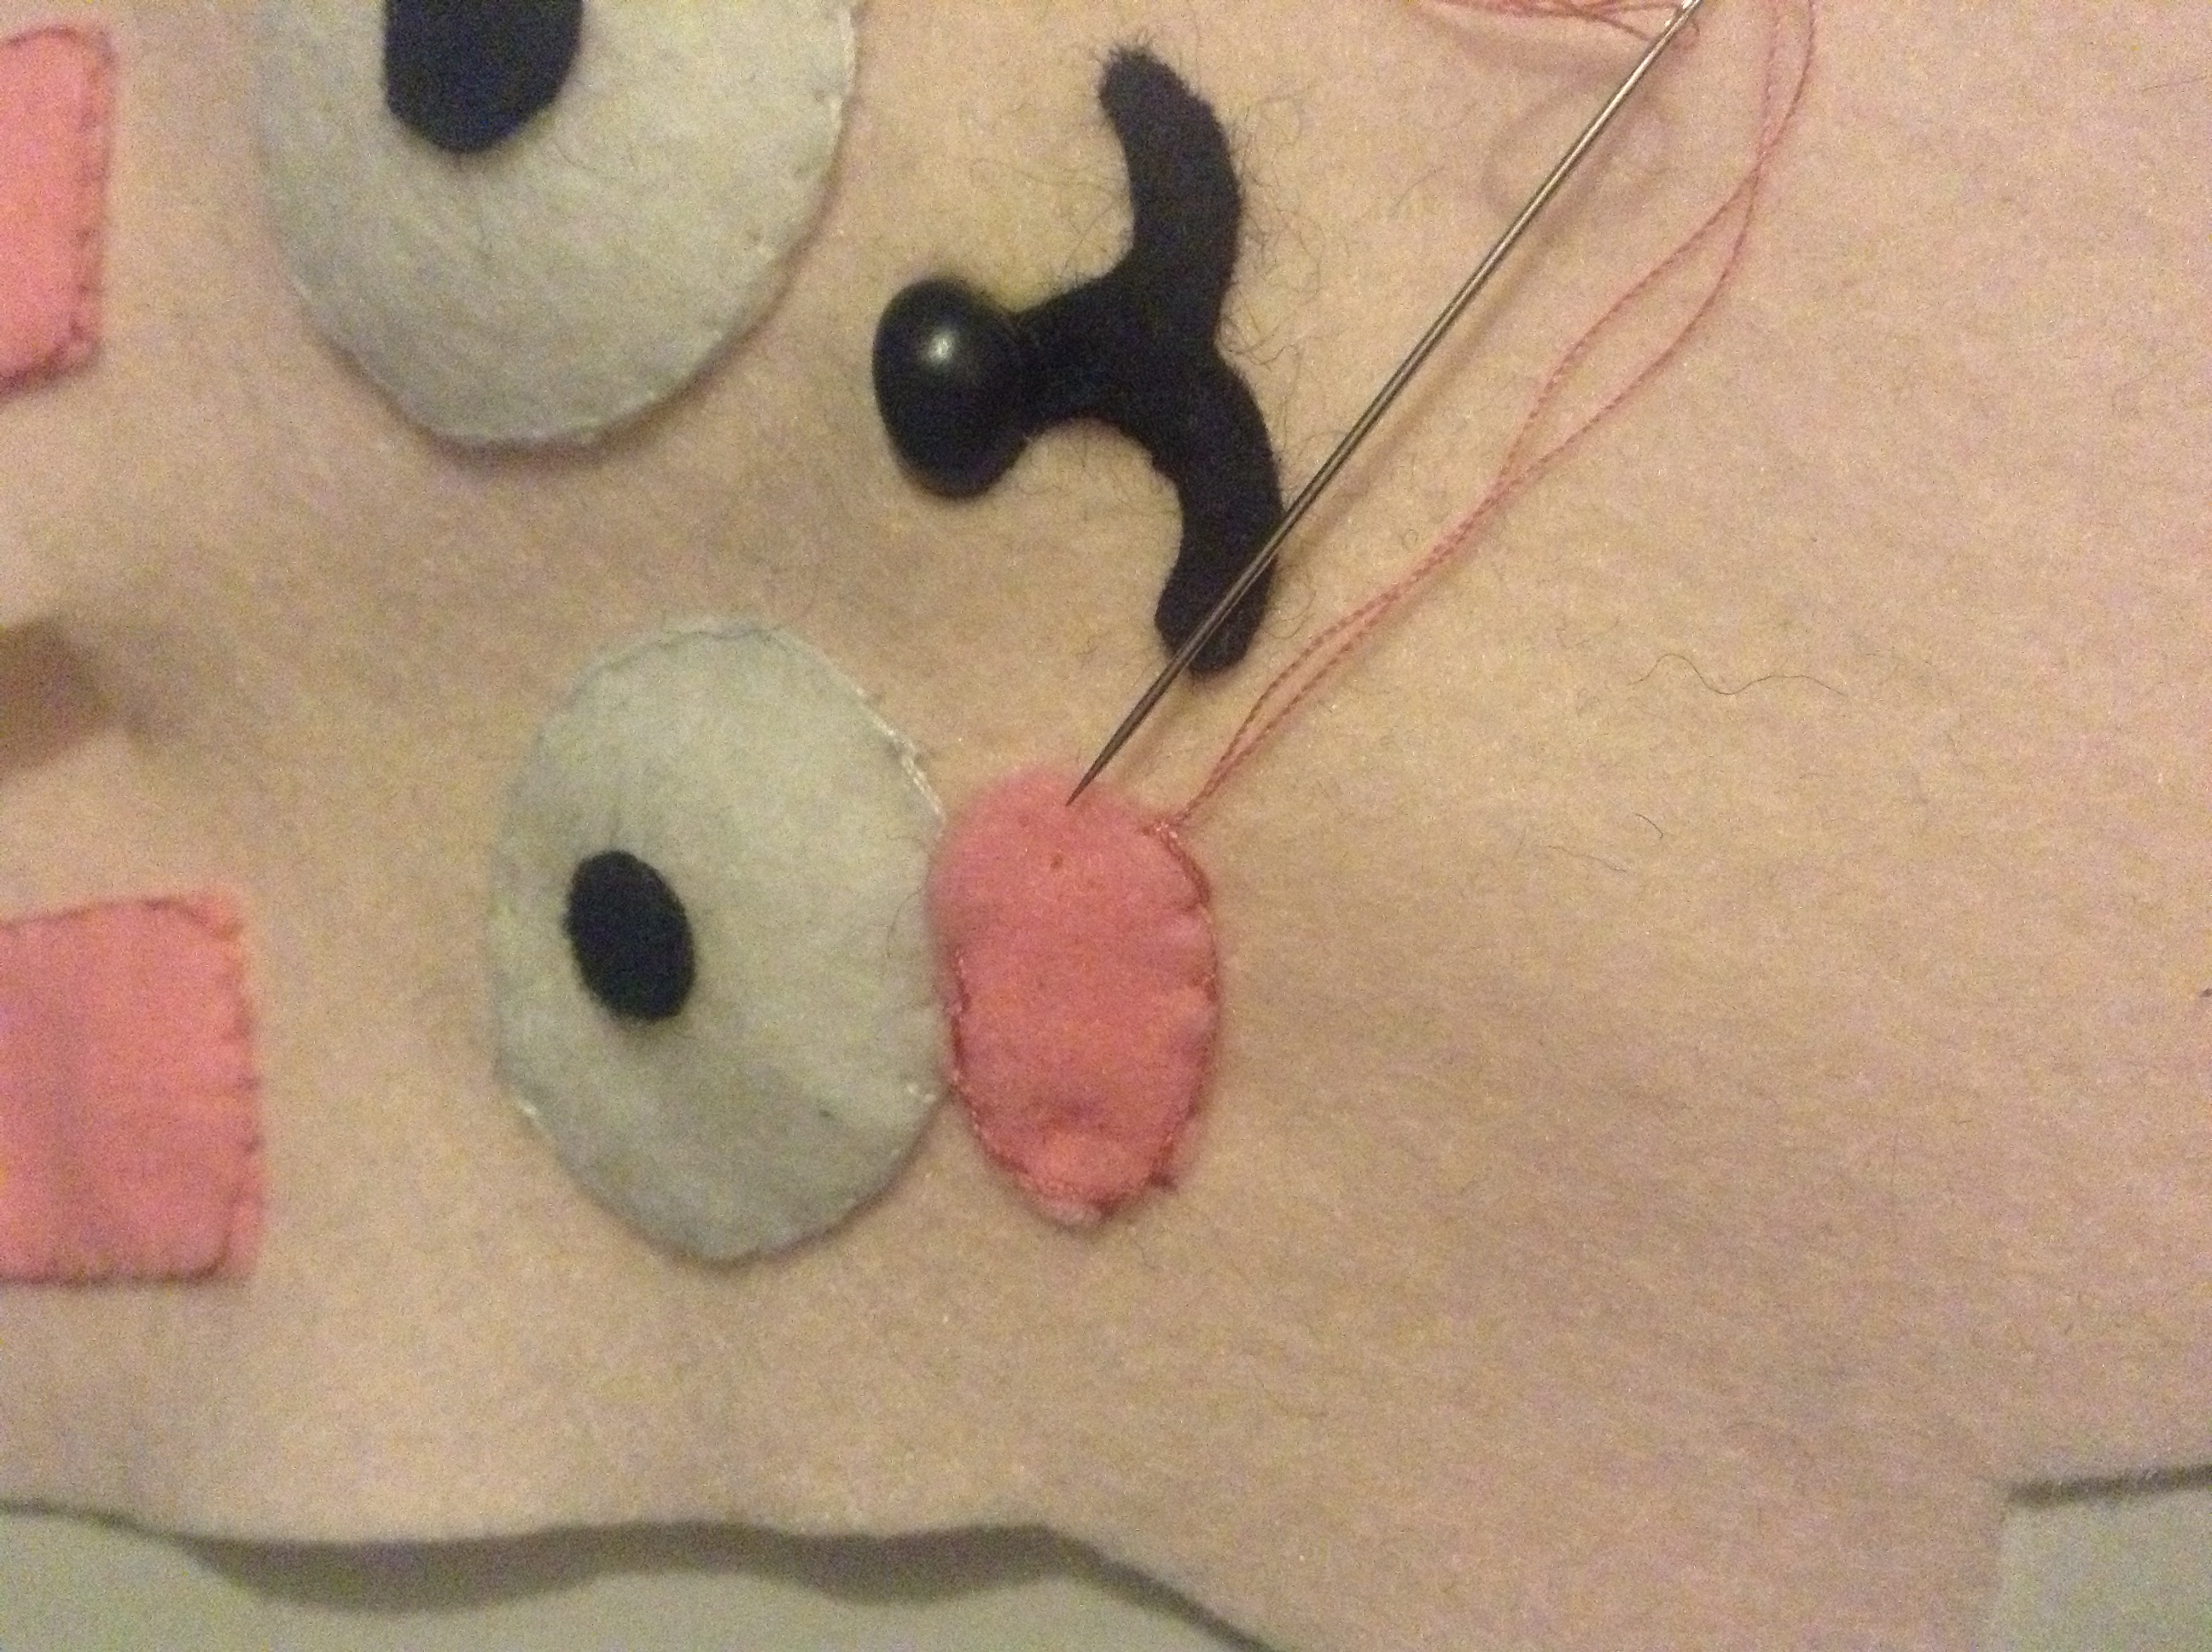
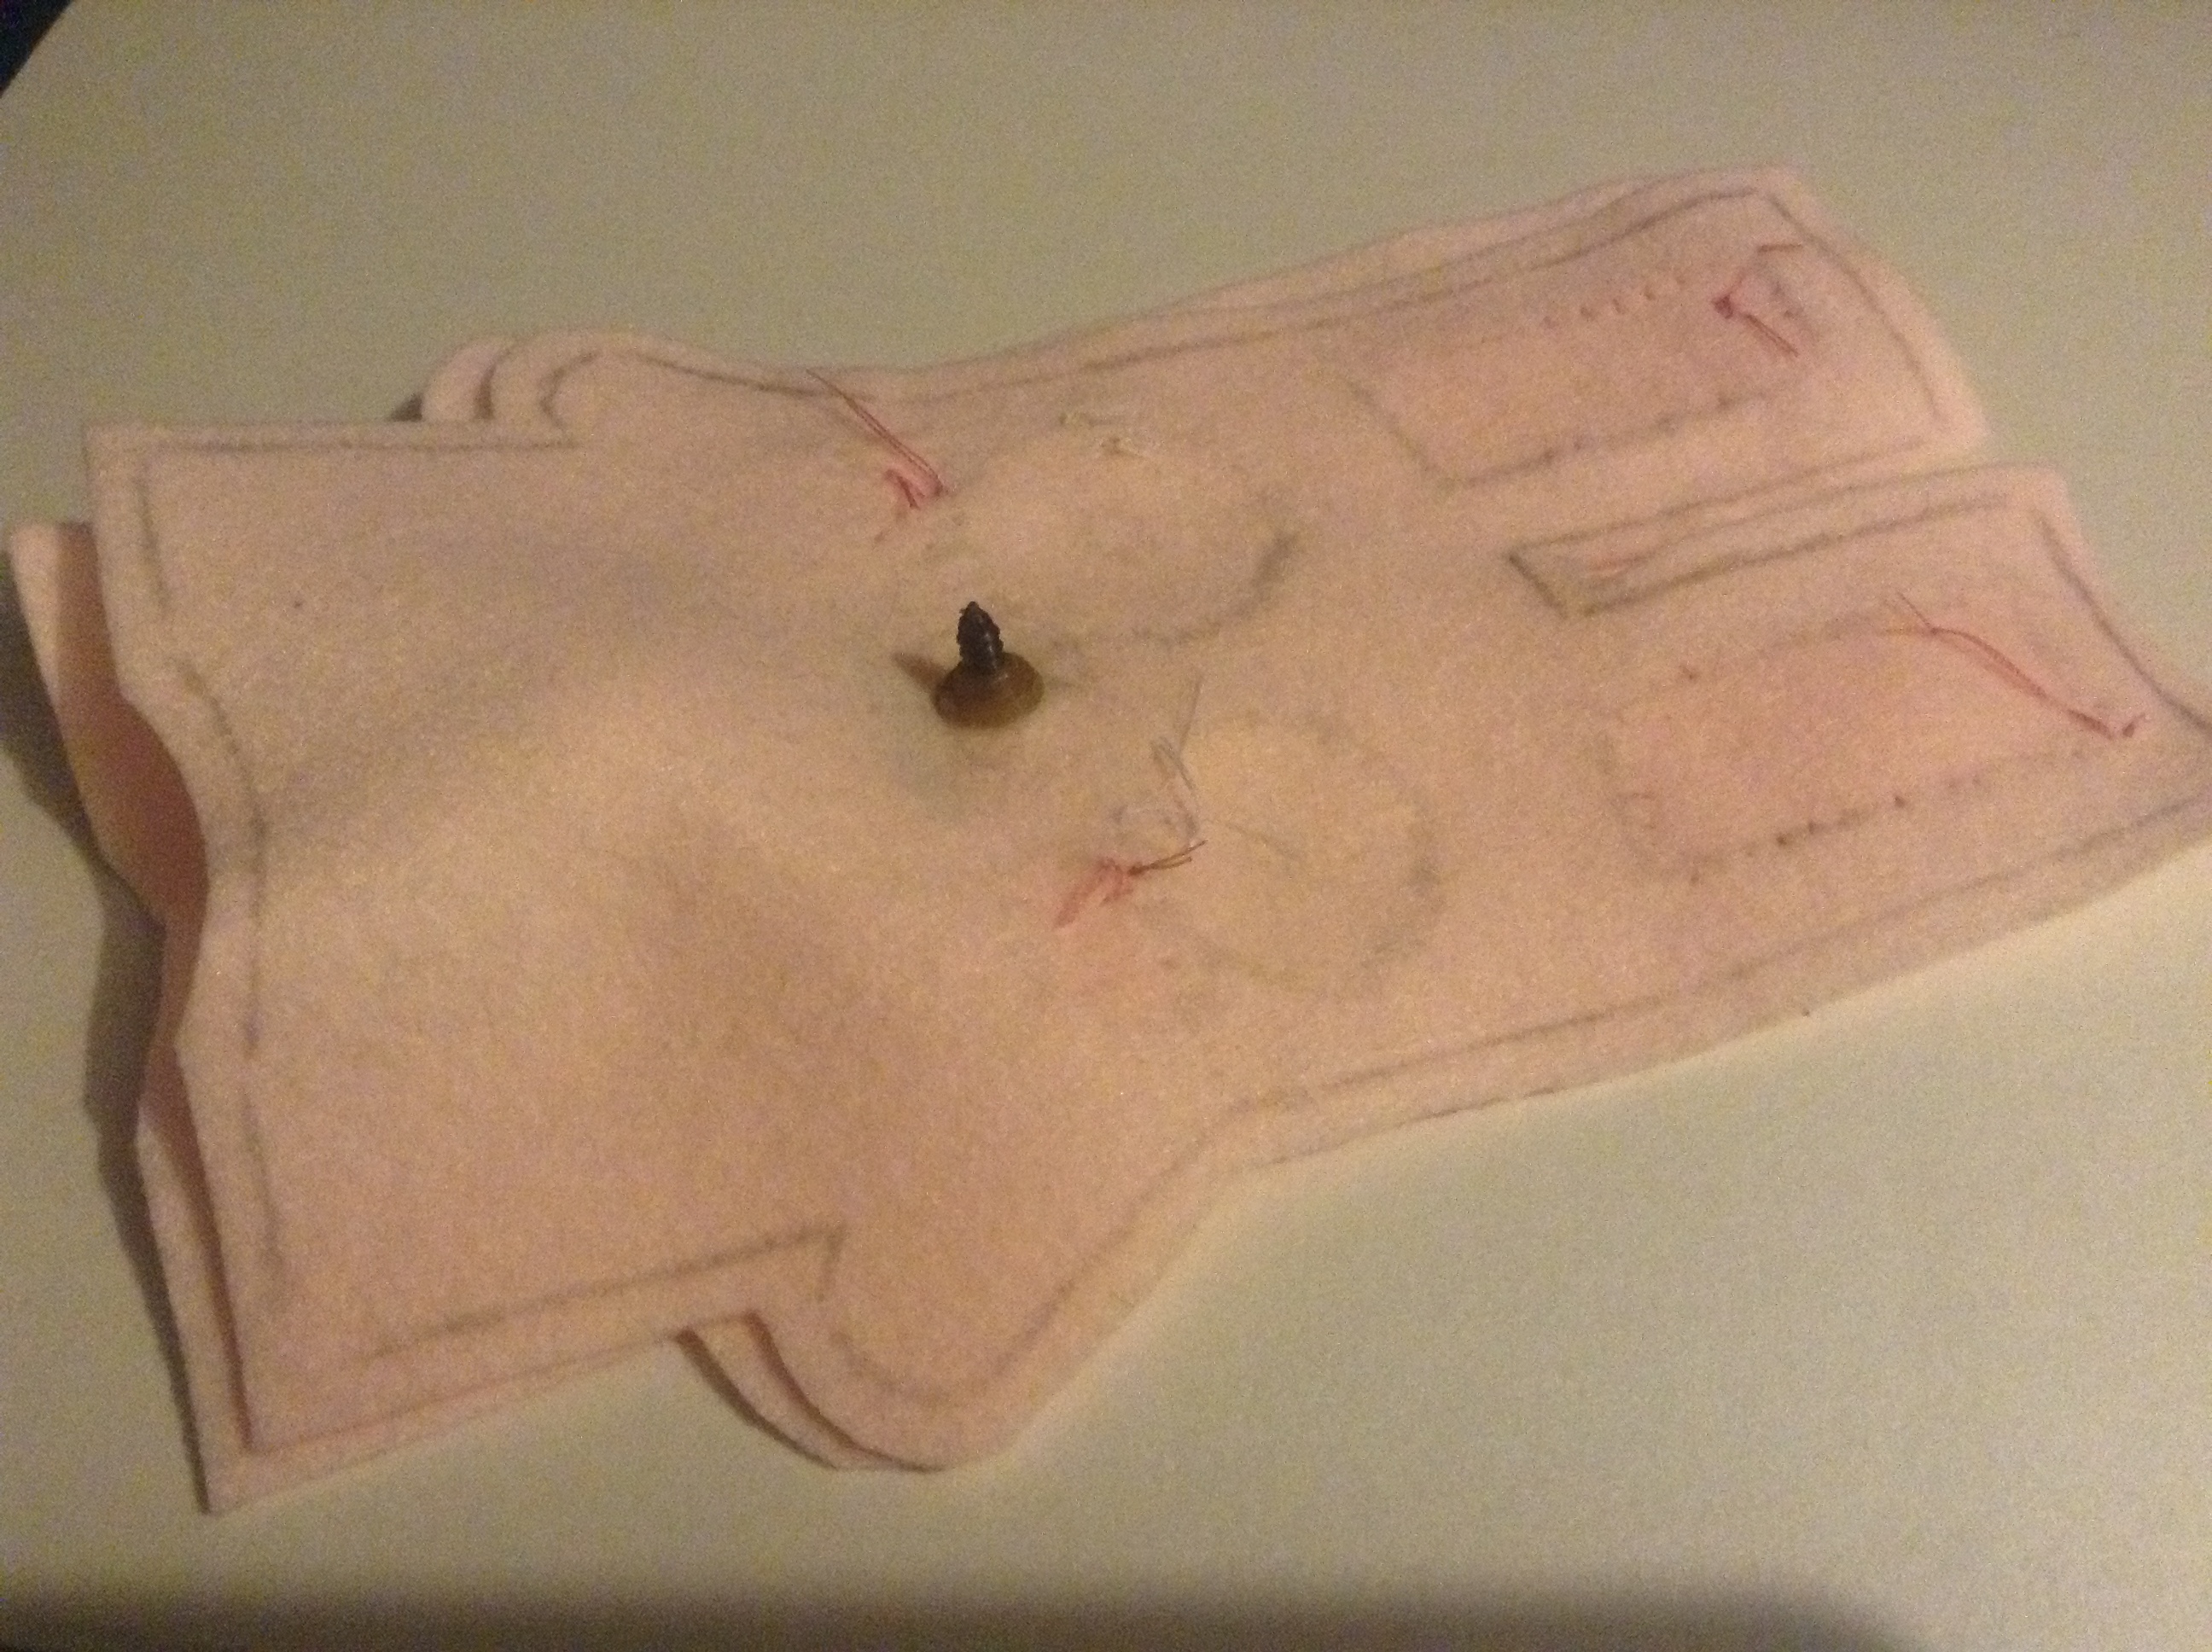
Get a huge embroidery needle.
Pinch a hole where you want the nose to go.

After some stirring, it should create a hole like this. If the needle isn't enough to put the nose through the hole, you can cut off a tiny piece (like 1mm) with a pair of scissors.
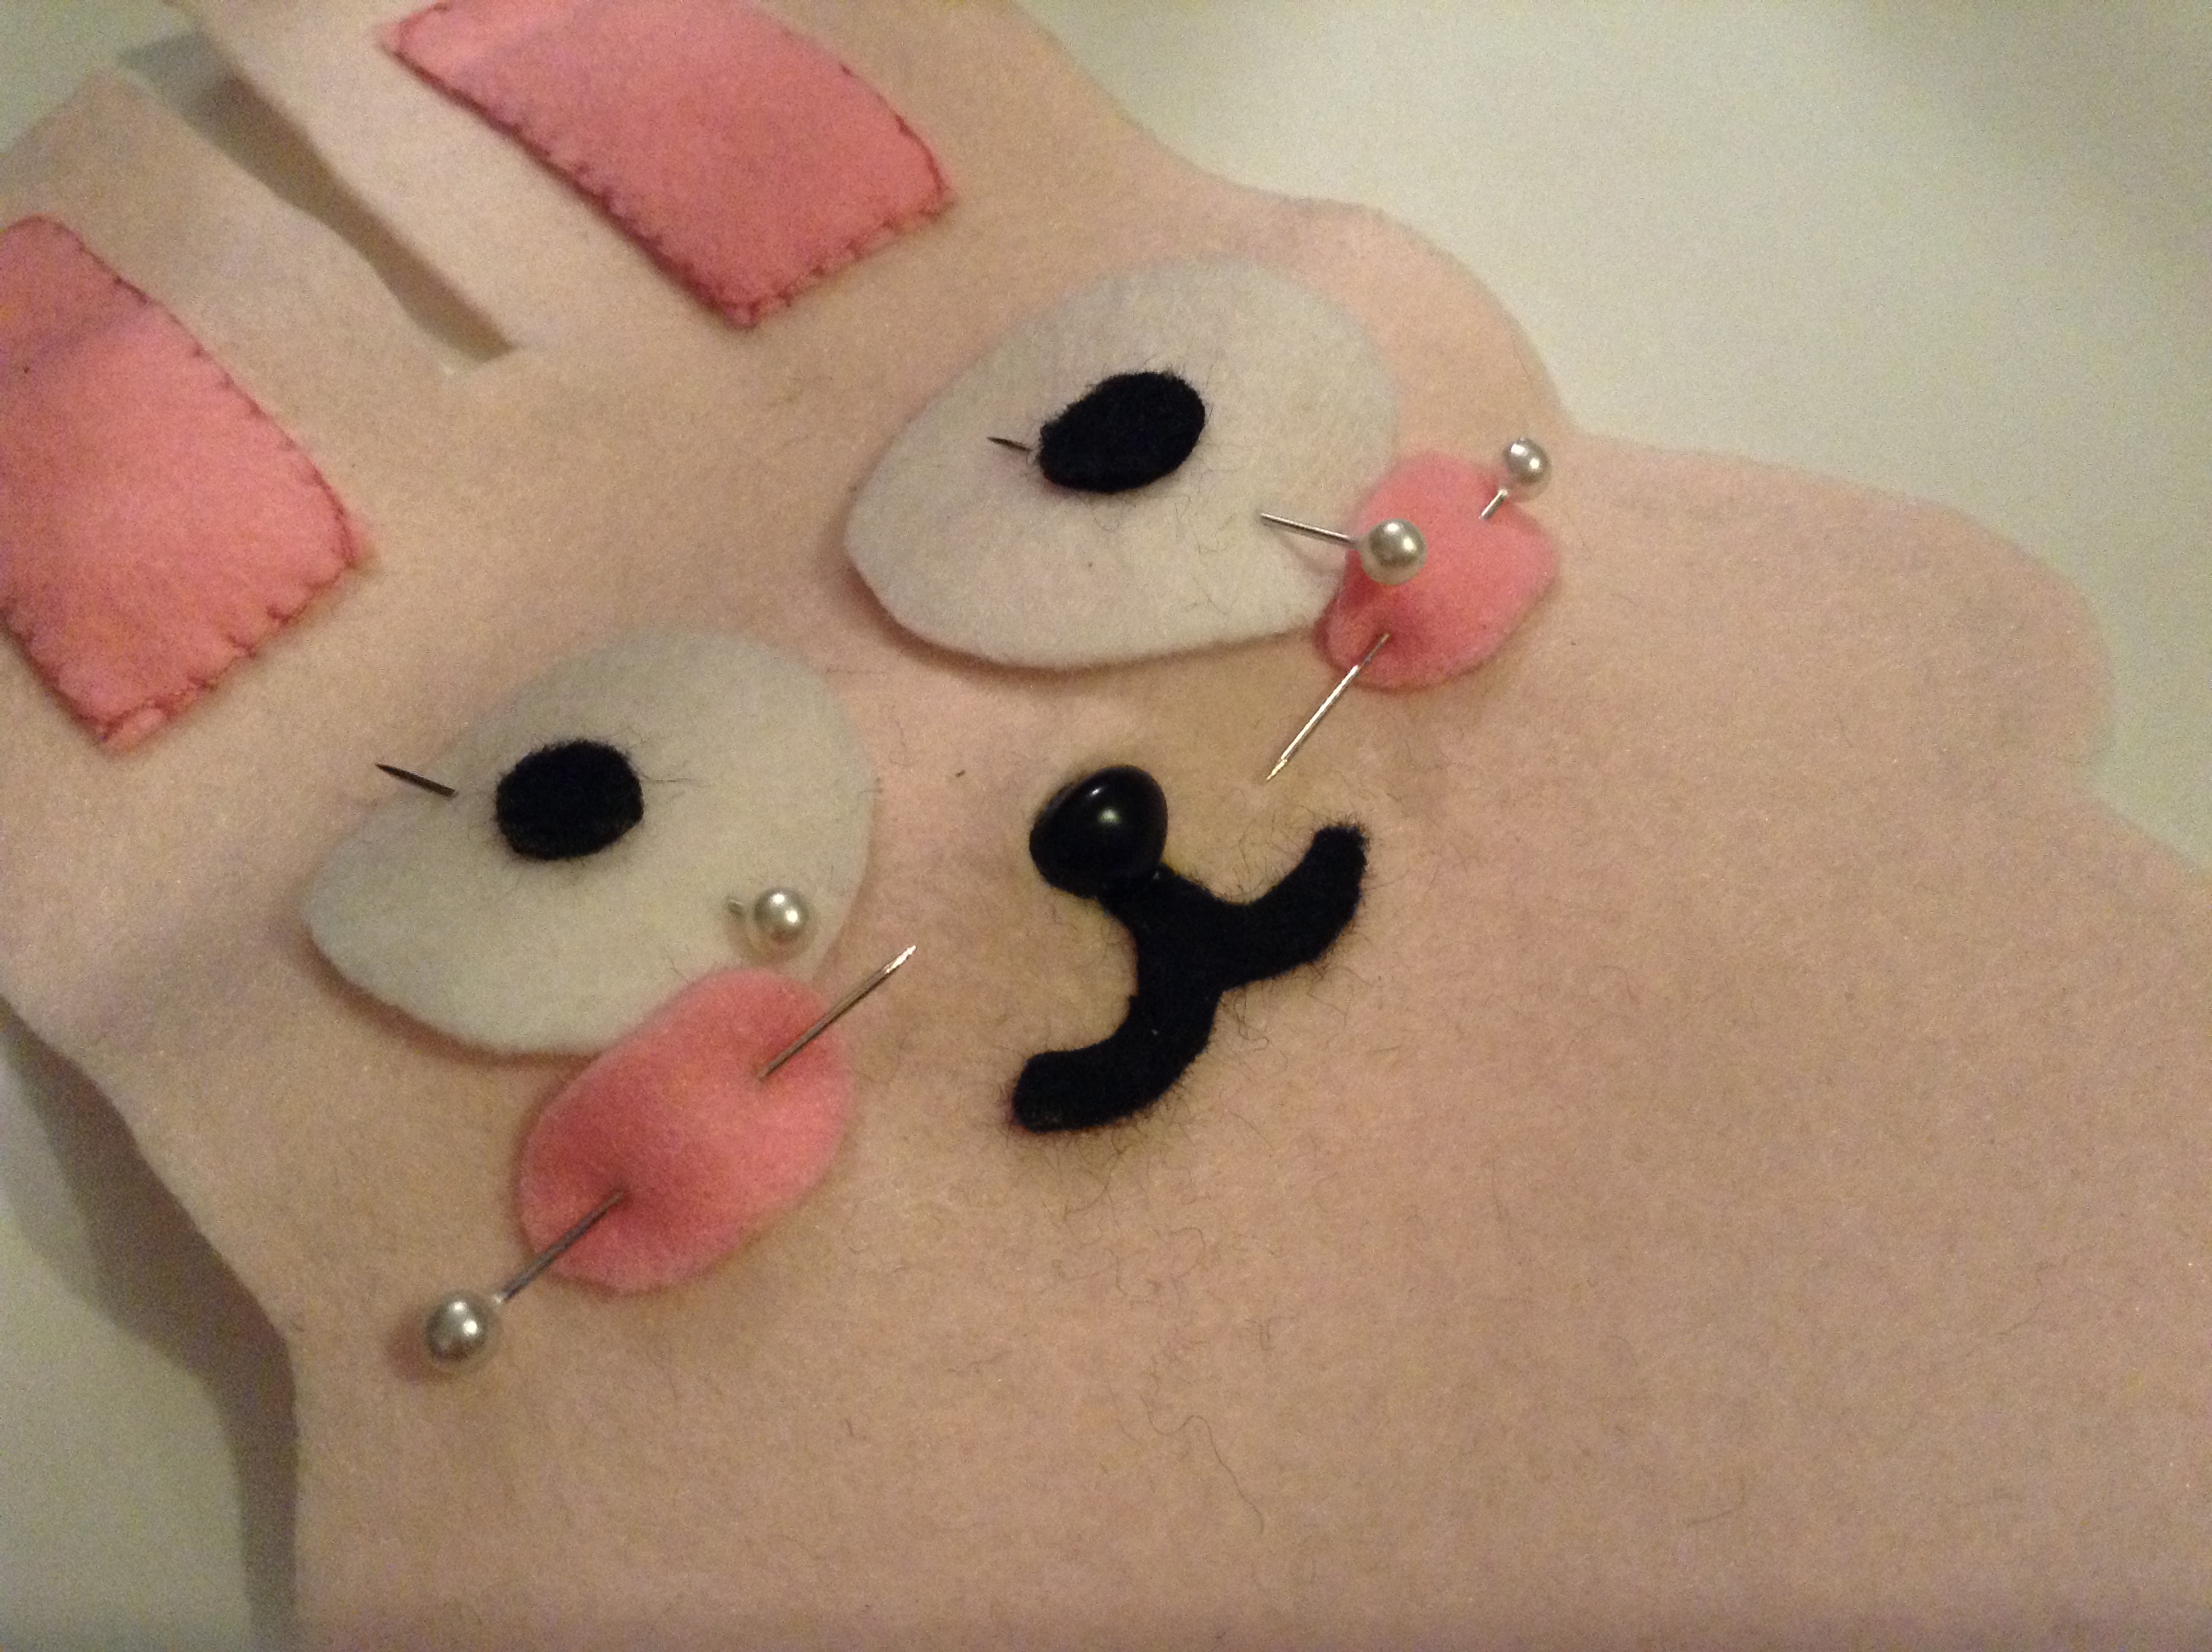
Put the nose through the hole and assemble it at the back, securing it onto its place. Make sure it's straight before you completely secure it. It can be hard to turn the nose once it's stuck!
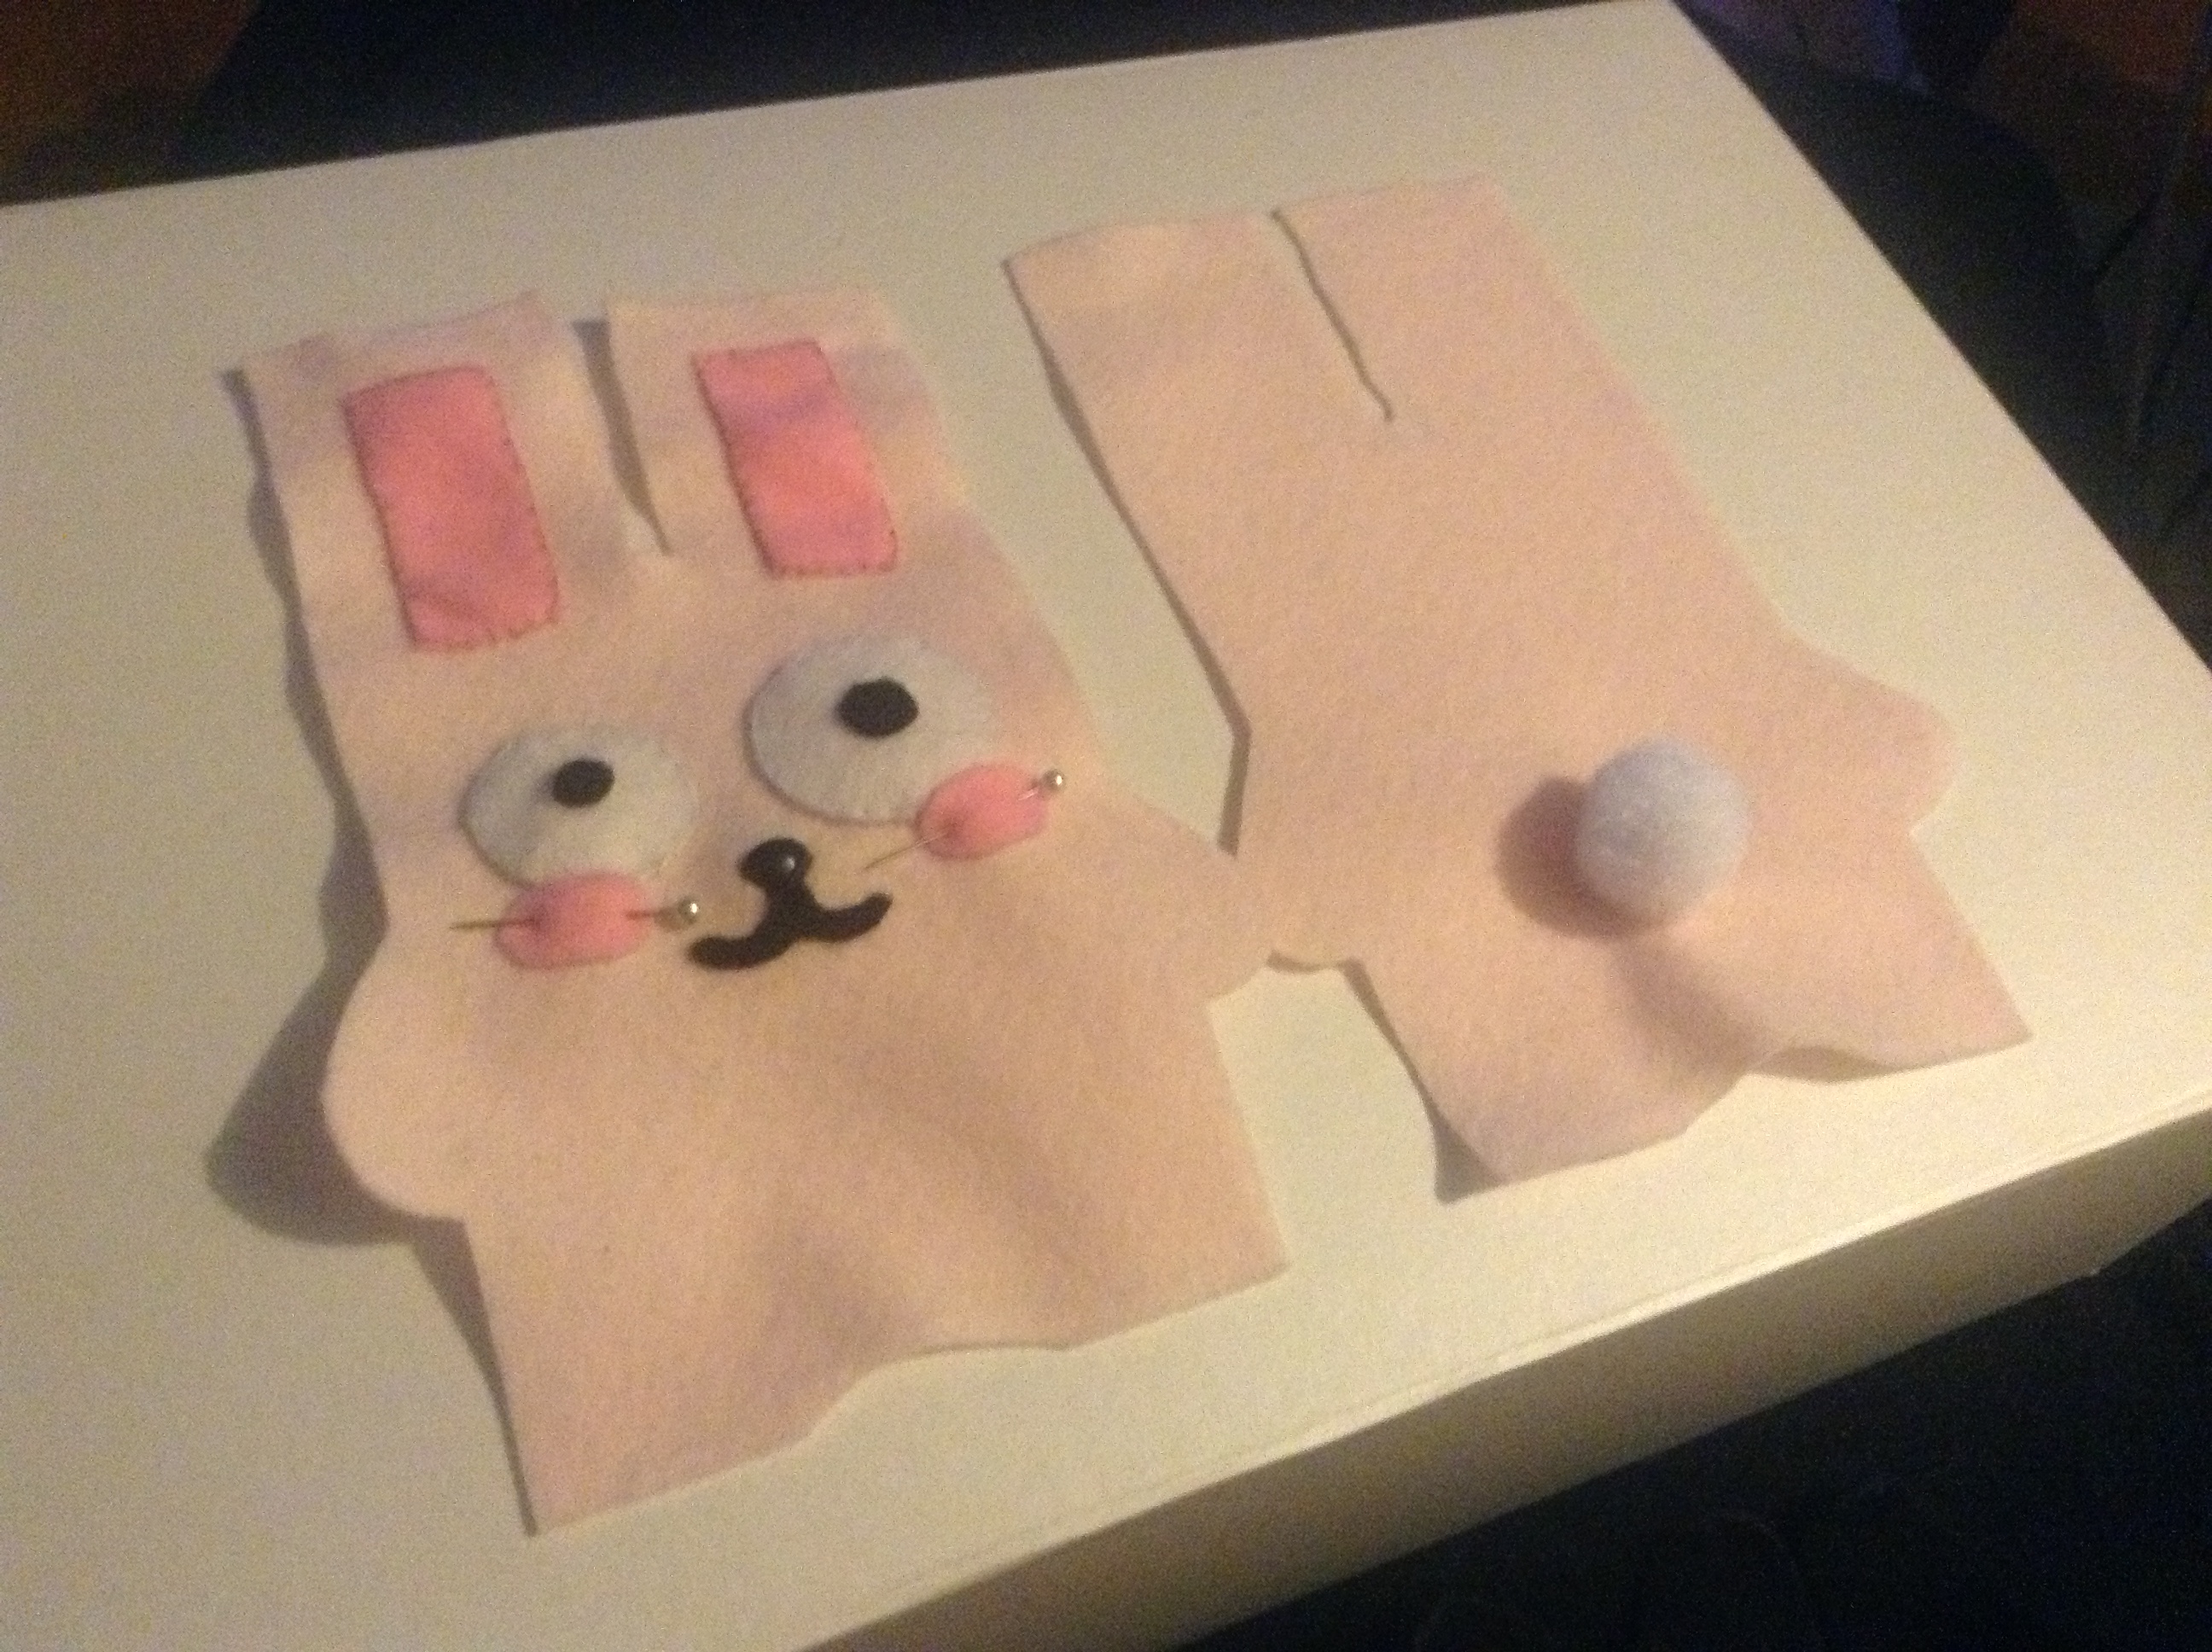
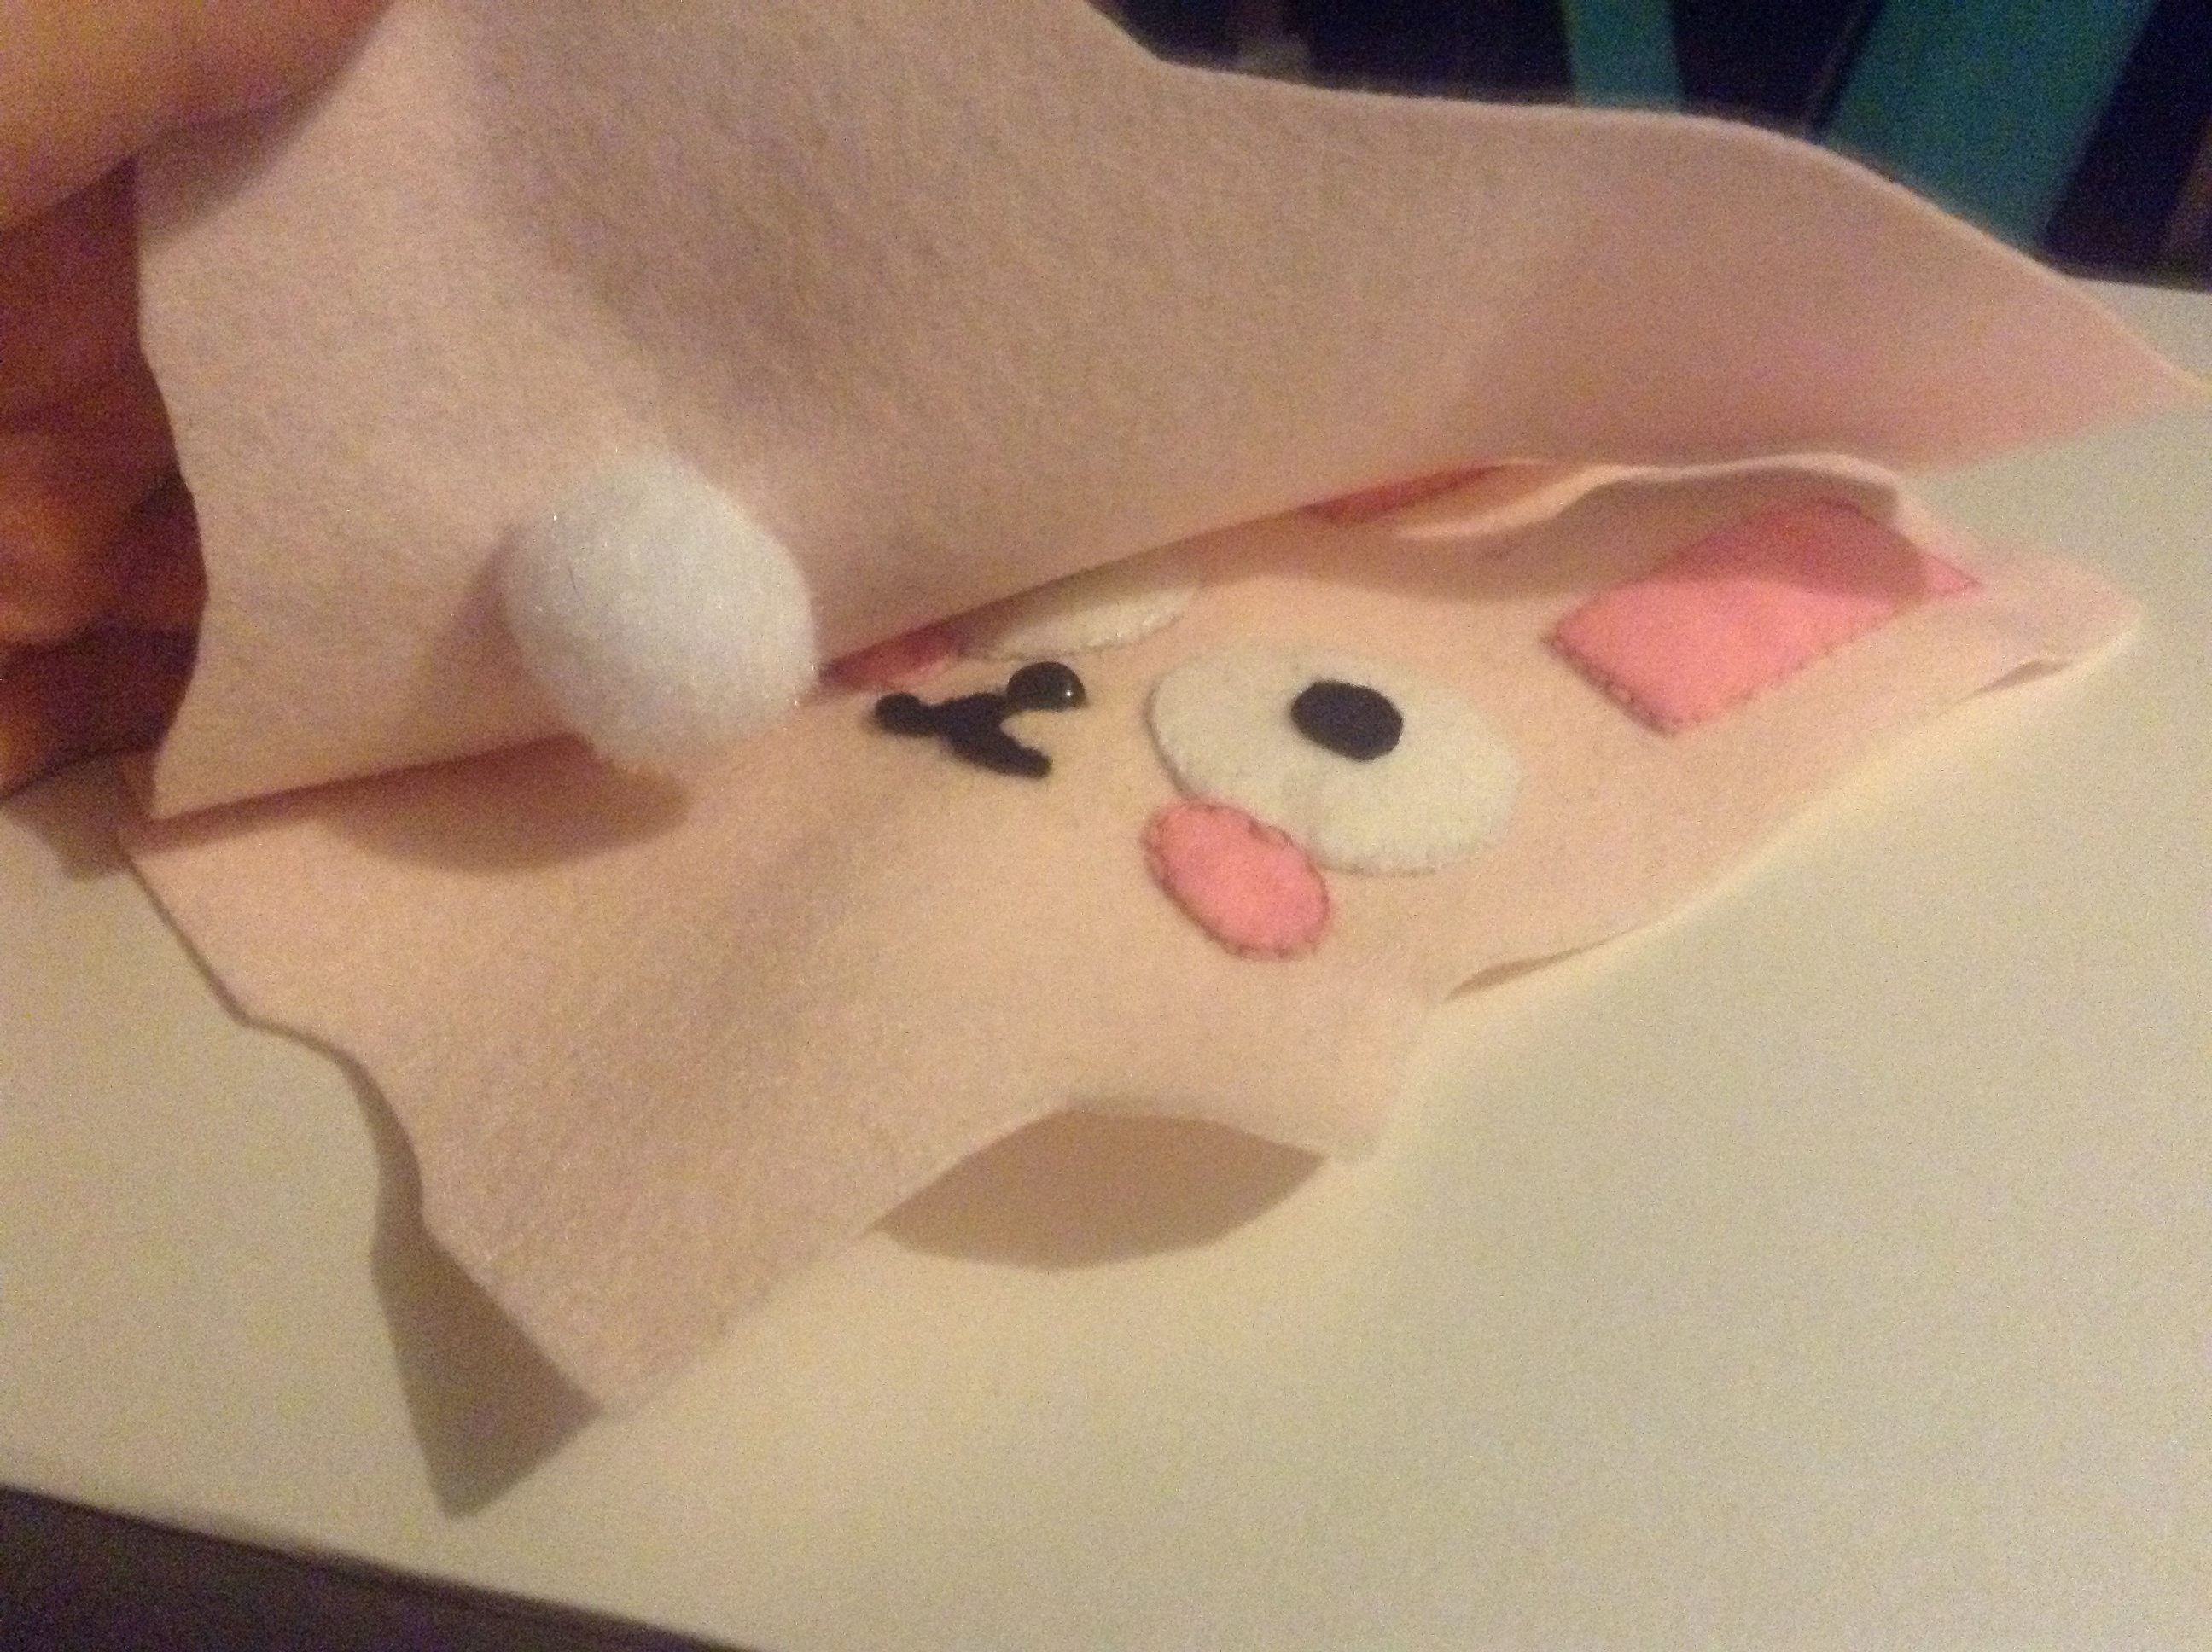
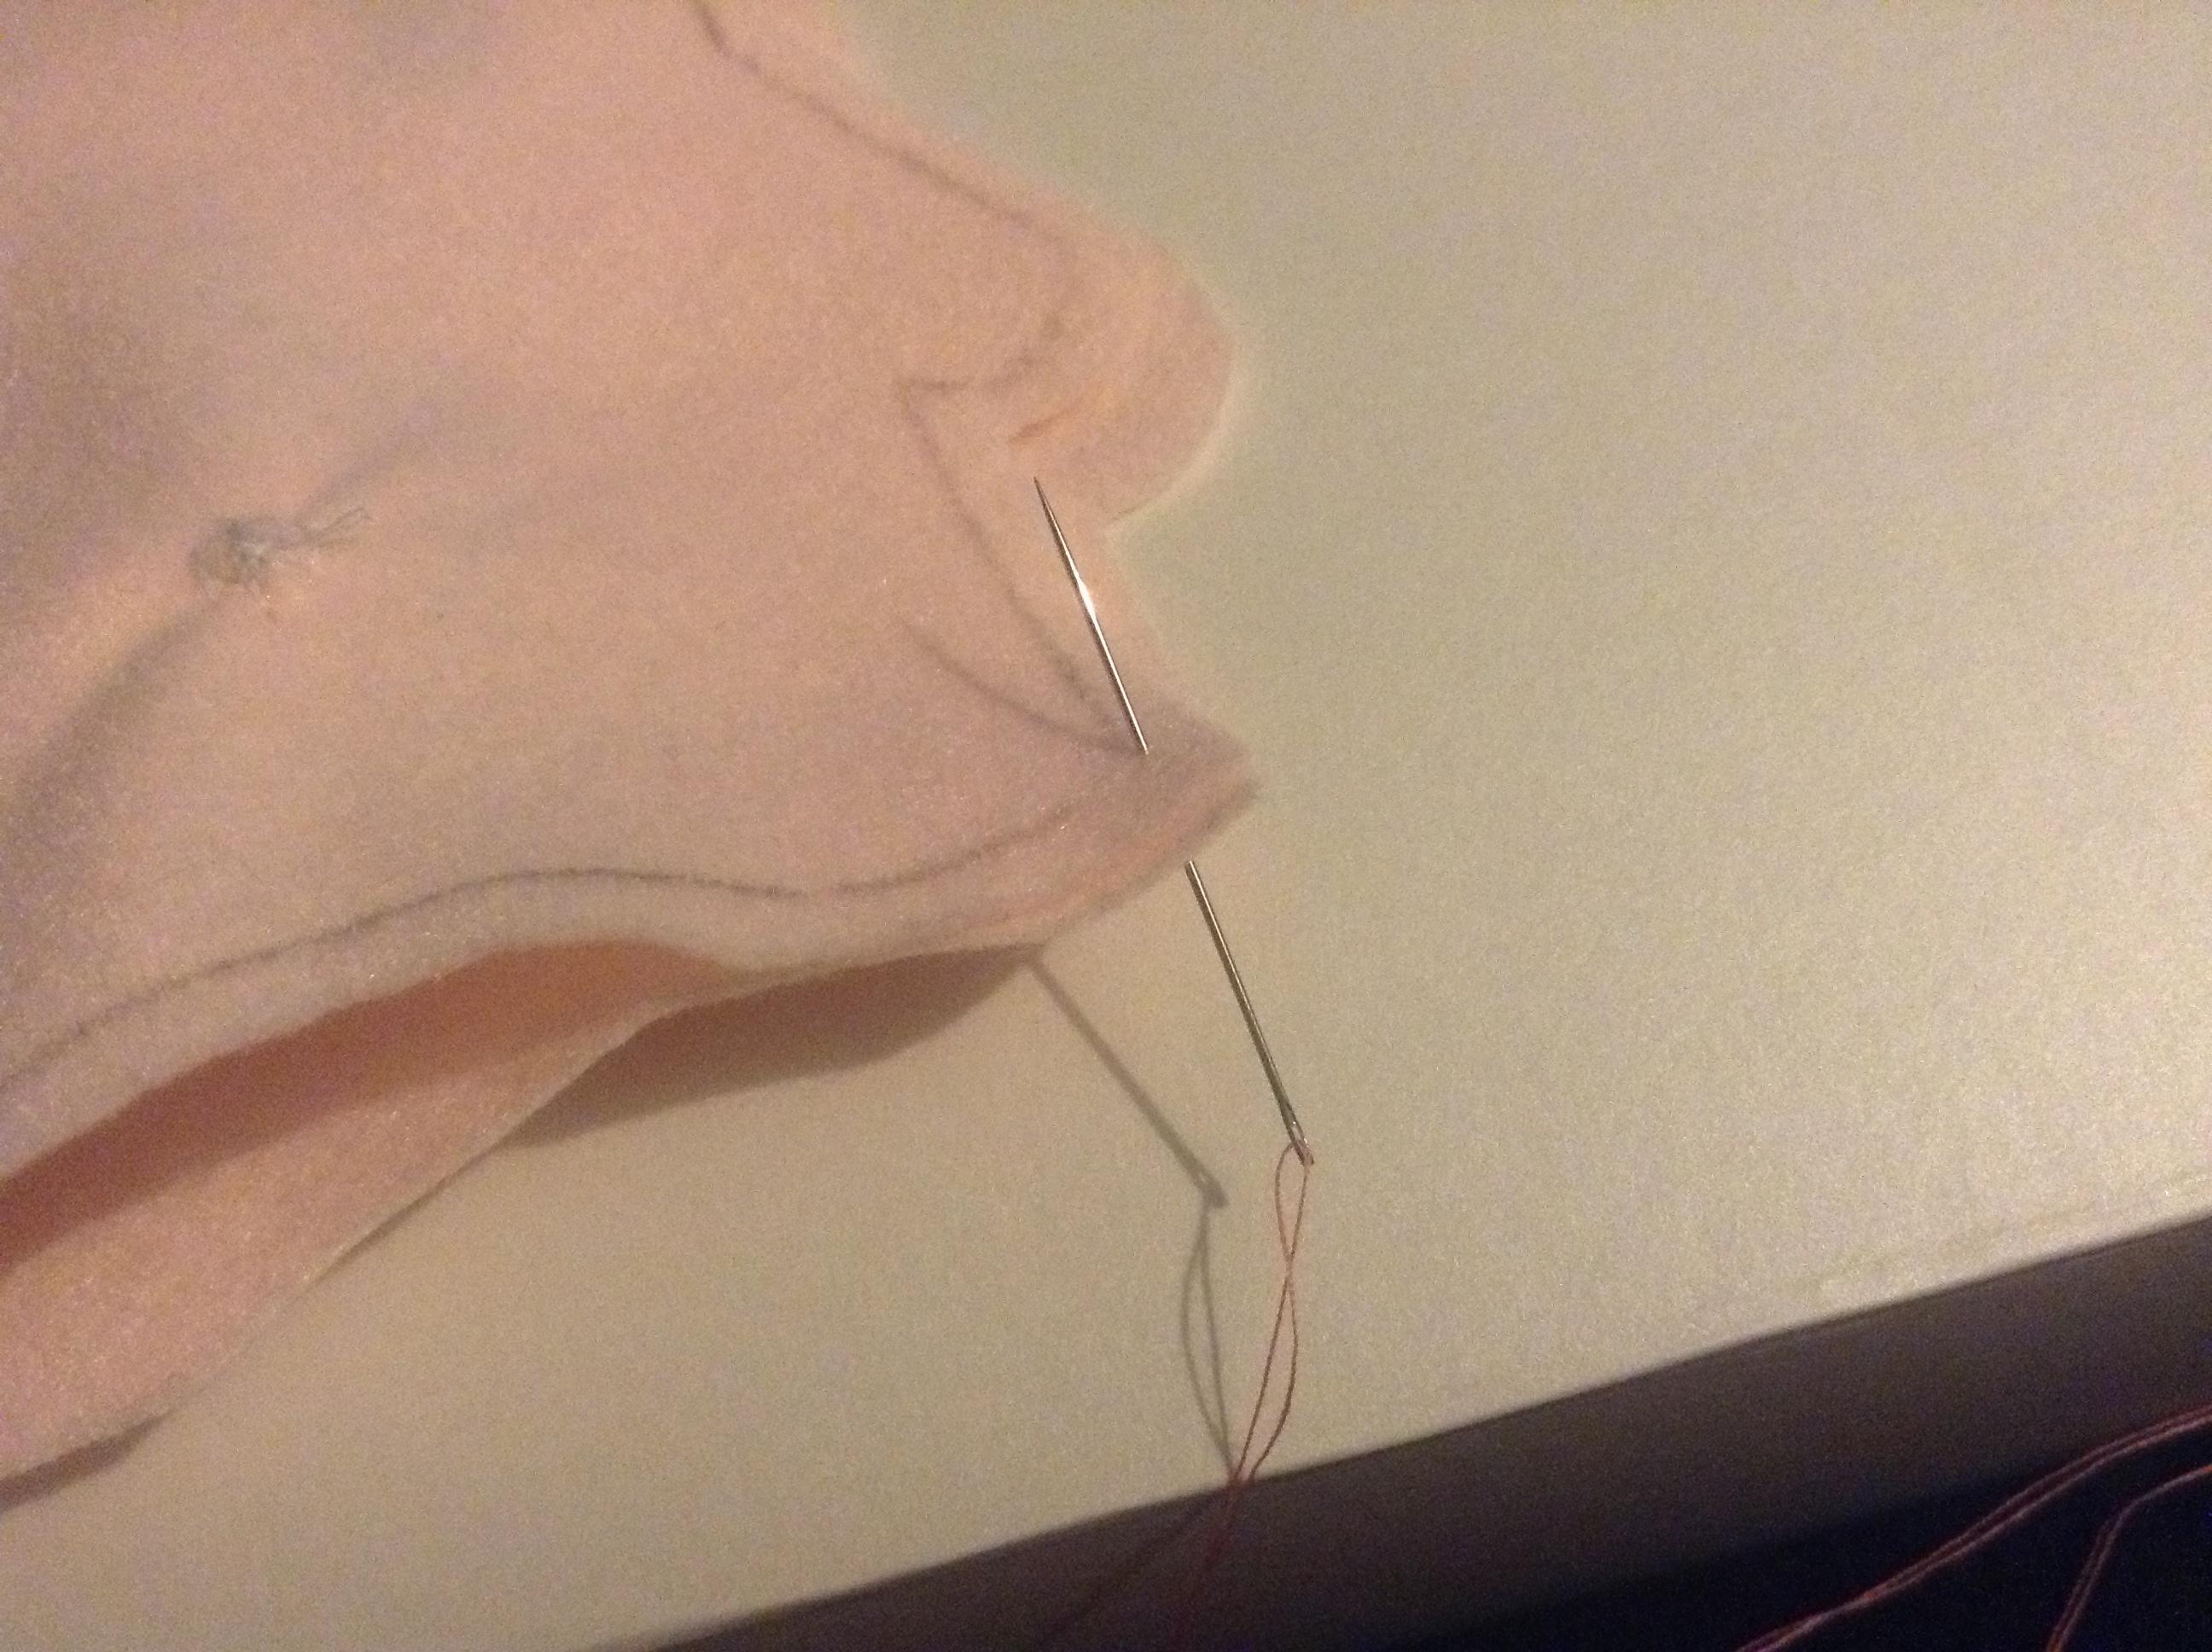
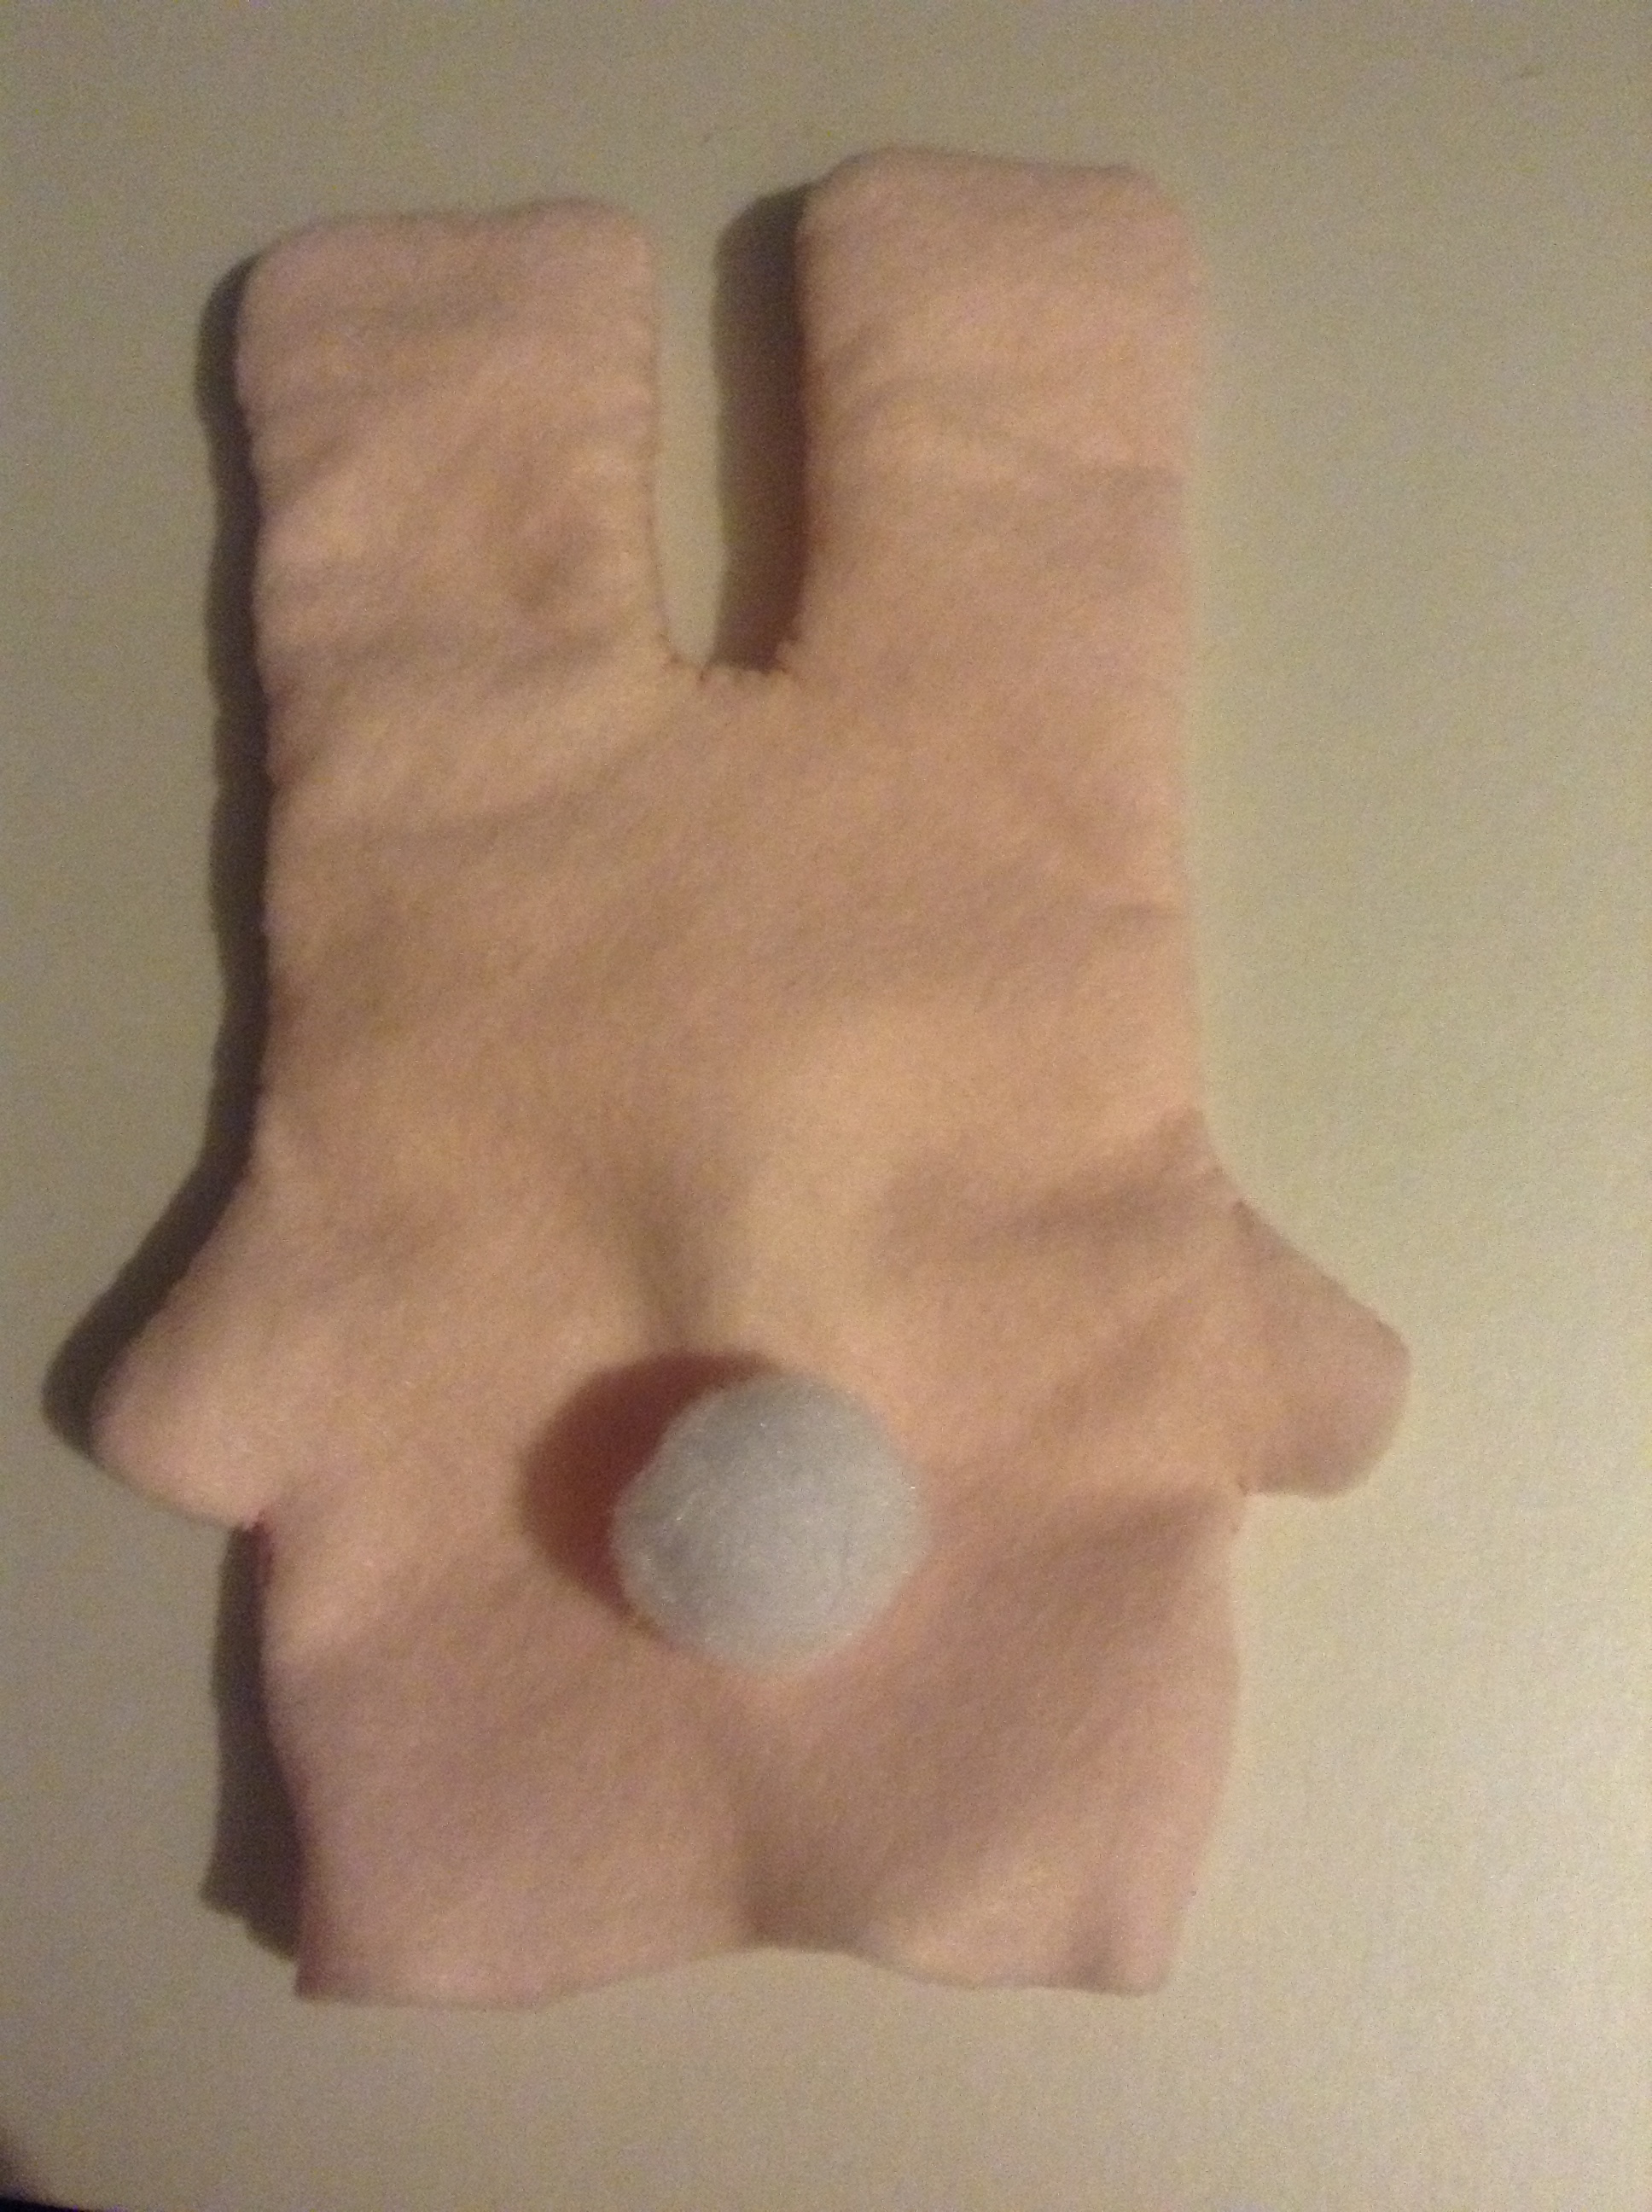
Time for the pom-pom! Get some white thread in your needle. Position the pom-pom and sew it onto the back of the freezer bunny.
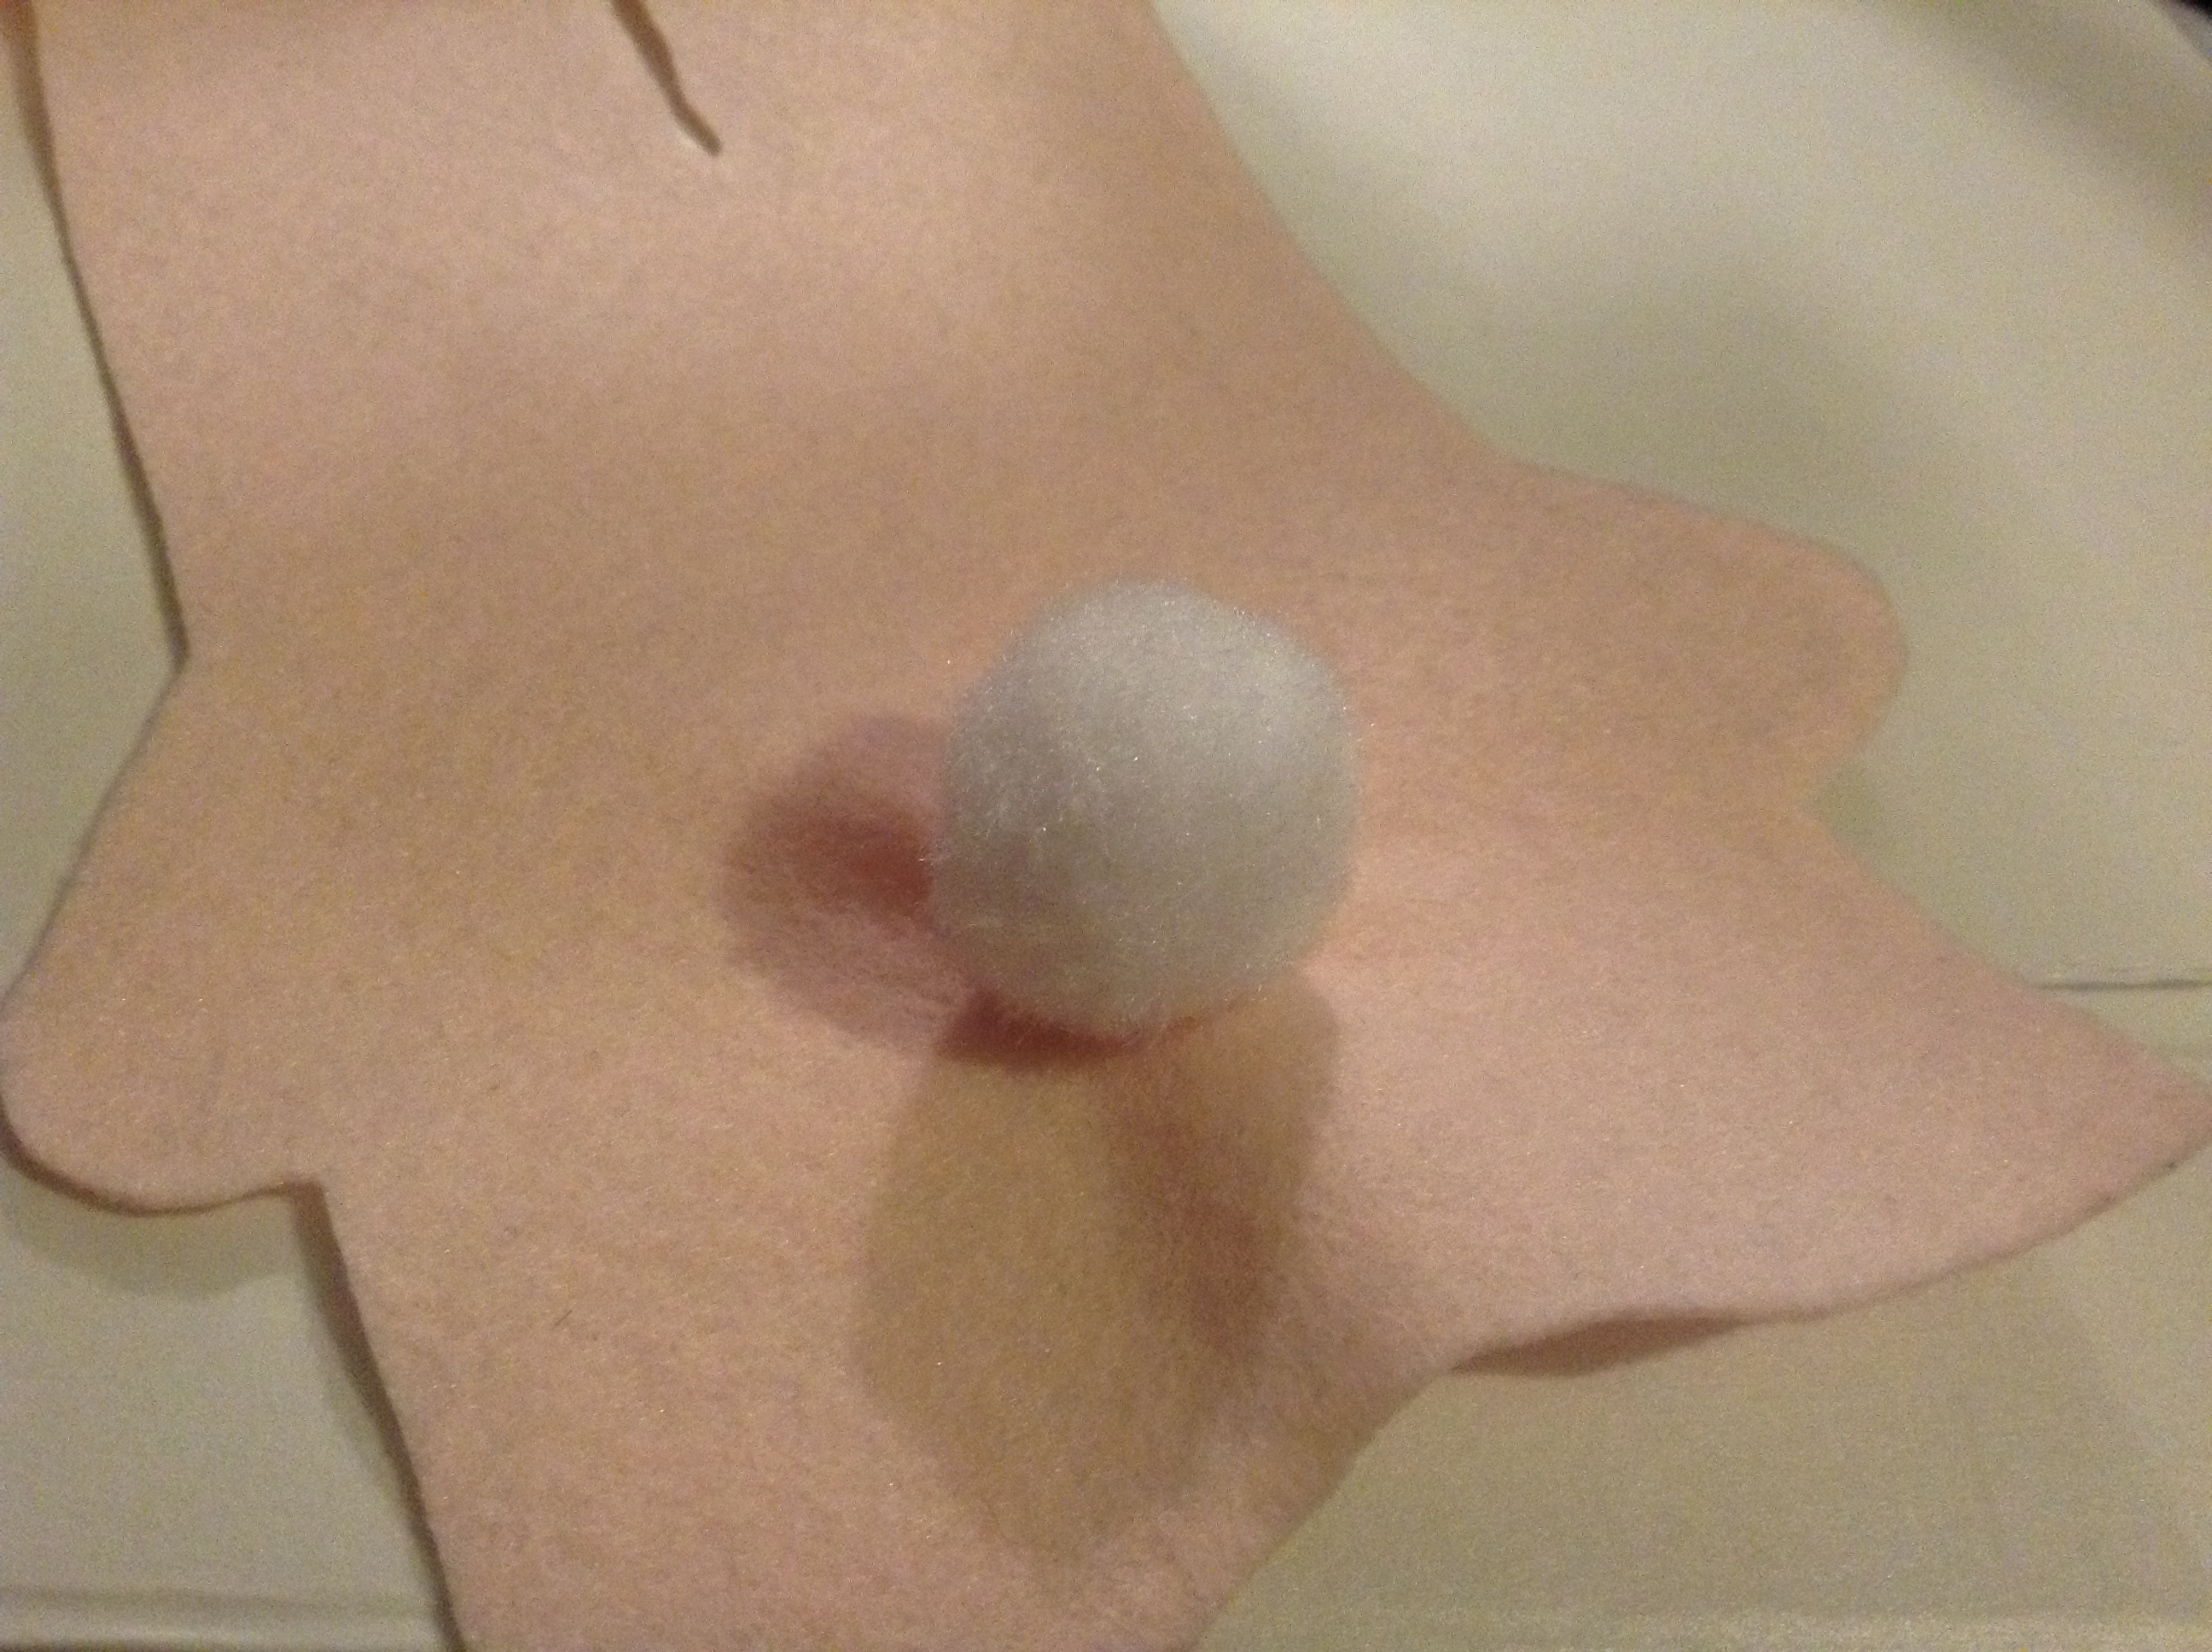
The sewing makes it look a bit funny, but don't worry. Once the stuffing goes into the bunny, the shape will be fine.
Time to sew the eyes onto the bunny! You can once again use the guidelines at the back to position the needle. Again, I used the blanket stitch for this. See below.
Right eye done!
And both eyes are done!
Progress so far! Front and back.
Time to make Freezer Bunny a little cuter. Let's attach some cheeks. I'm using medium pink thread and the blanket stitch.
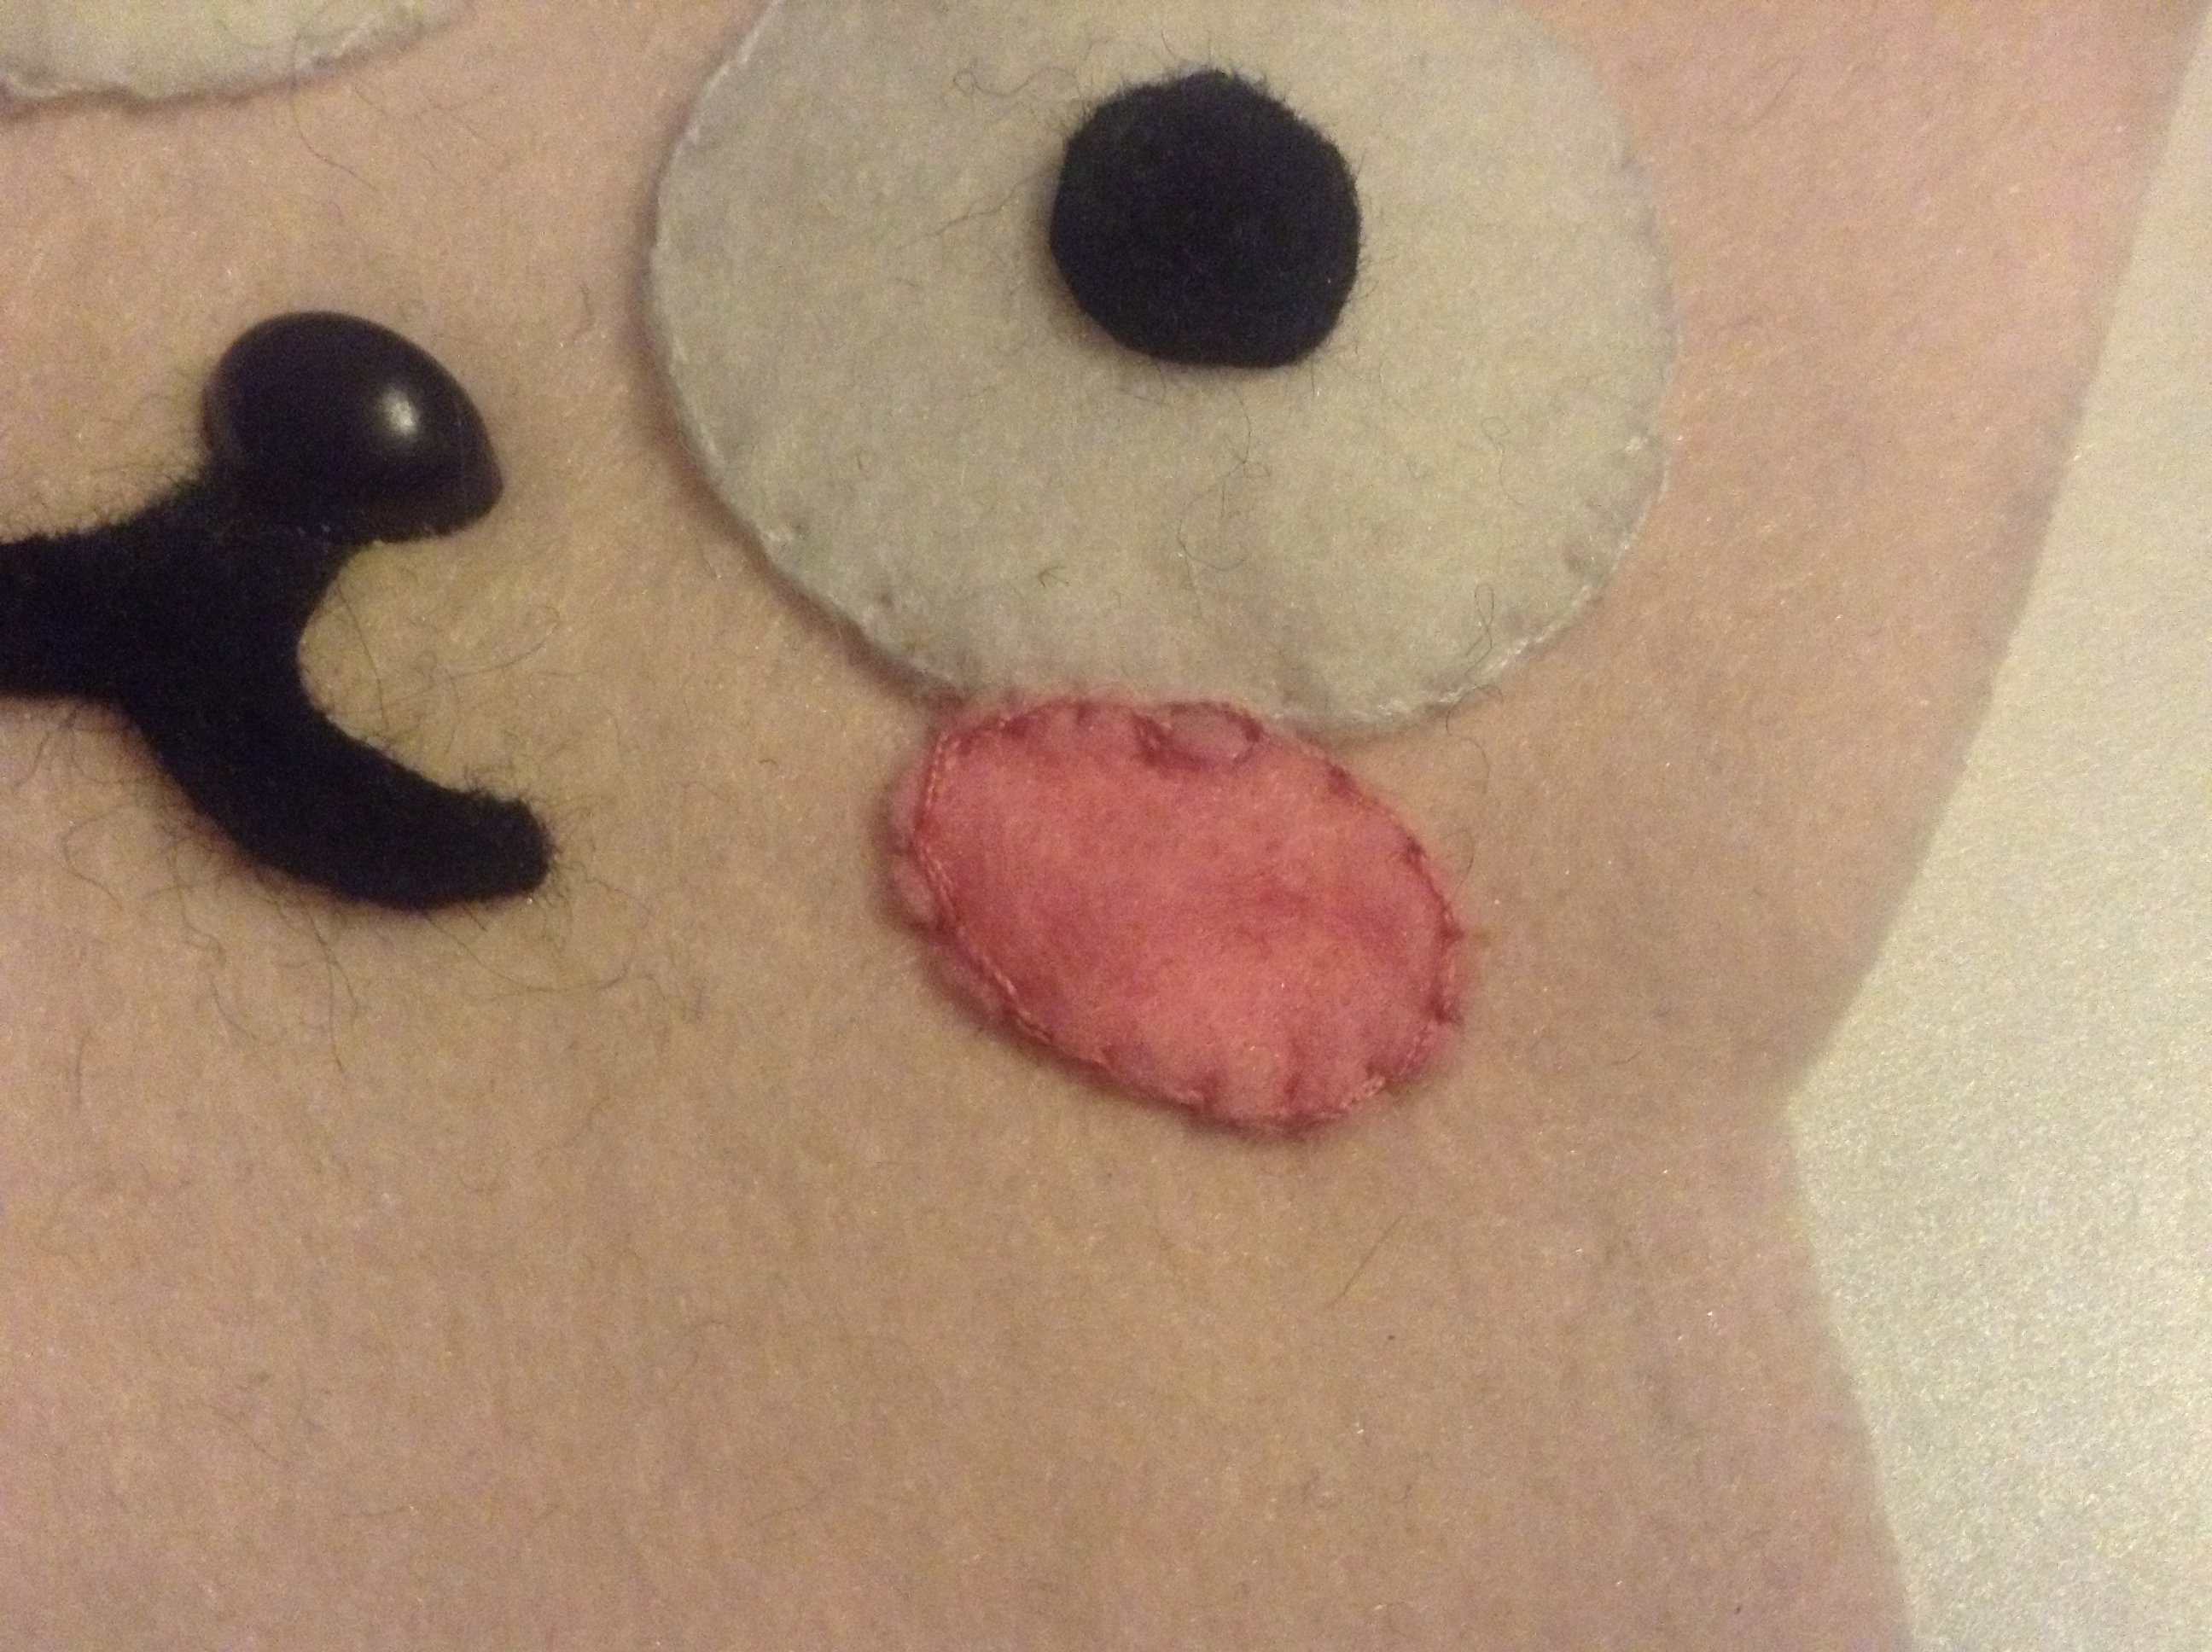
Right cheek done! Don't mind the crappy stitches, I'm rushing things, but you don't have to!
Doing the left cheek now.
Aaaaaand the cheeks are done! So kawaii!
Now put the front and the back together, inside out!
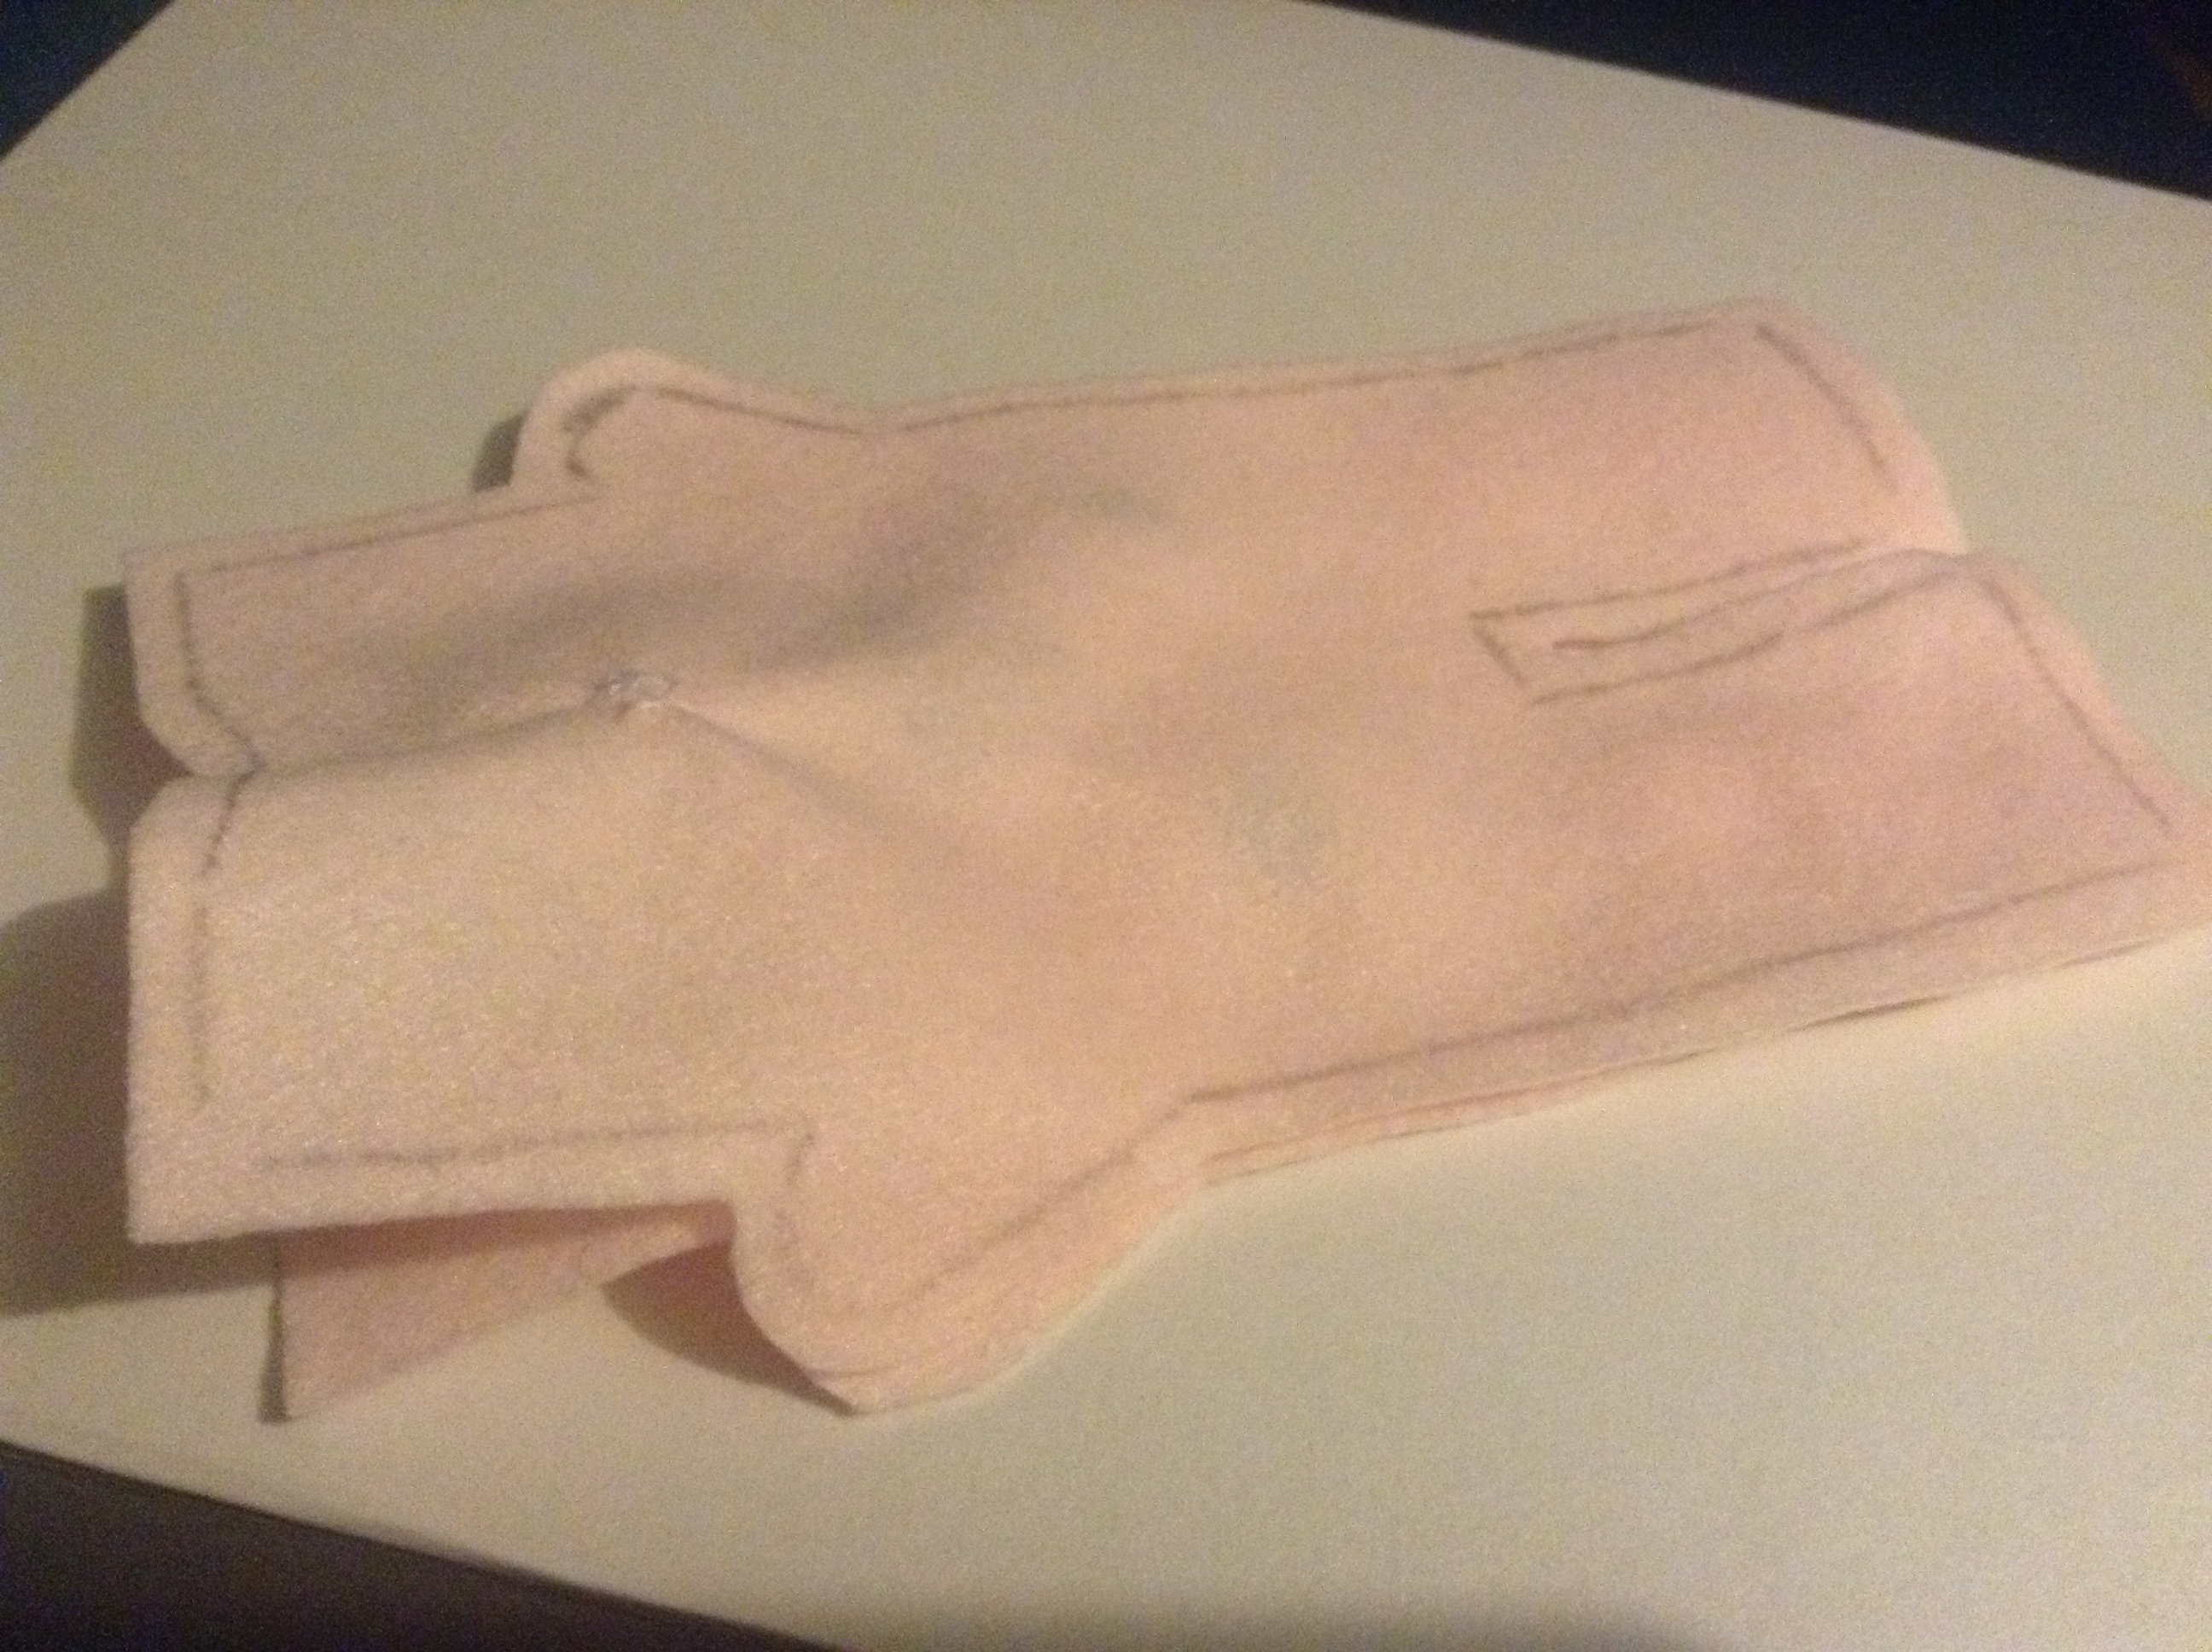
Like this.
And this.
Eeeeeeep we're going to sew the front and back together!
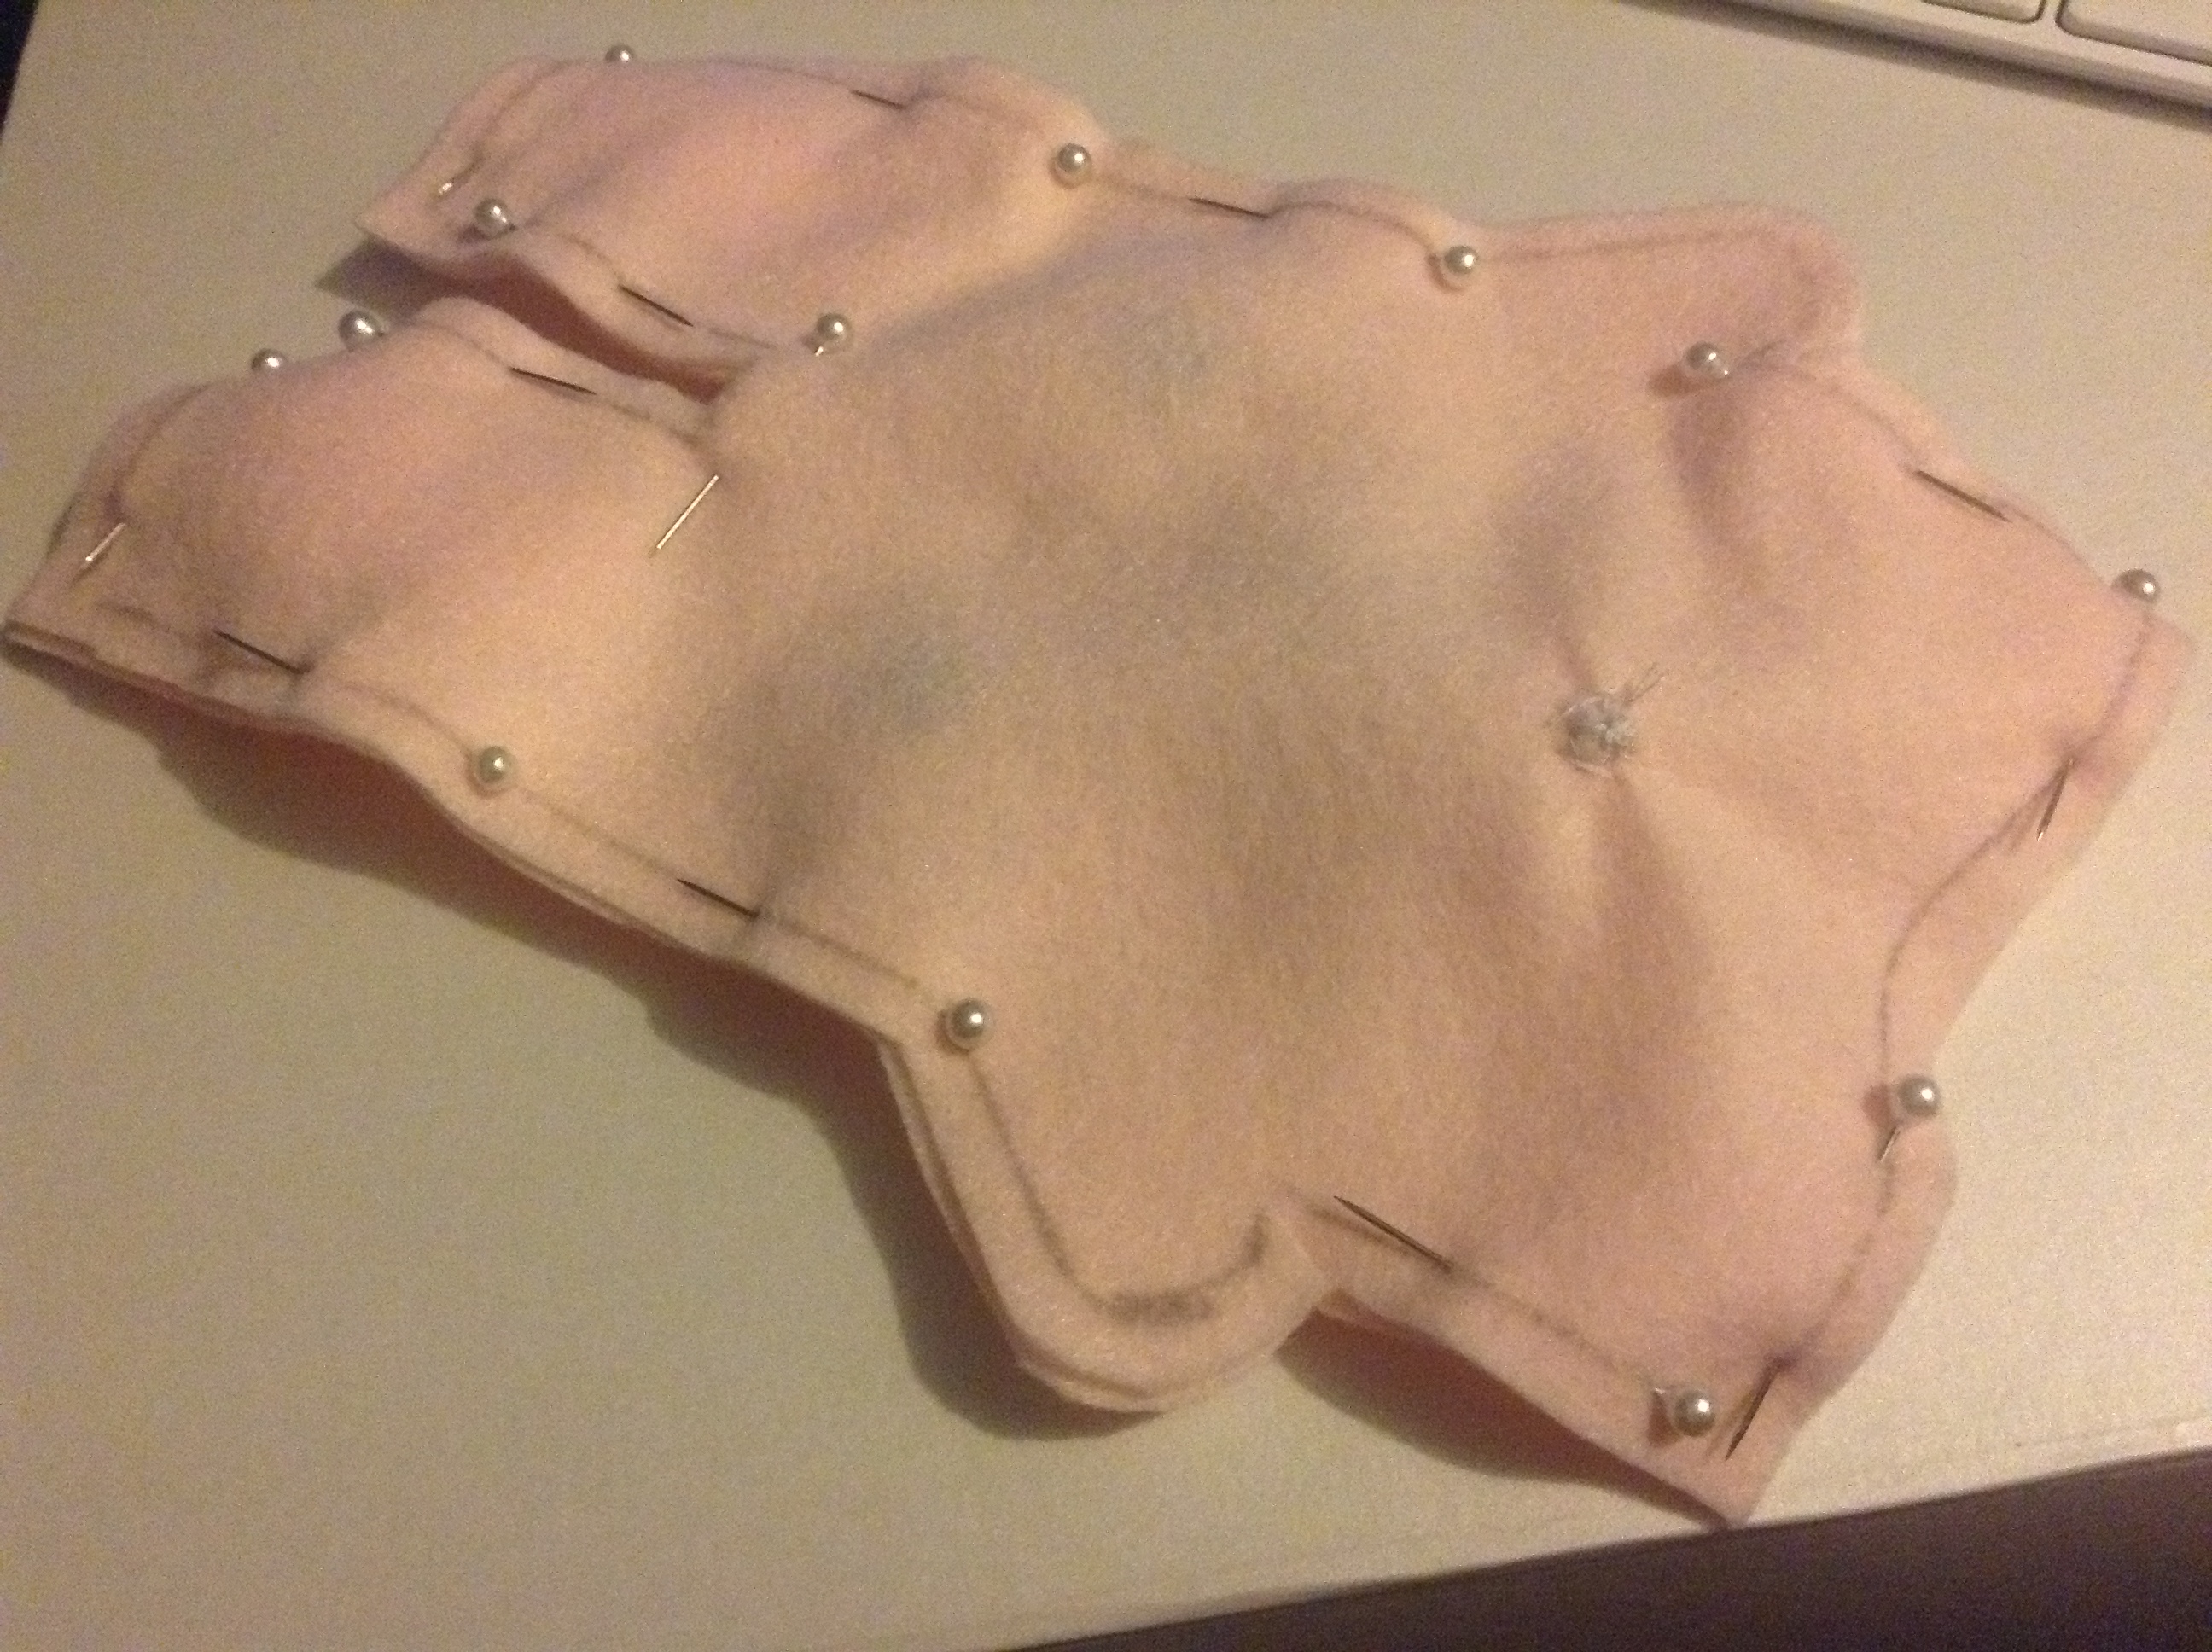
Silly Rosie, nearly forgot the sewing pins! Gotta use them, or you might mess up the sewing!
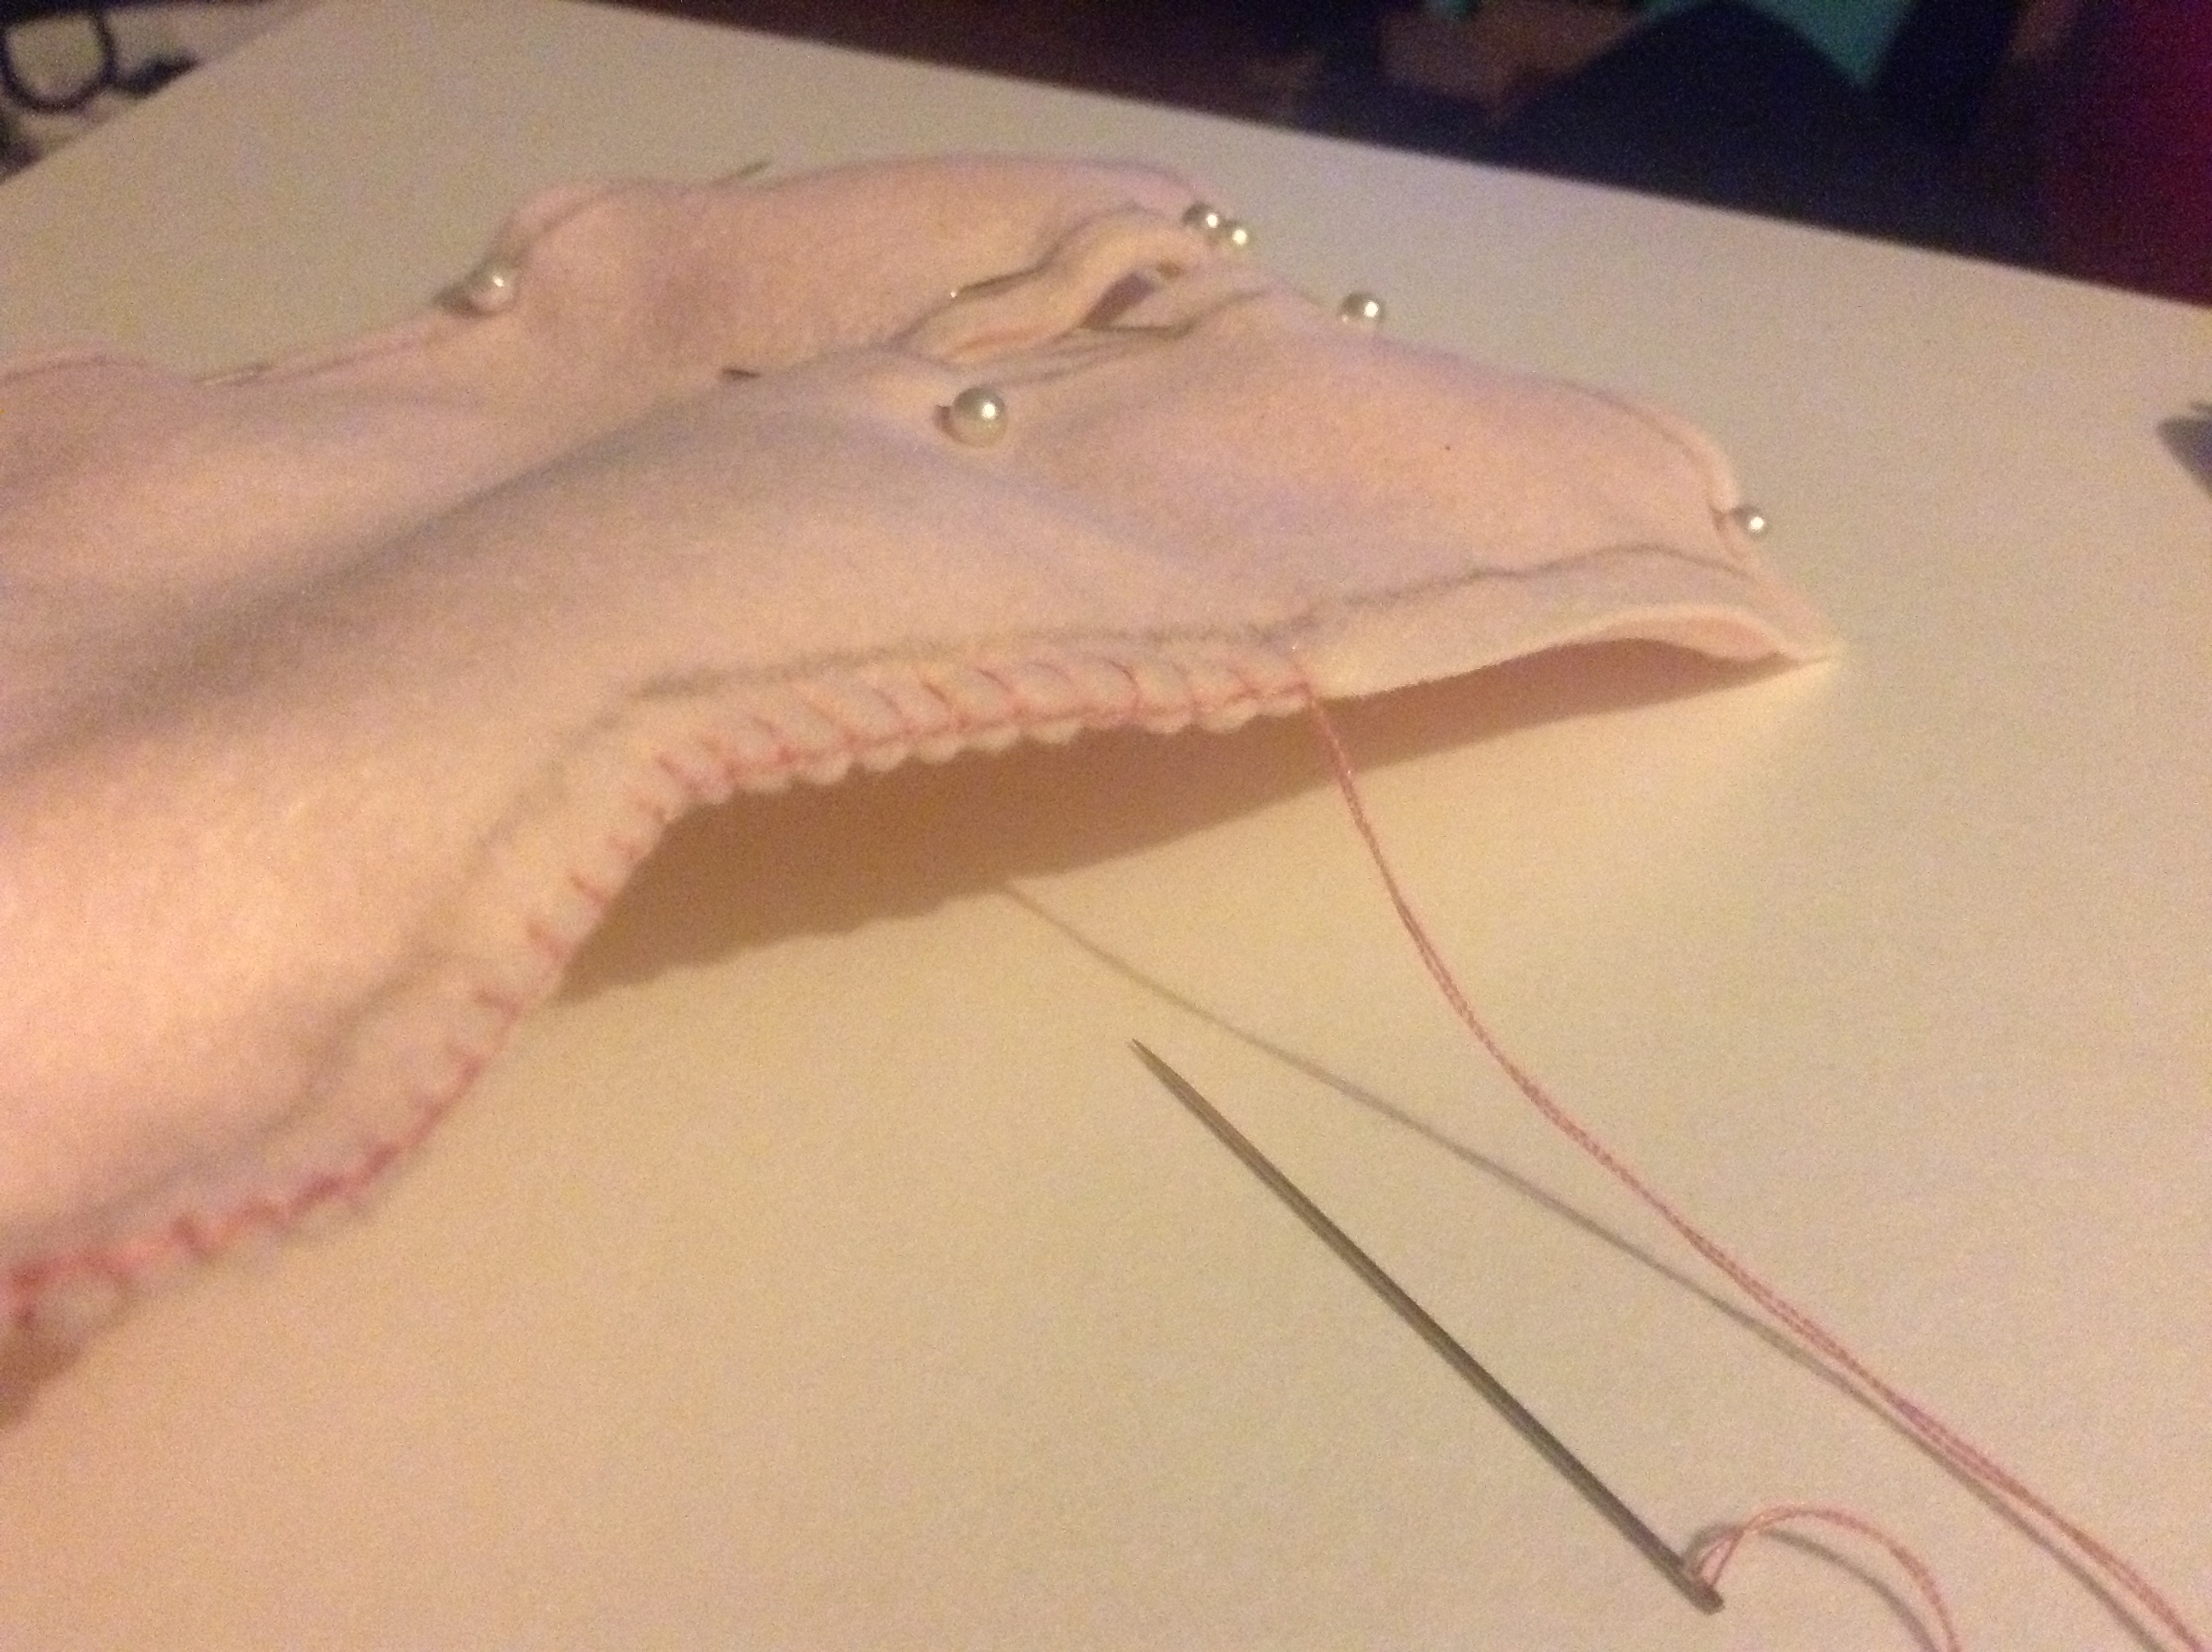
Sew around the entire bunny (but not the bottom, do not sew that area just yet!)
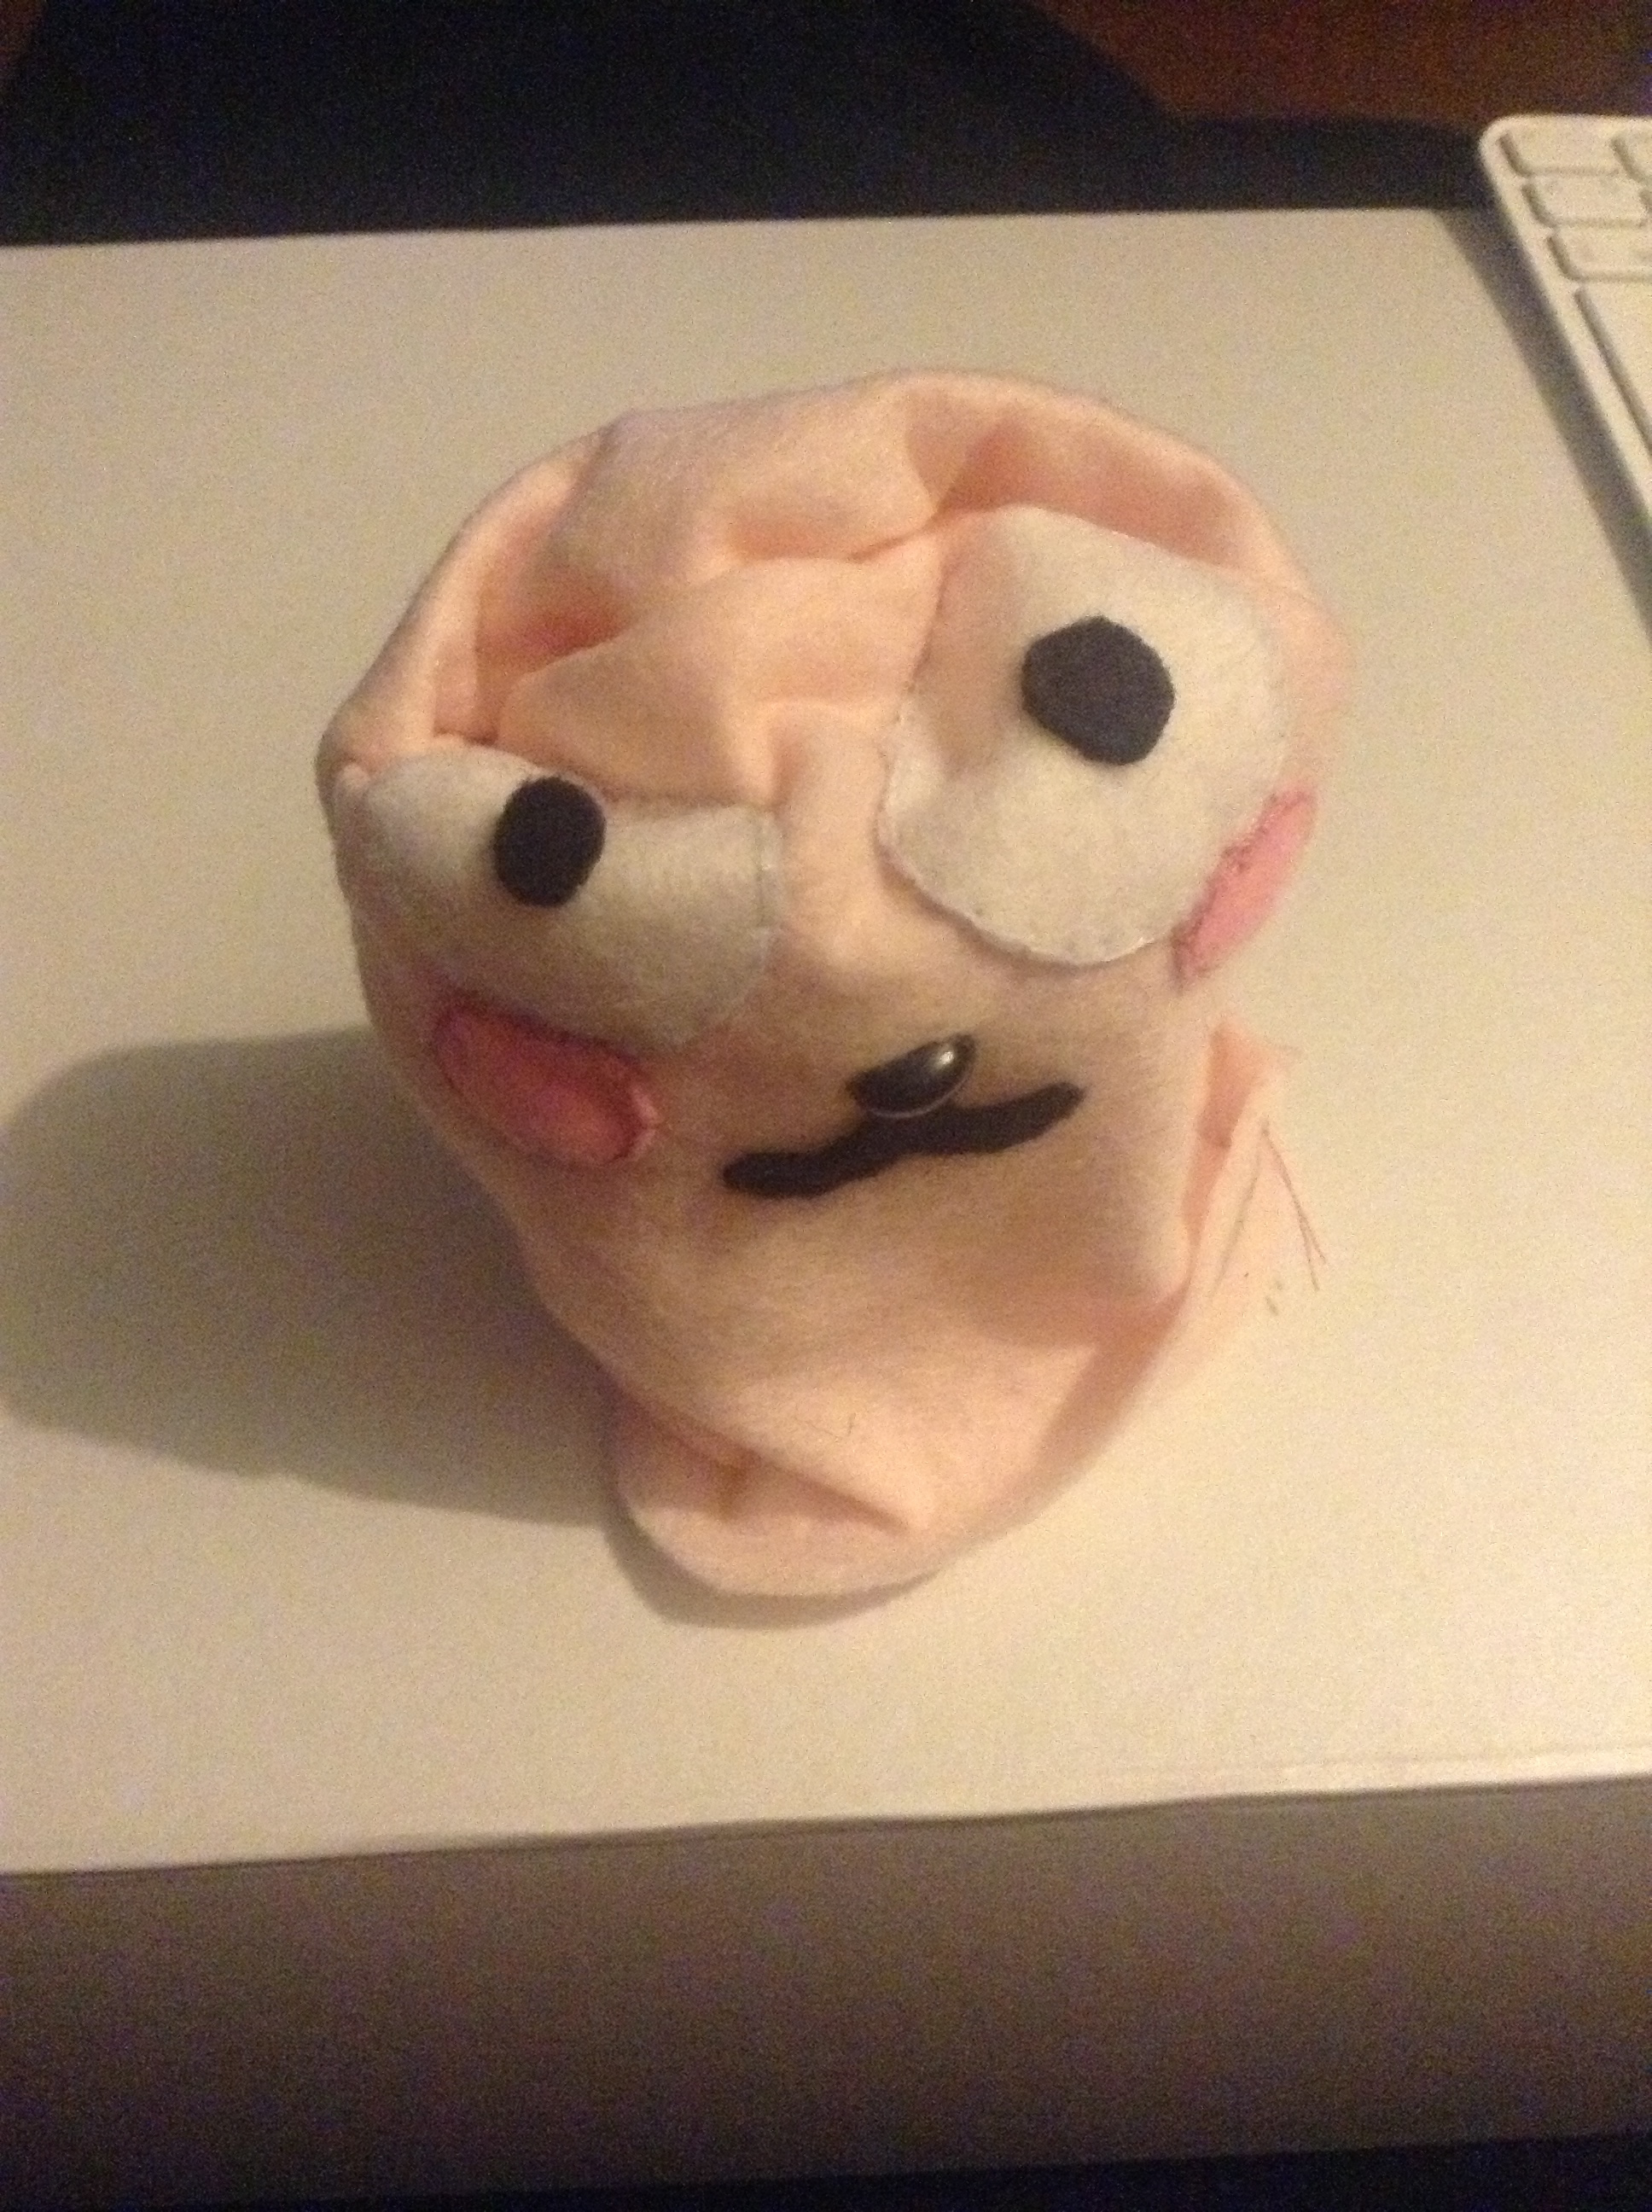
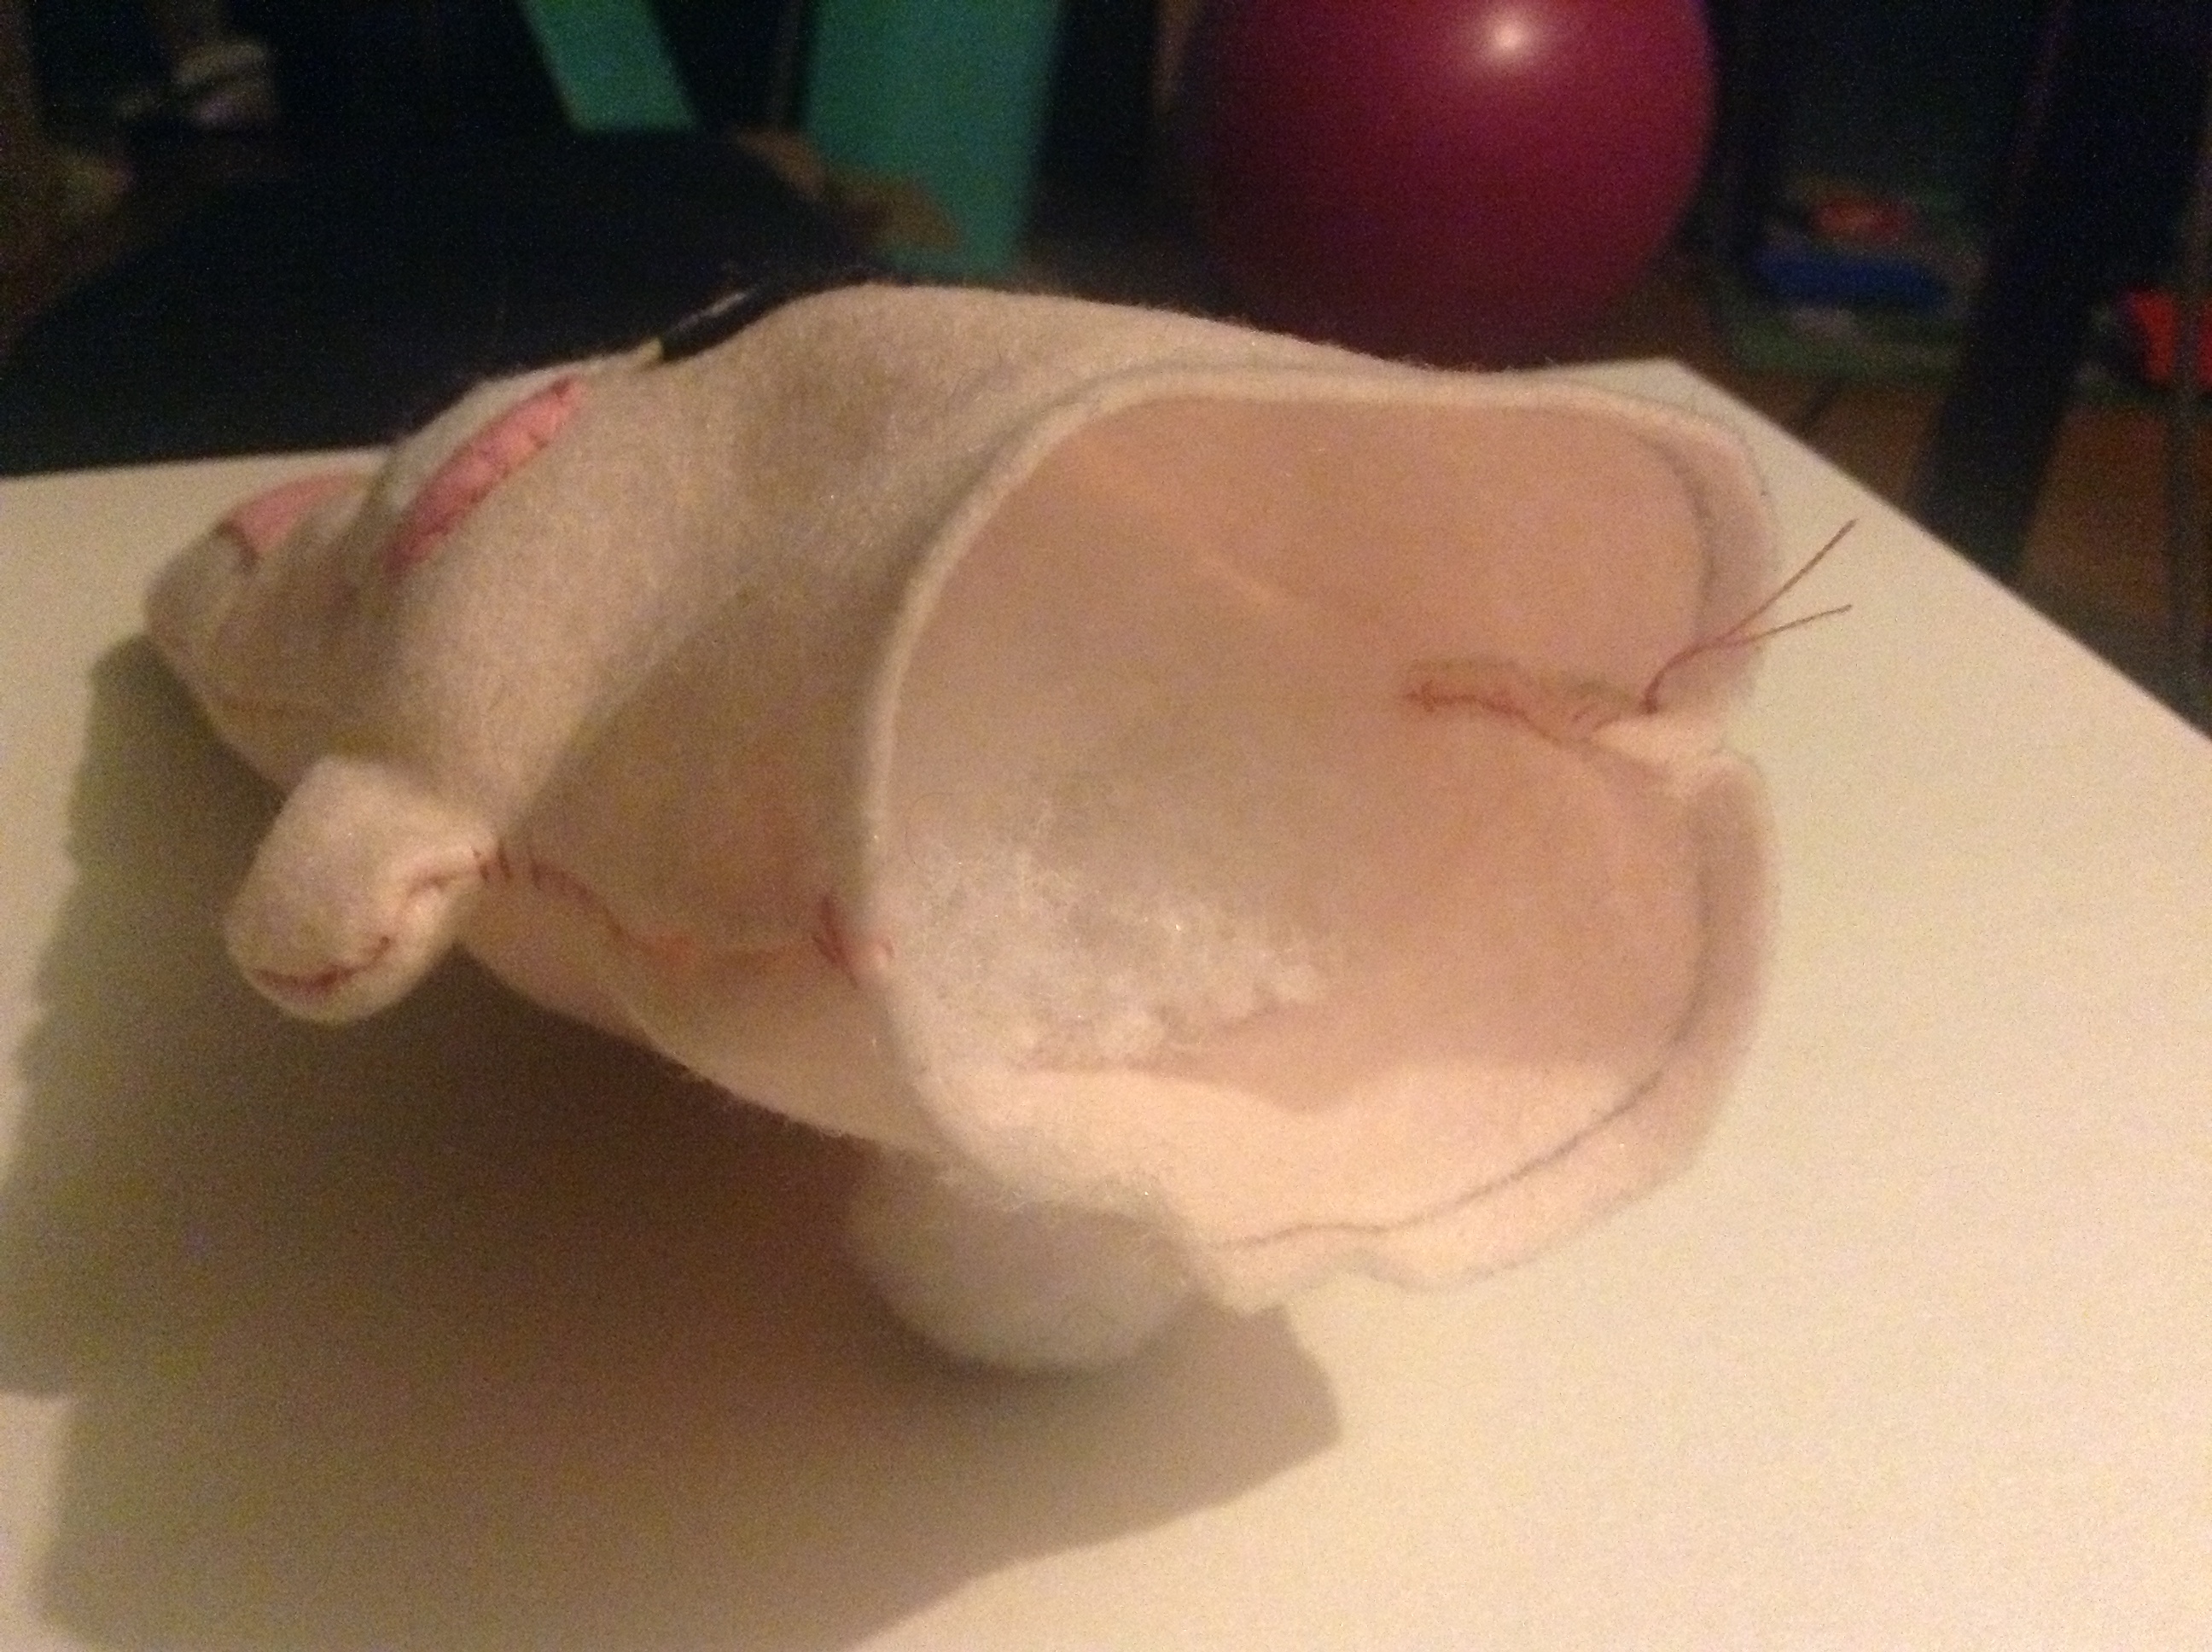
Aaaaaaah! What is this? Freezer Monster?
Finally turned back the bunny looks like this.
The back of the bunny.
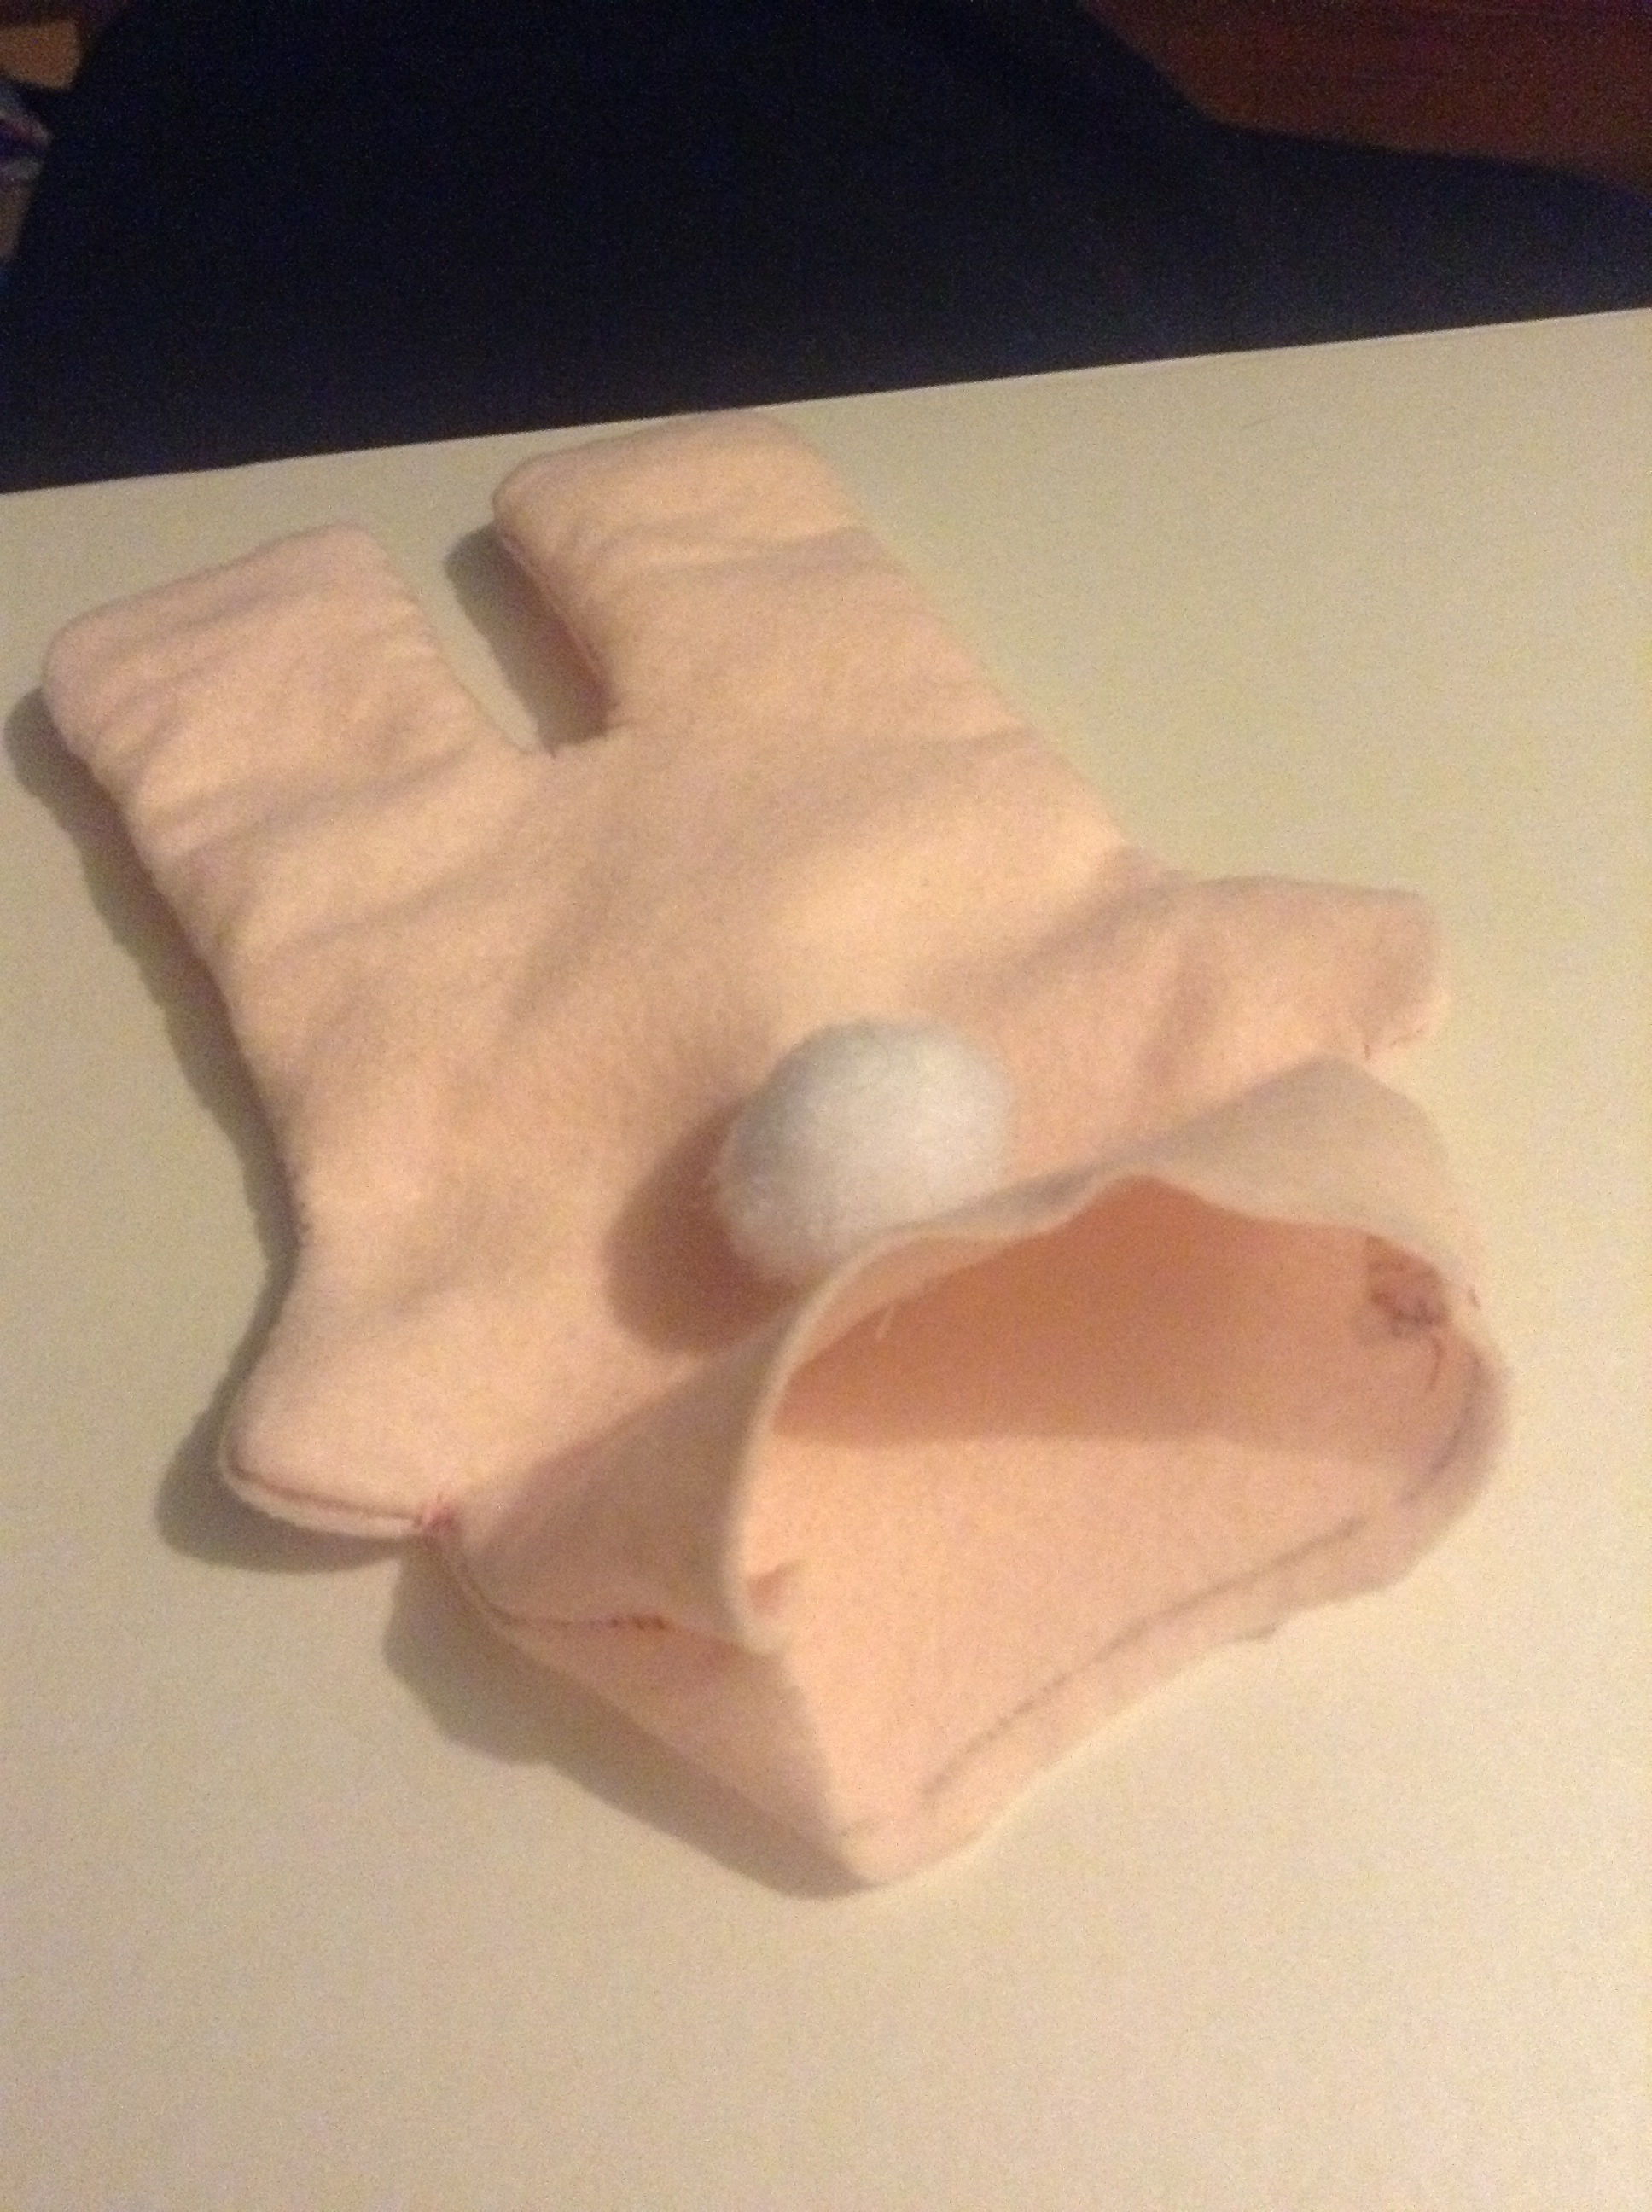
Time to stuff it!
Stuff it! Make sure to push some stuffing into the ears, arms and also in the corners where the feet will be!
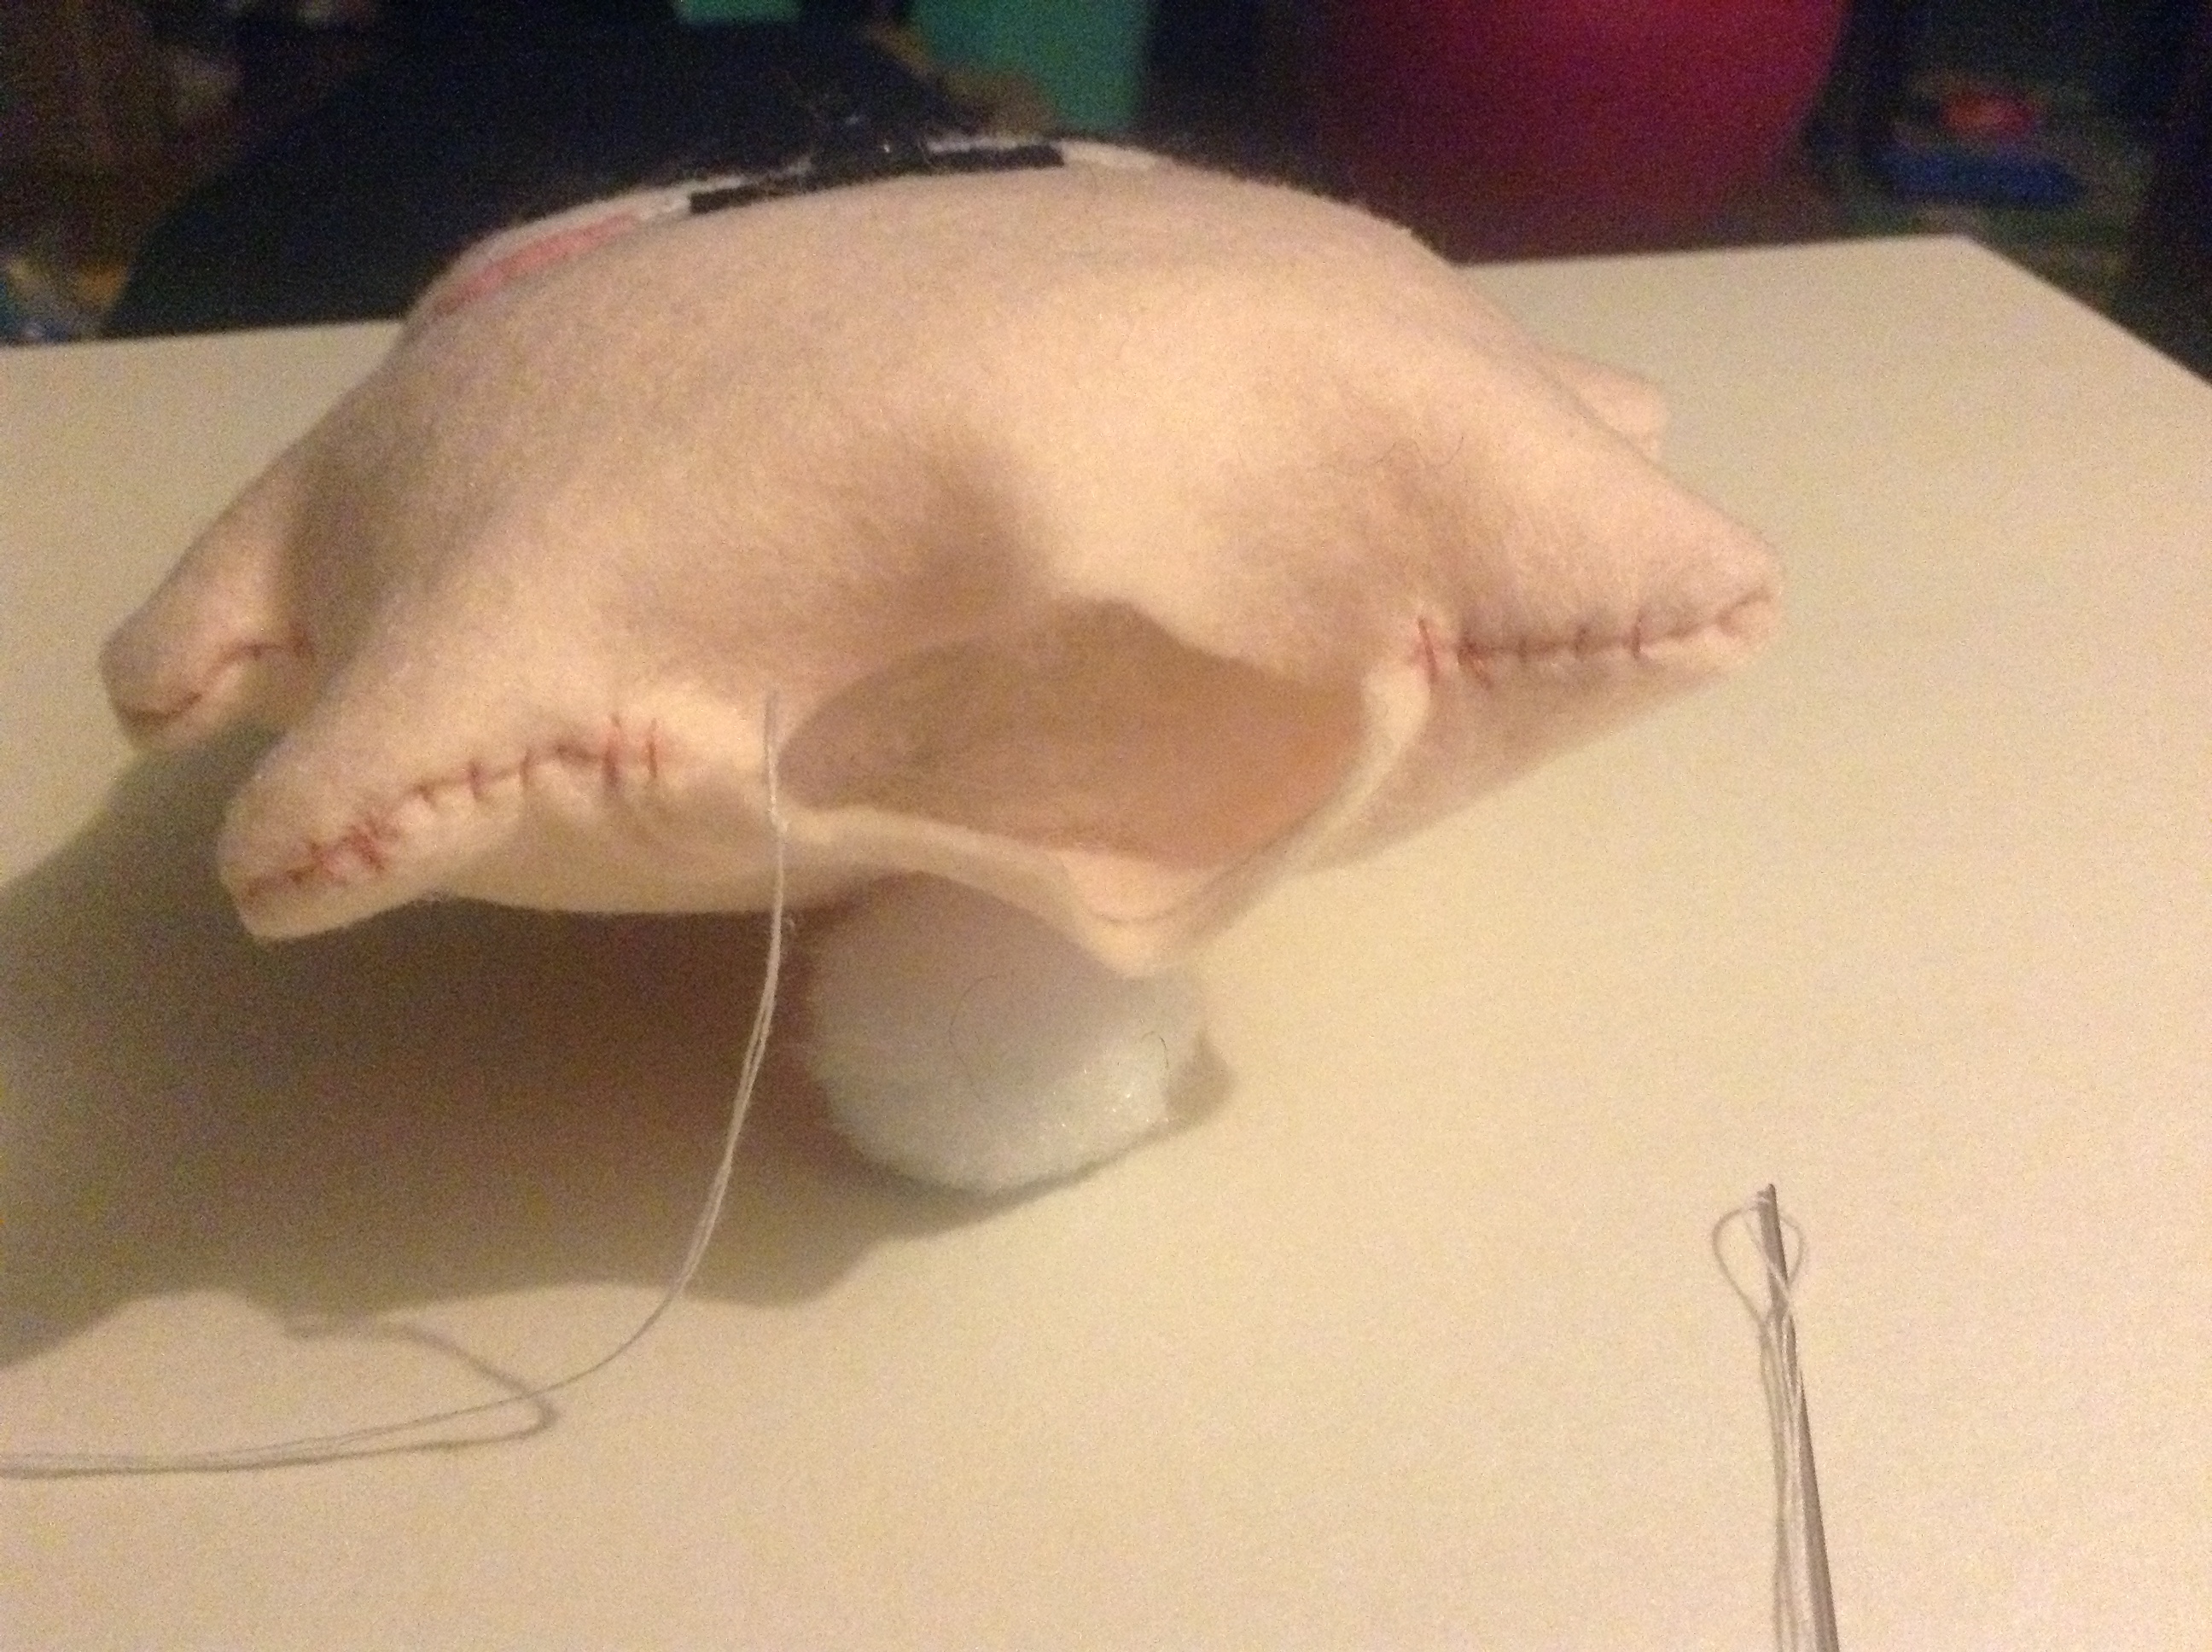
Now for the last bit, close up the bunny at the bottom with some light pink or white thread!
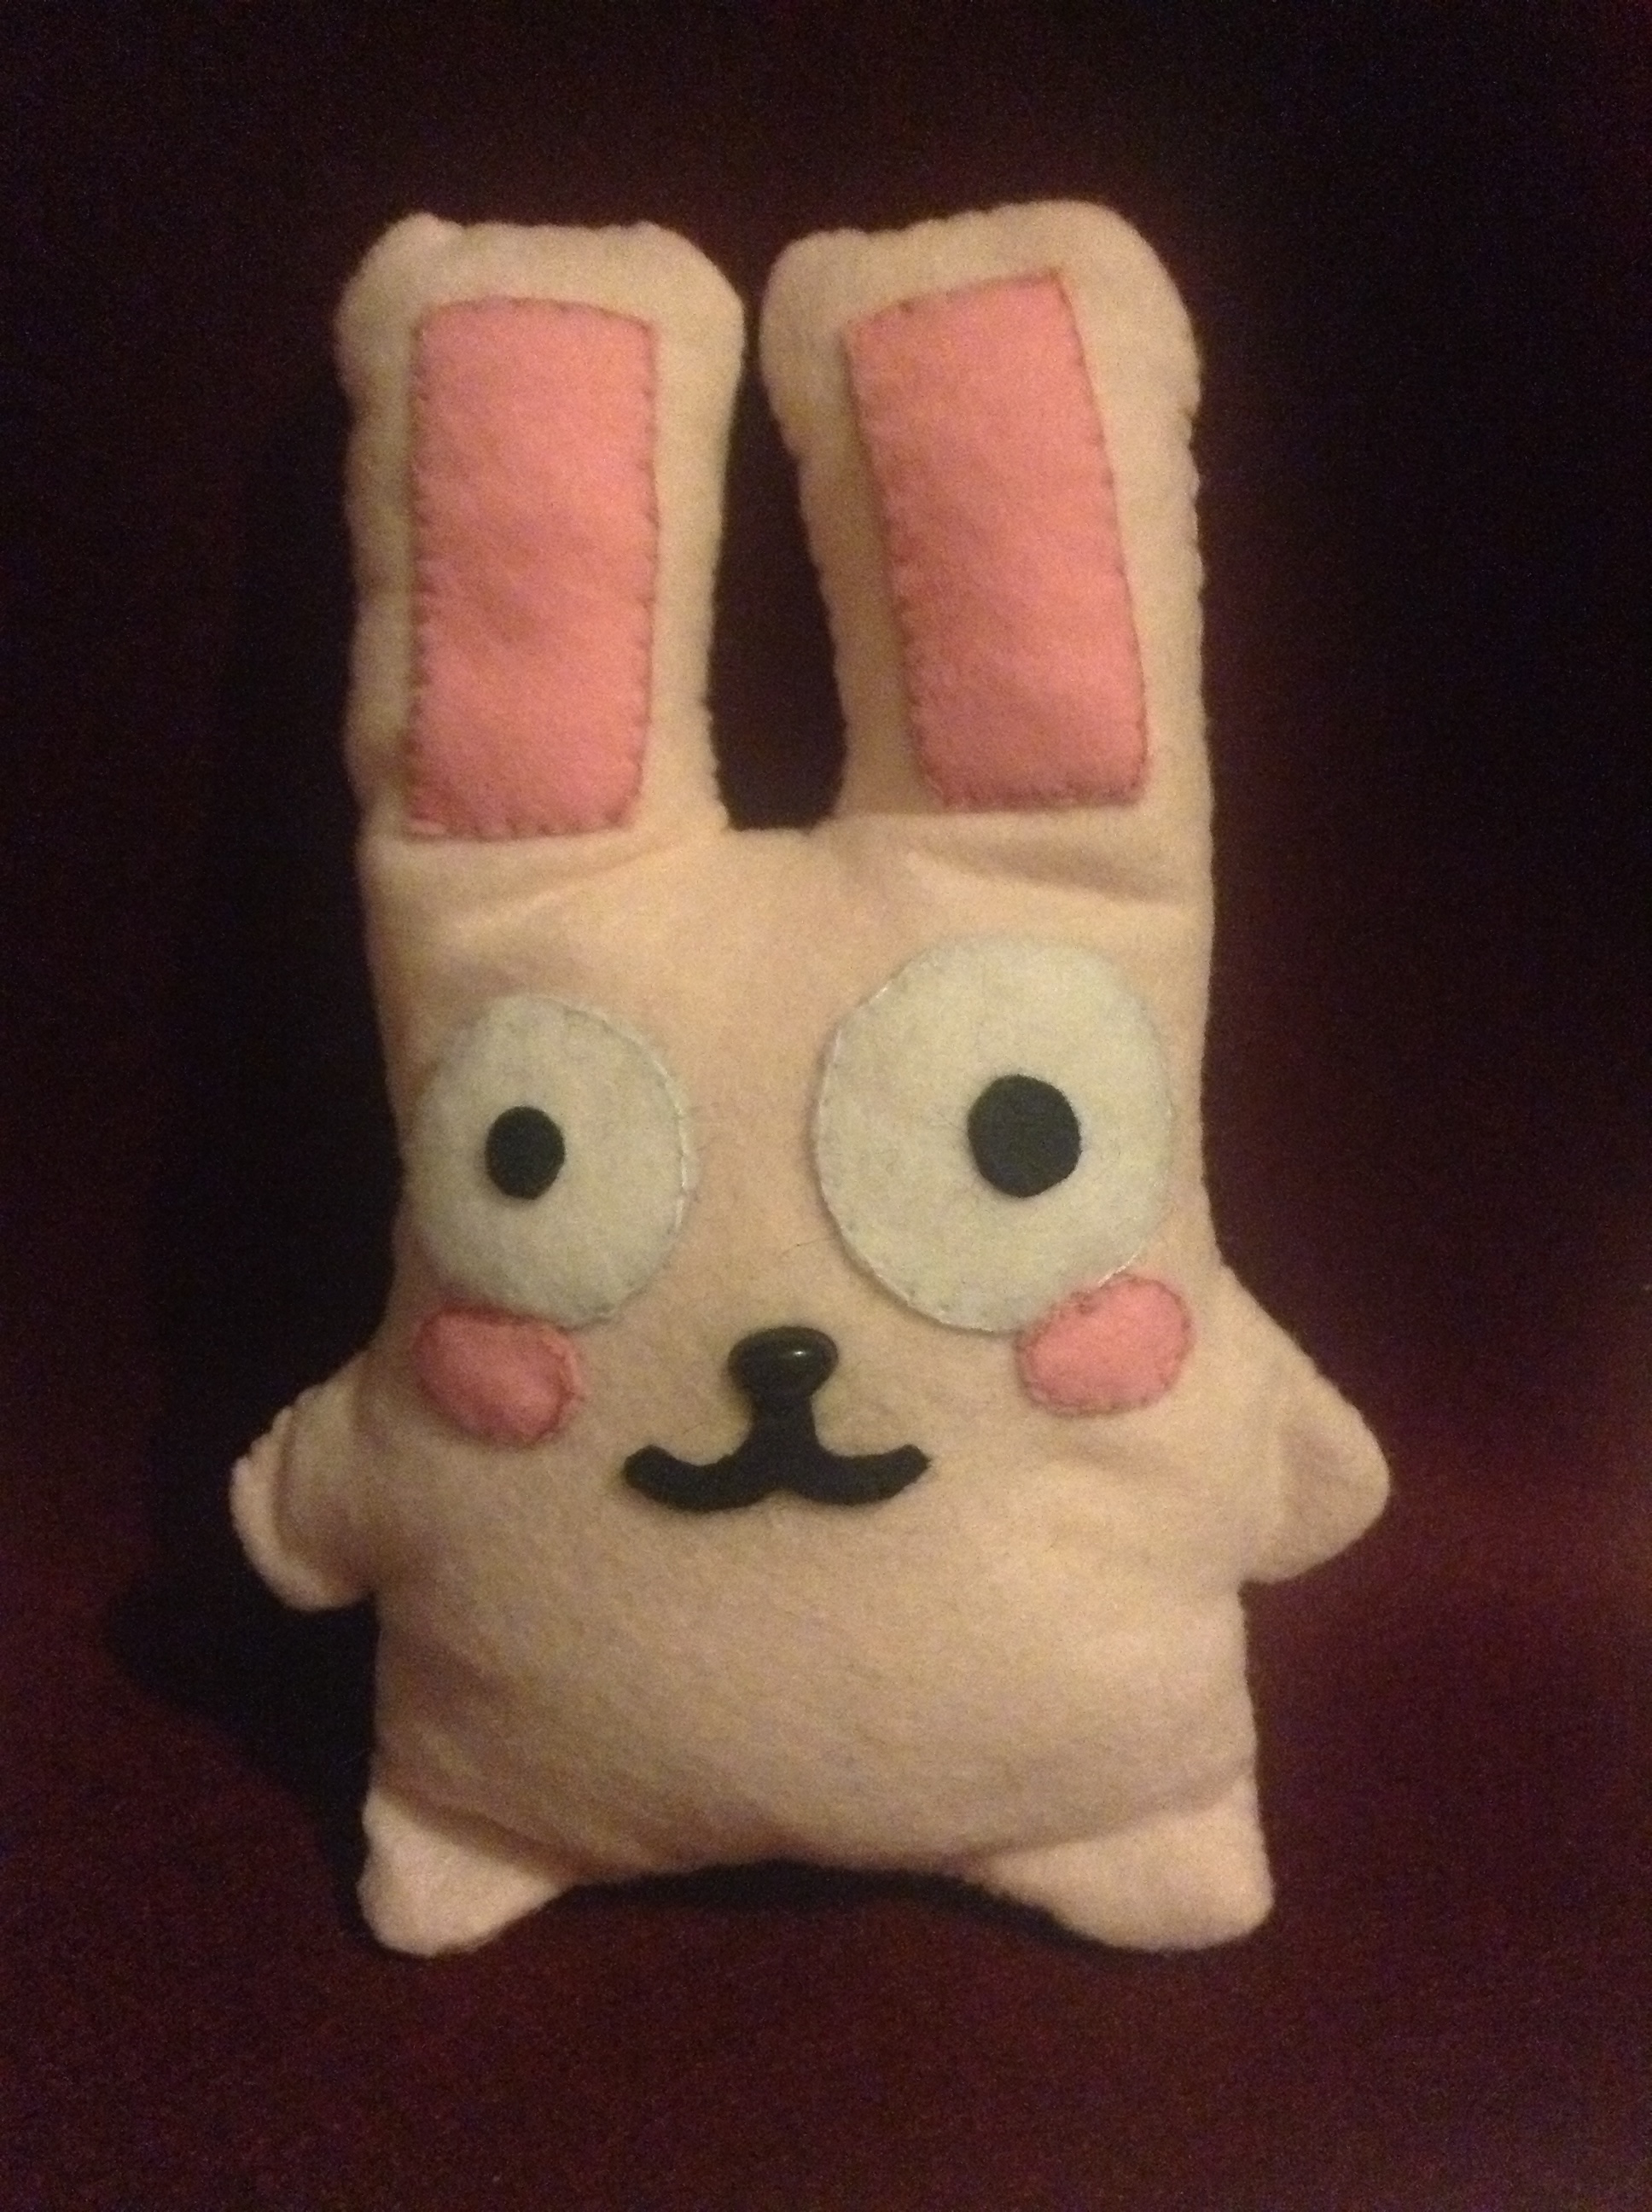
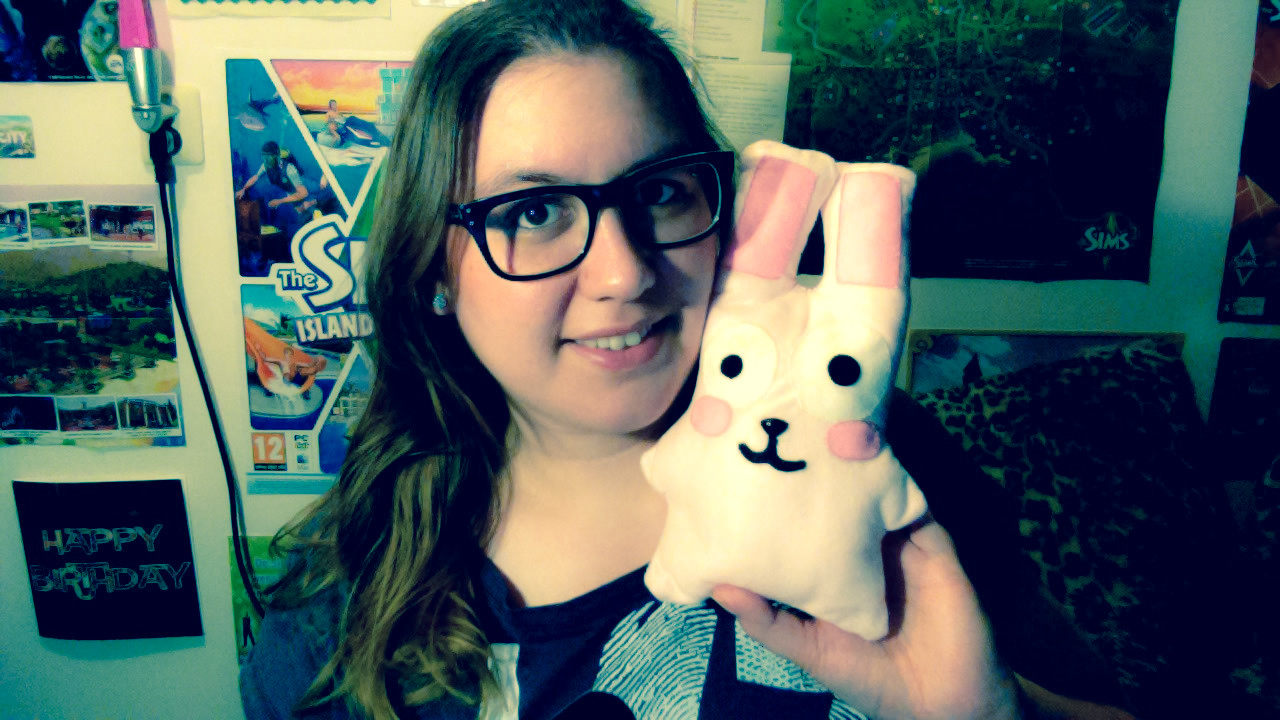
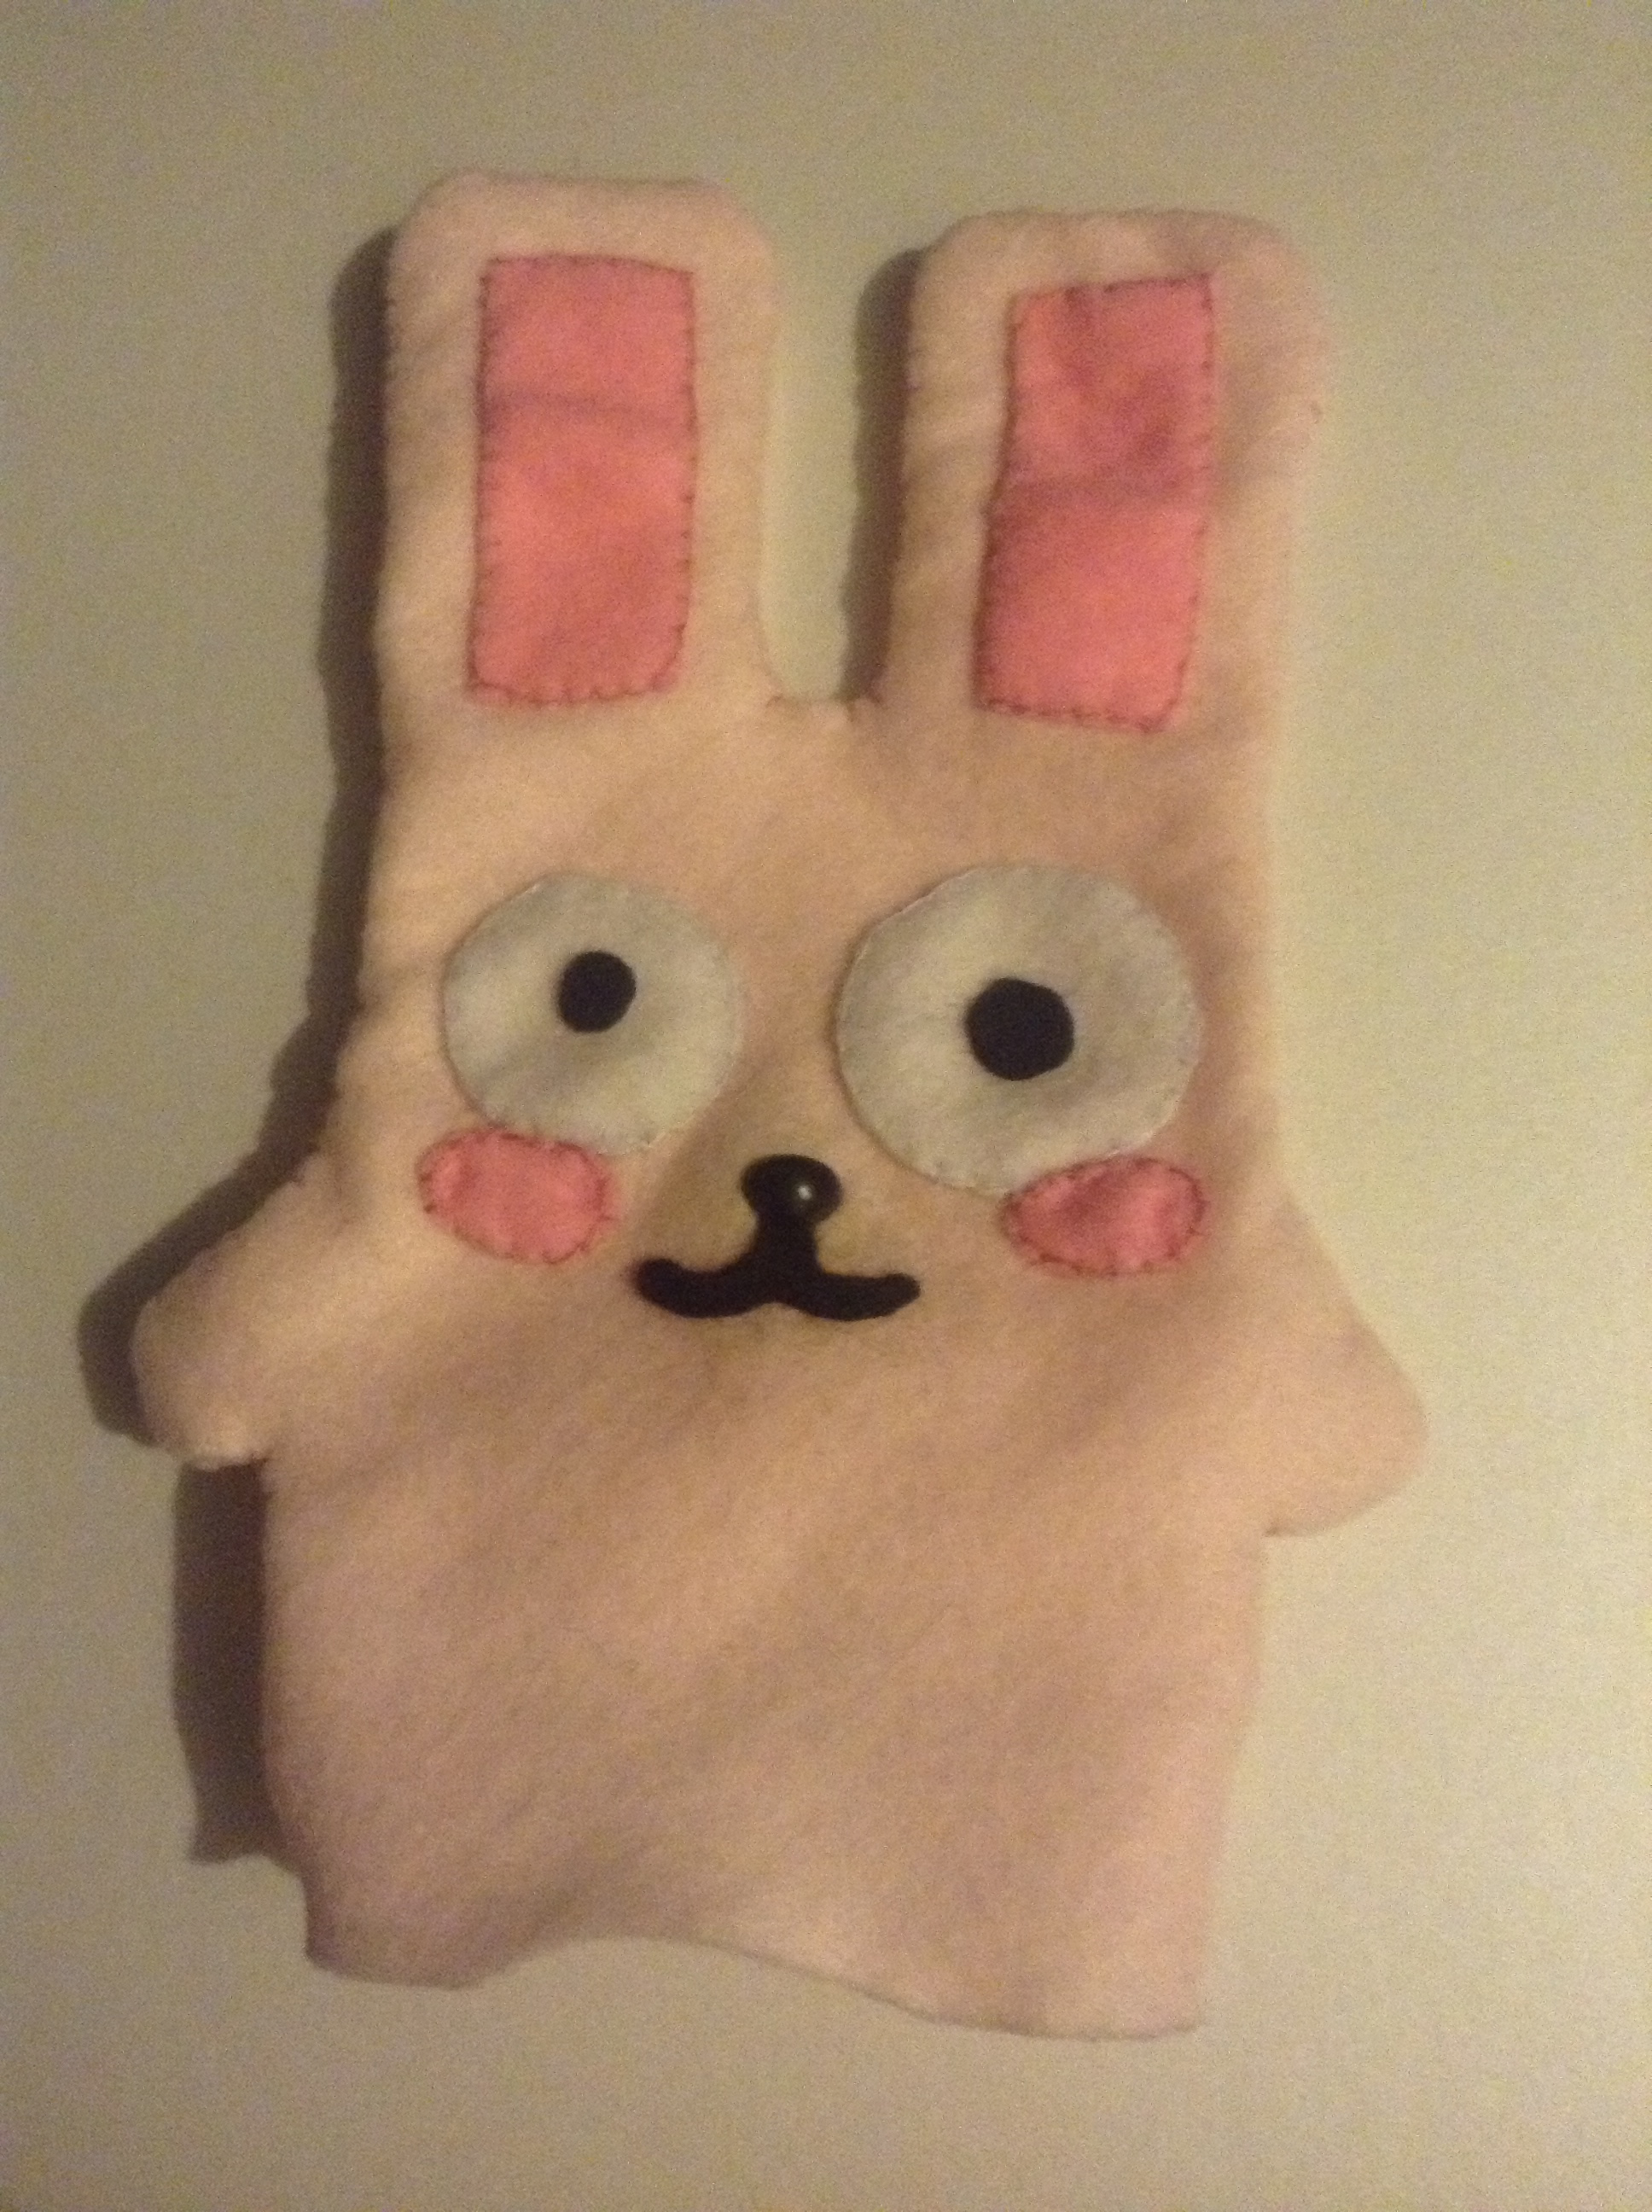
Tadaaaaaaaaaaaaa! Freezer Bunny is done!
Hi Simmers! Do you like me? I am so cute and cuddly wuddly! <3
And now you know how to make your very own Freezer Bunny! Are you going to make a little brother or sister for it too? Tweet me your pics @snw! 